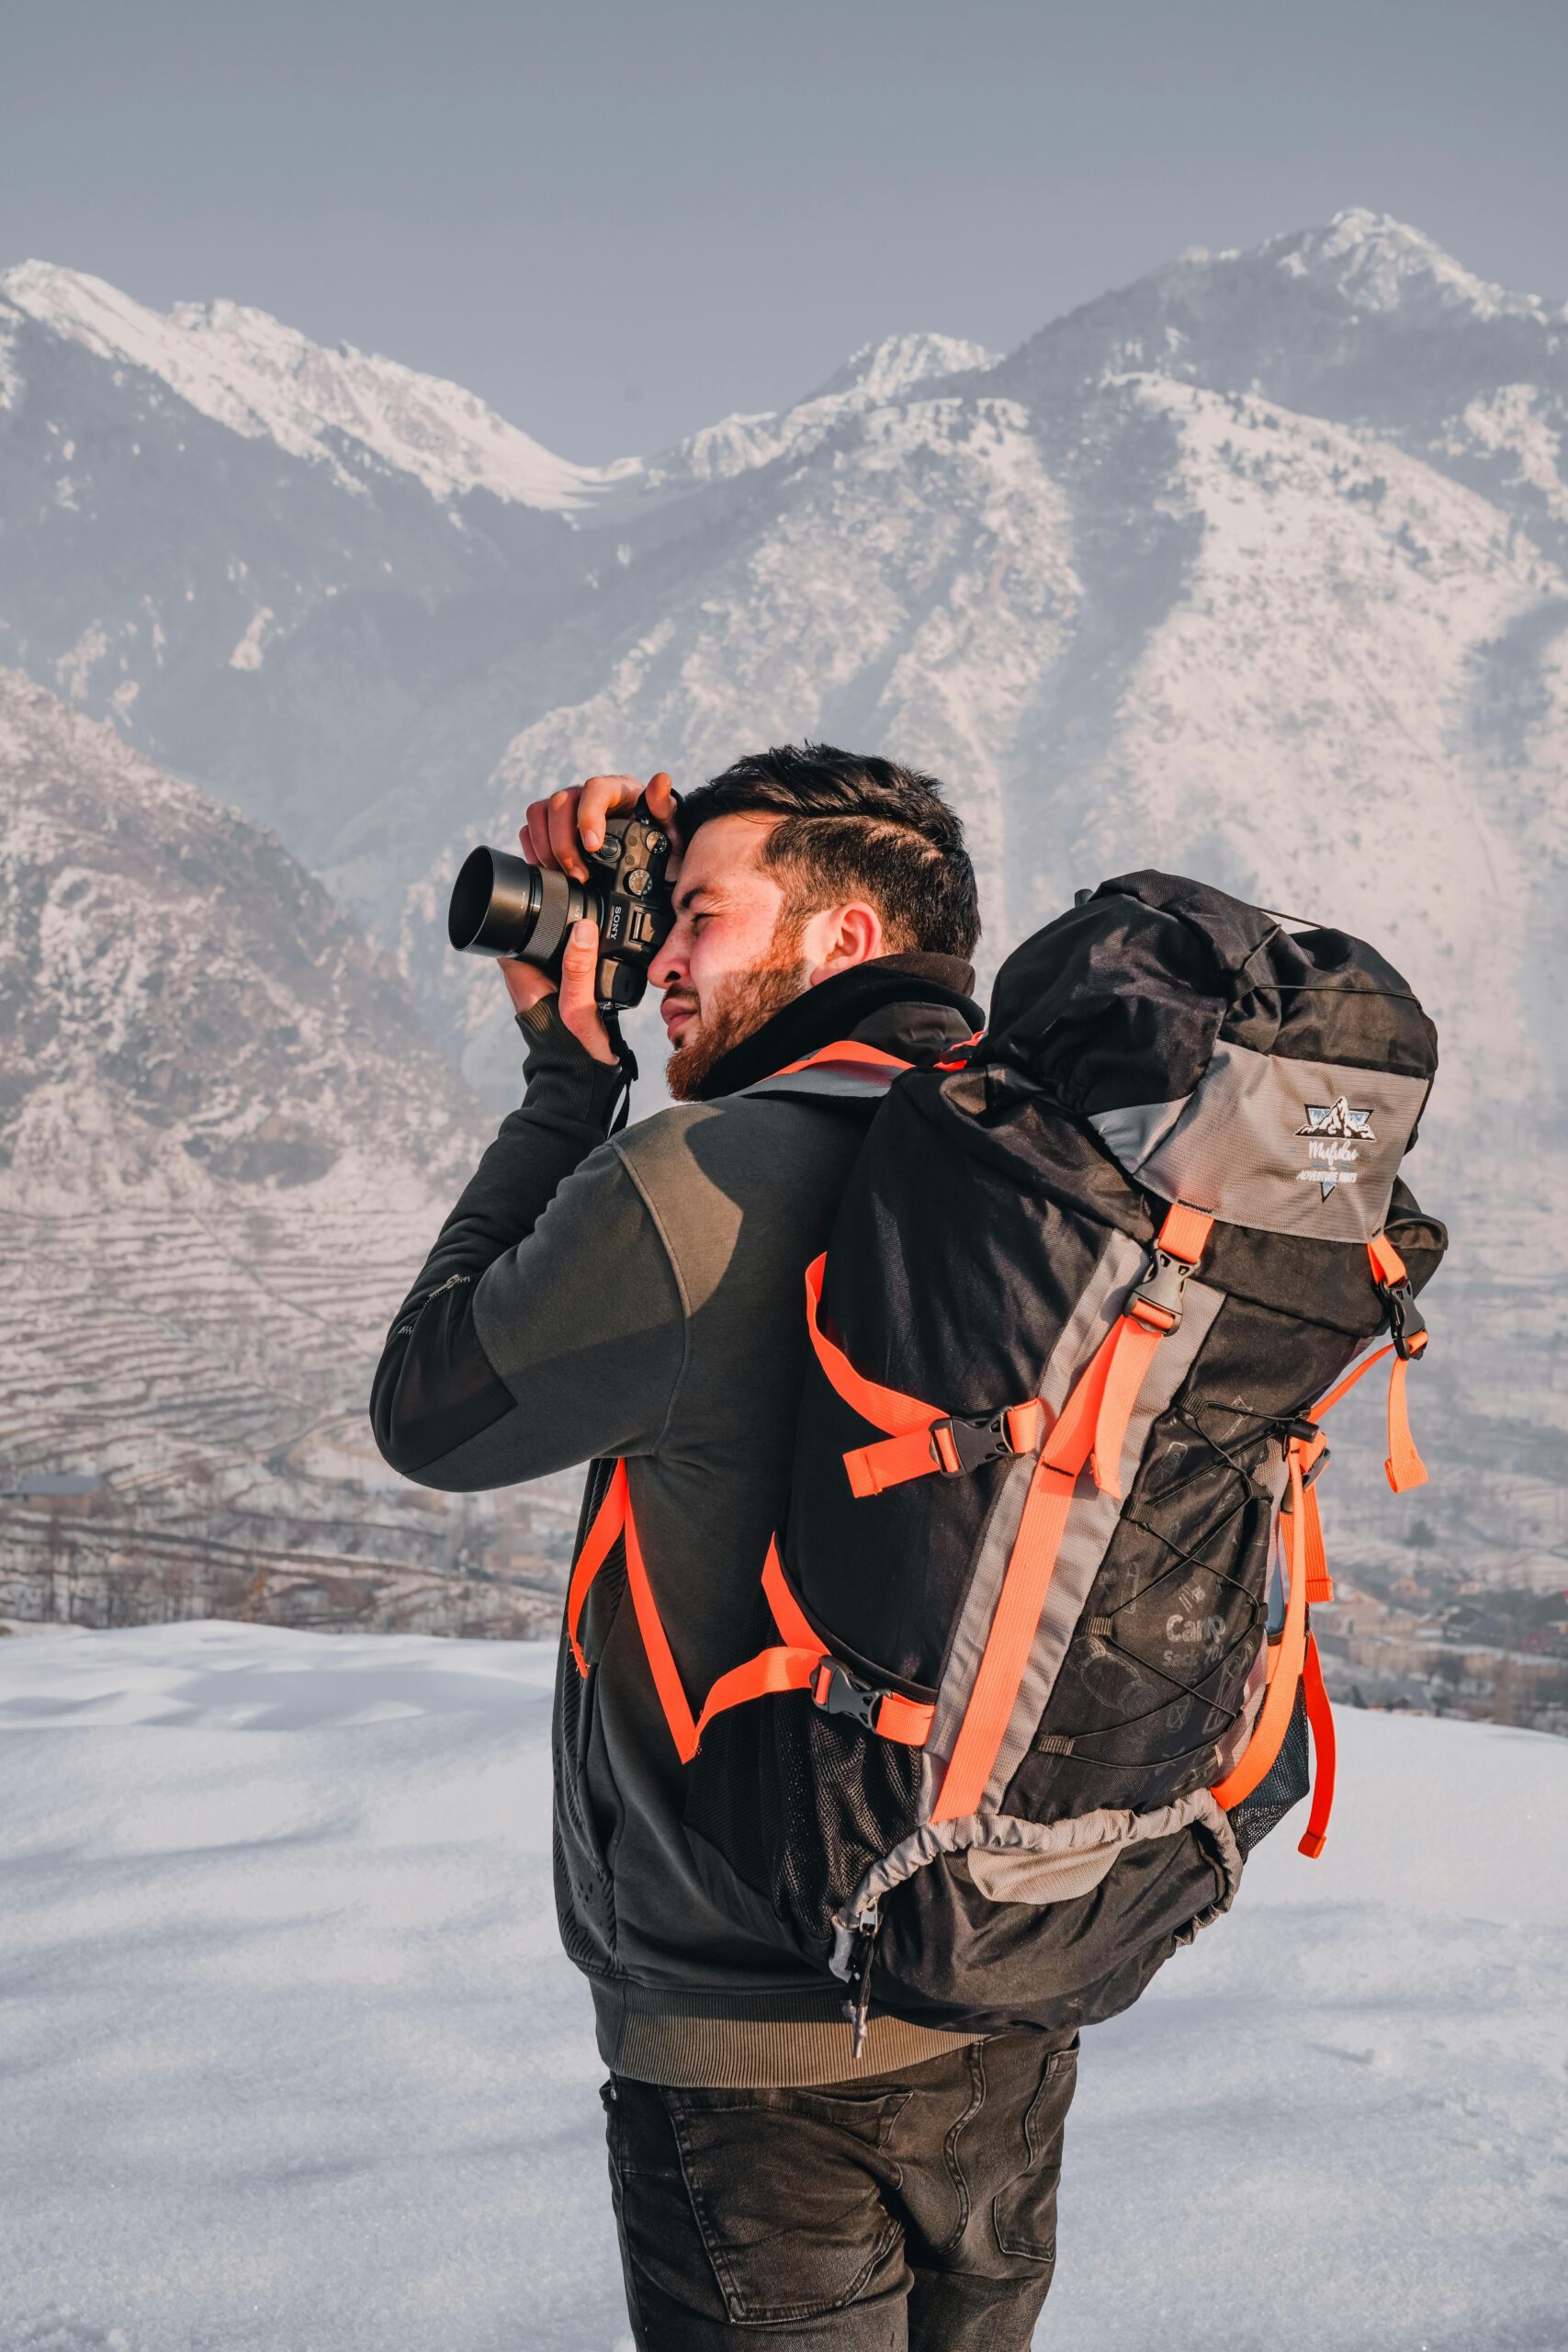
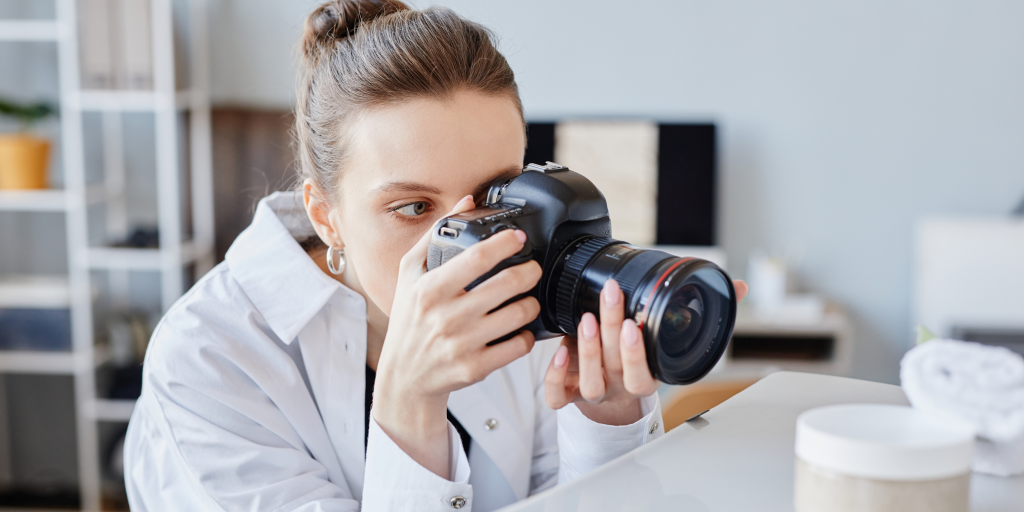
Buying your first real camera is exciting — and immediately overwhelming. The options are endless, the specifications are confusing, and every review you read seems to recommend something different. Then, once you actually have the camera in your hands, the number of buttons, dials, menus, and settings can make you wish you had stuck with your phone.
A beginner camera course cuts through all of this. It teaches you how to choose a camera that fits your needs and budget, understand what every key control does, and start taking intentionally great photographs instead of relying on auto mode and luck.
DSLR vs Mirrorless: Which Should You Choose?
This is the first question every beginner faces, and the good news is that either choice is excellent.
A DSLR (Digital Single Lens Reflex) camera uses a mirror mechanism to reflect light from the lens up into an optical viewfinder. When you press the shutter, the mirror flips up, light hits the sensor, and the image is captured. DSLRs have been the standard for decades and offer a massive selection of lenses, long battery life, and proven reliability. Popular beginner DSLRs include the Canon EOS Rebel T8i and Nikon D5600, typically priced between $700–$1,200 CAD with a kit lens.
A mirrorless camera eliminates the mirror mechanism entirely. Light passes through the lens directly to the sensor, and you see a digital preview of your image through an electronic viewfinder or the rear screen. Mirrorless cameras are typically smaller and lighter, offer faster autofocus systems, superior video capabilities, and represent the future direction of camera technology — all major manufacturers have shifted their development focus to mirrorless systems. Popular beginner mirrorless cameras include the Canon EOS R50, Sony a6400, and Nikon Z50, also in the $700–$1,200 CAD range.
For new photographers starting today, mirrorless is generally the recommended choice. The technology is more advanced, the cameras are more compact, and the features — particularly autofocus and video — are superior in most price brackets. However, a DSLR purchased at a discount represents outstanding value and will teach you everything a mirrorless camera will.
Canon Canada and Nikon Canada both offer comparison tools on their websites to help you evaluate models within their respective systems.
Understanding Your Camera’s Key Controls
Every camera — regardless of brand or type — shares the same core controls. Mastering these is what a beginner camera course is fundamentally about.
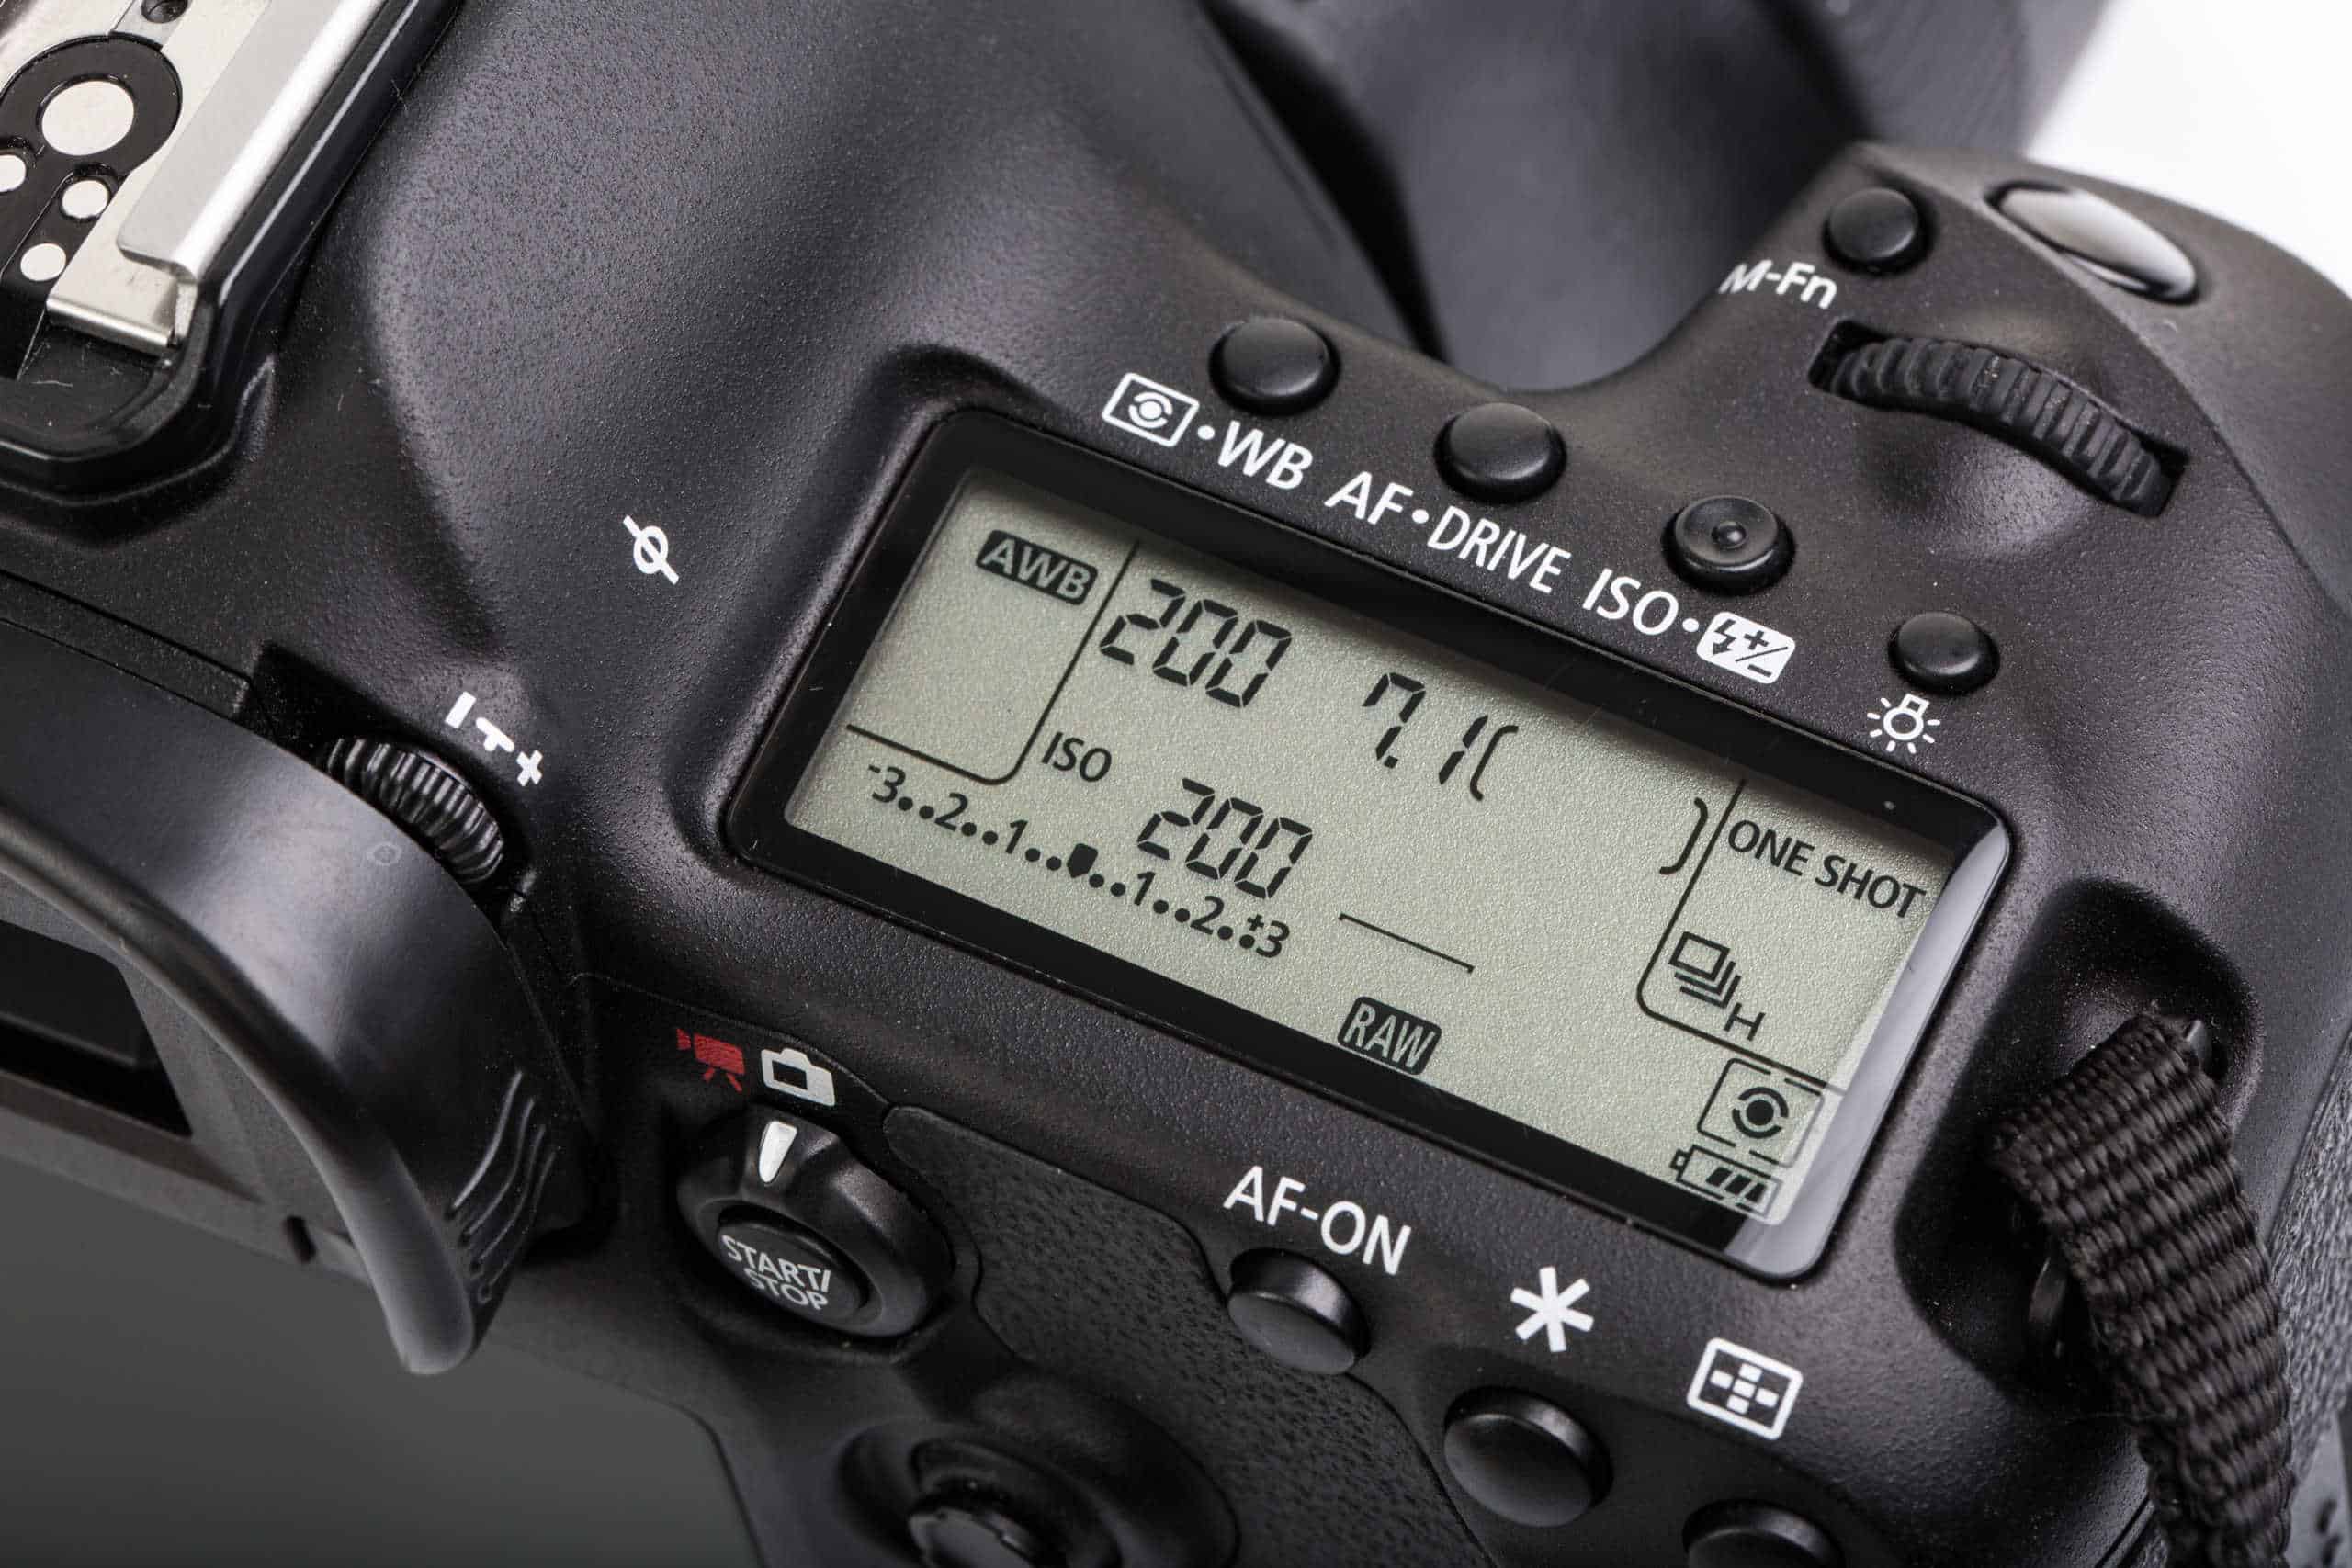
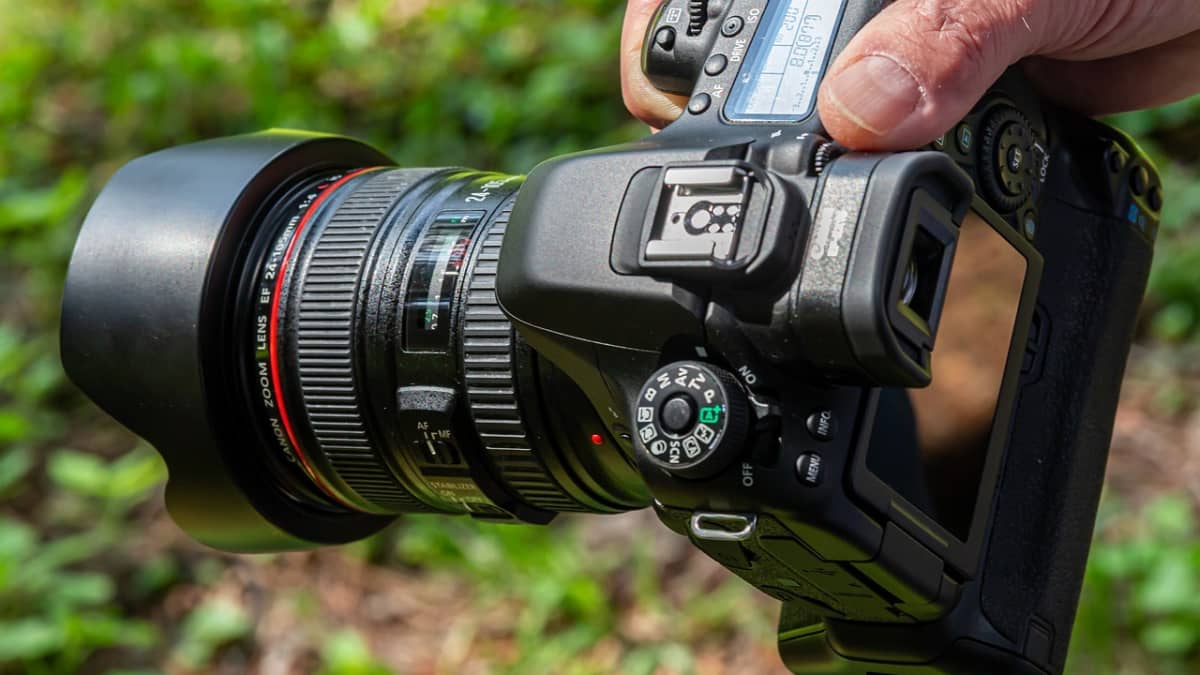
The mode dial is the large dial on the top of your camera that selects how much control you have over exposure settings. Auto mode makes all decisions for you. Program mode lets you adjust some settings while the camera manages exposure. Aperture Priority lets you choose the aperture while the camera selects the shutter speed. Shutter Priority lets you choose the shutter speed while the camera handles aperture. Manual mode gives you complete control over every setting.
Most beginner camera courses recommend starting in Aperture Priority mode. It gives you creative control over depth of field — the most visually impactful setting — while the camera handles the rest. Our complete guide to shooting in manual mode covers the progression from semi-automatic modes to full manual control with detailed, practical instructions.
The aperture ring or dial controls the size of the lens opening. Wider apertures (lower f-numbers like f/1.8 or f/2.8) let in more light and create blurred backgrounds. Narrower apertures (higher f-numbers like f/8 or f/16) let in less light and keep more of the scene in focus.
The shutter speed dial controls how long the sensor is exposed to light. Fast speeds freeze motion. Slow speeds create motion blur. Learning to select the right shutter speed for different subjects is one of the most practical skills a beginner camera course teaches.
The ISO button or menu adjusts sensor sensitivity. Keep it as low as possible for clean images and increase it only when you need more light and cannot adjust aperture or shutter speed further.
Essential Camera Settings to Configure Immediately
When you take your new camera out of the box, there are several settings worth configuring before you start shooting.
Set your image quality to RAW. This gives you maximum editing flexibility and is the standard format used by every professional photographer. Our guide to sensors, megapixels, and file formats explains why RAW is essential.
Turn on the rule of thirds grid overlay in your viewfinder or rear screen. This helps you compose images with better visual balance from the very first shot.
Set your autofocus to single-point AF mode. This lets you control exactly where the camera focuses rather than letting it guess — which it will often get wrong. Place the focus point on your subject’s eye for portraits, or on the most important element of any scene.
Set your white balance to Auto. For RAW shooters, white balance is fully adjustable in post-production, so auto is perfectly fine for capture. Our essential camera settings guide covers all of these configurations in detail for specific camera brands.
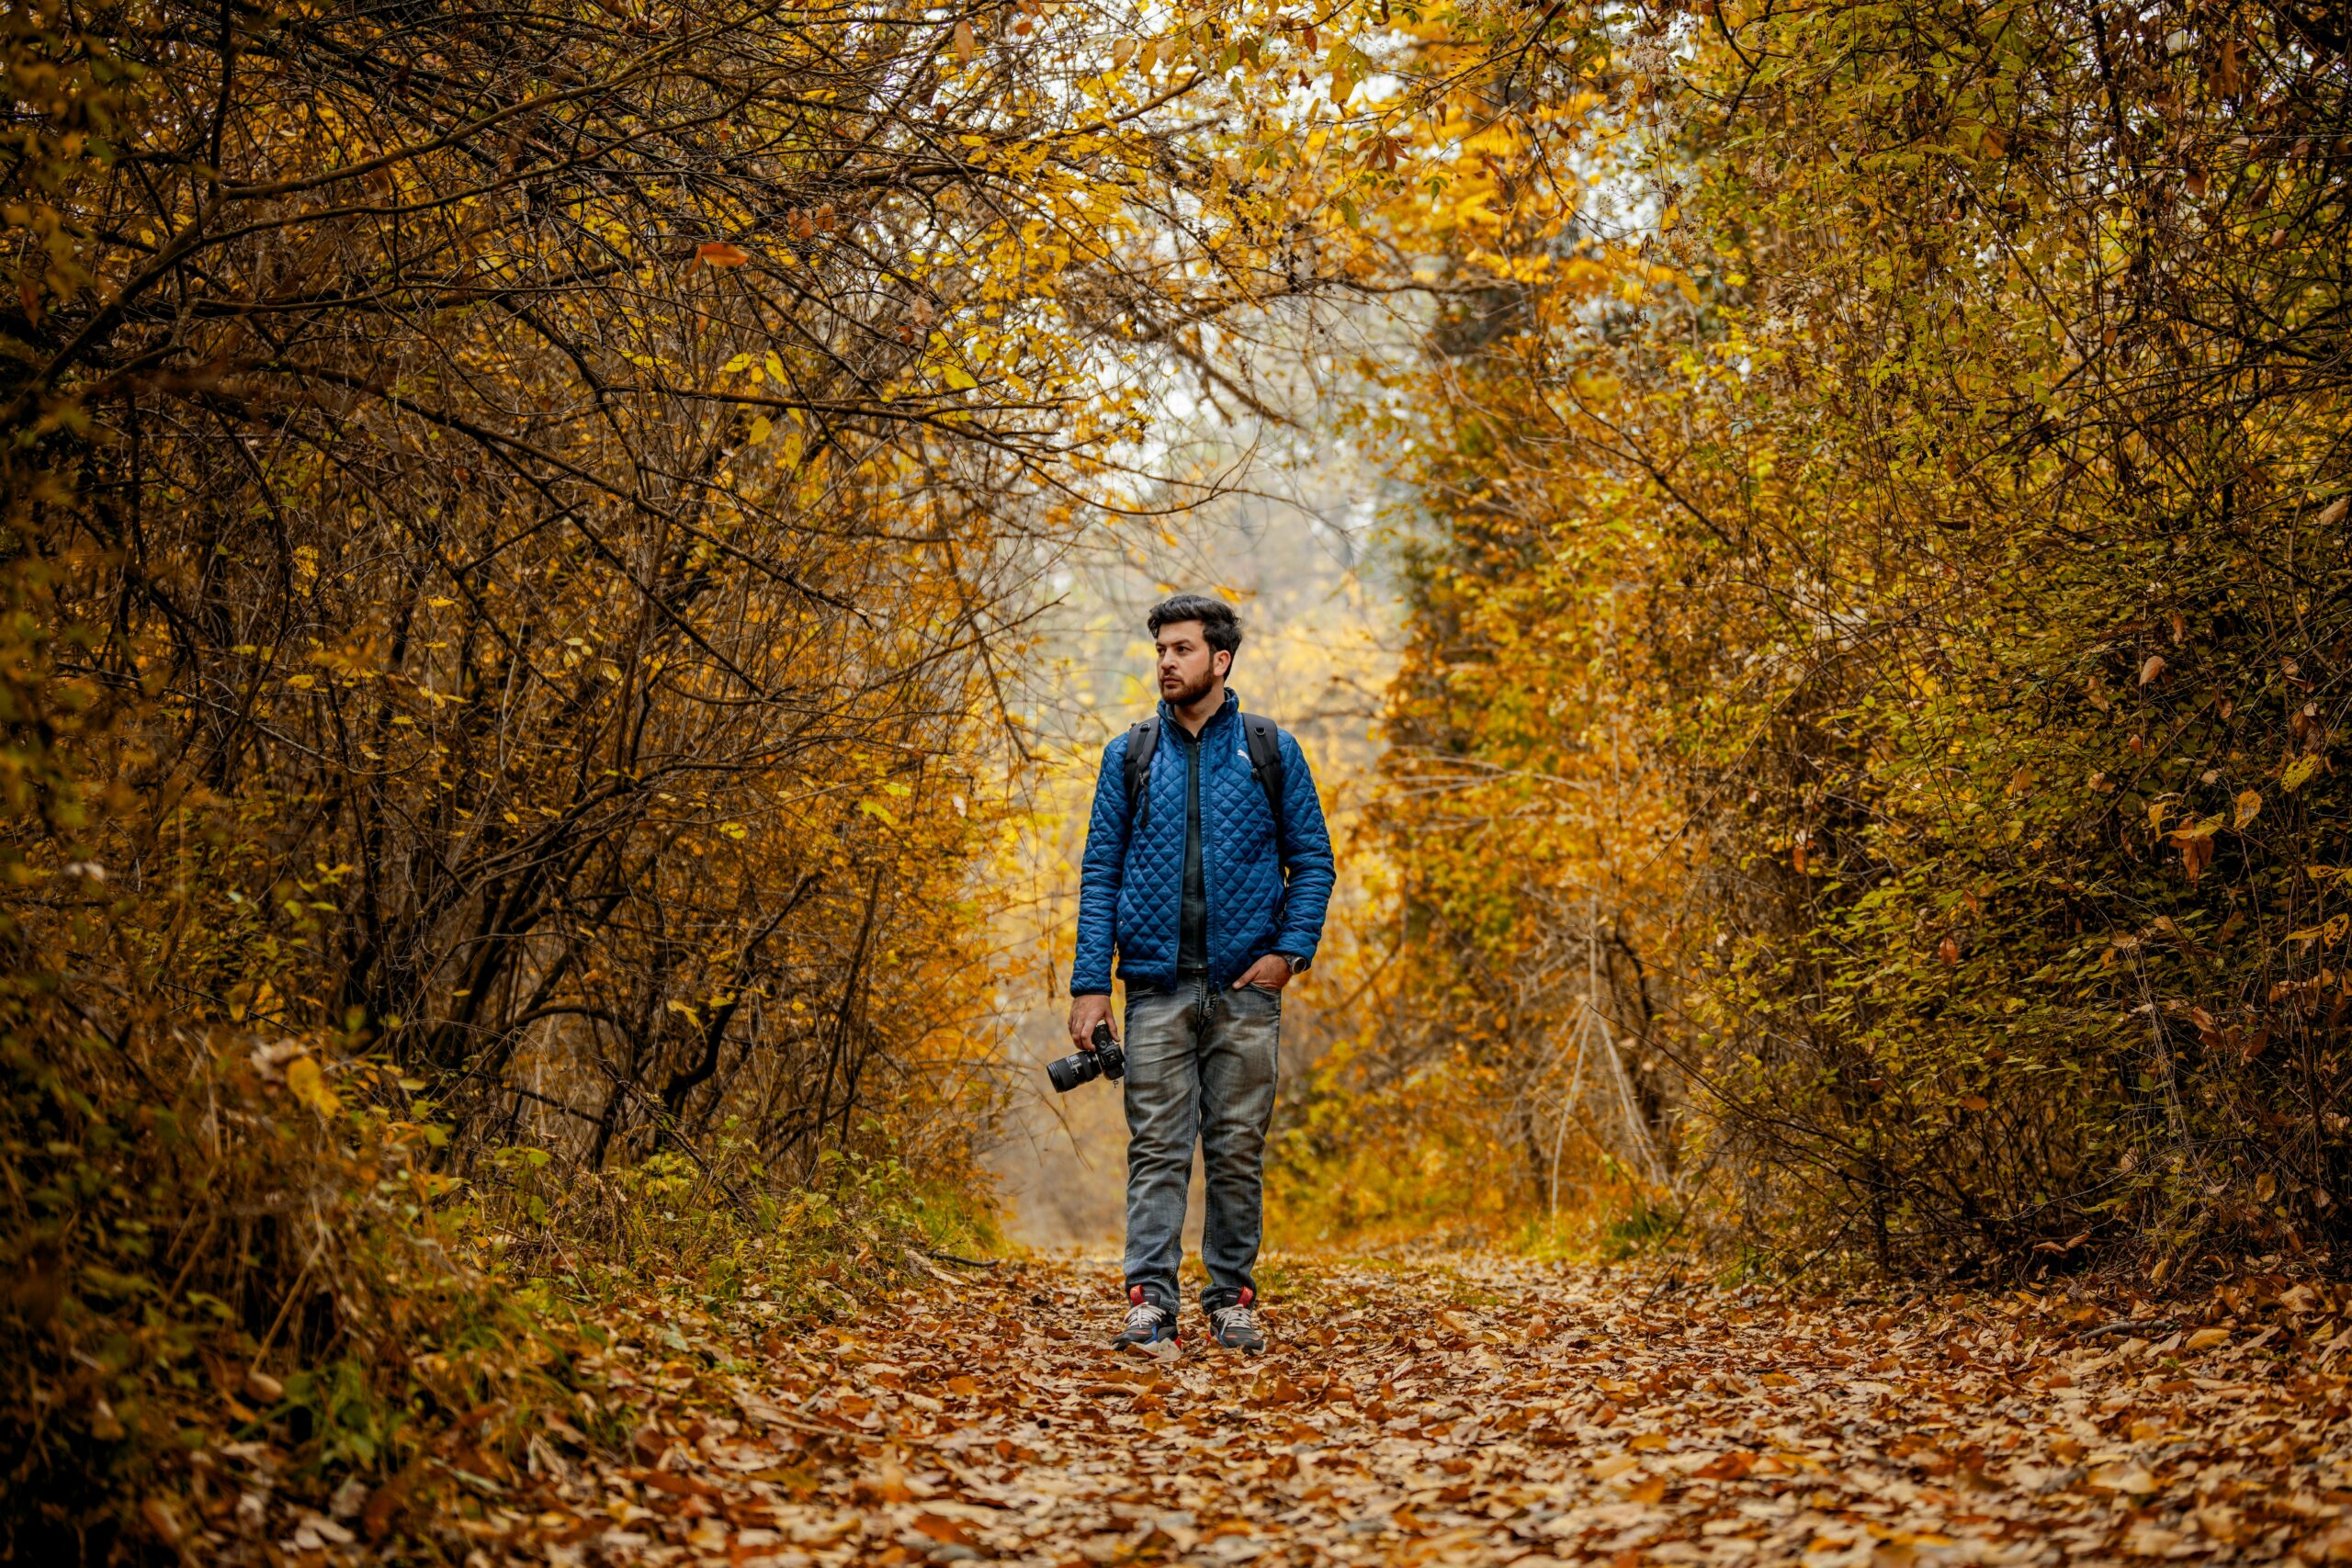
Your First Week with a New Camera
Day one and two: Shoot in Auto mode. Get comfortable holding the camera, understanding the weight and ergonomics, and taking photos without worrying about settings. Fill a memory card. The goal is familiarity and comfort, not perfection.
Day three and four: Switch to Aperture Priority mode. Set your aperture to f/2.8 or the widest your lens allows and photograph subjects with blurred backgrounds. Then switch to f/11 and photograph scenes where everything is in focus. Compare the results side by side and observe how aperture transforms the image.
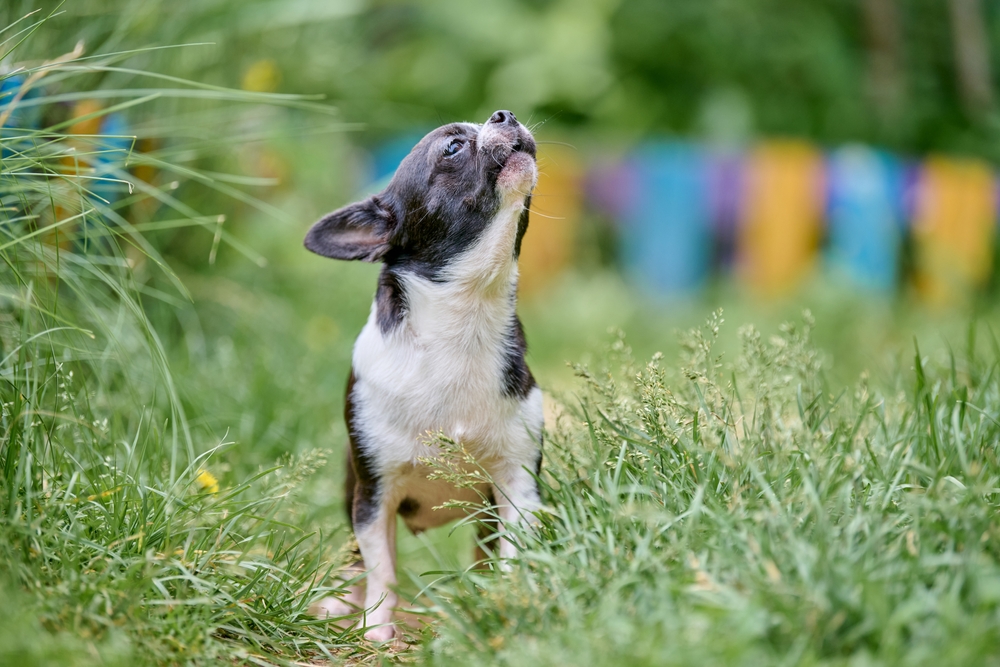
Day five and six: Experiment with shutter speed. Switch to Shutter Priority mode. Photograph moving subjects — a pet, a child, running water, passing traffic — at fast speeds (1/1000th) and slow speeds (1/30th). See how motion is rendered differently.
Day seven: Switch to Manual mode. Set ISO 100, choose an aperture, then adjust shutter speed until the exposure meter in your viewfinder reads zero. Take the shot. Adjust one setting and observe how the others need to compensate. This single exercise teaches you the exposure triangle more effectively than any video tutorial.
Common Beginner Mistakes to Avoid
Buying too much gear too soon is the most common mistake. A camera body and one versatile lens — like an 18–55mm kit lens or a 50mm prime — is all you need for months of learning. Master what you have before adding more equipment to the bag. Our photography equipment on a budget guide covers how to build a capable kit without overspending.
Staying in Auto mode permanently defeats the purpose of owning a dedicated camera. Auto mode makes your camera an expensive point-and-shoot. Push yourself into Aperture Priority within the first week, and toward Manual mode within the first month.
Never reviewing your images critically means you repeat the same mistakes. After every shooting session, review your images on a computer screen — not just the camera LCD — and honestly assess what works, what does not, and why. This self-critique is how rapid improvement happens.
Start Your Beginner Camera Course
A beginner camera course transforms a confusing box of buttons into a creative instrument you control with confidence. Our Certificate in Photography includes a professional Canon mirrorless camera and structured lessons that take you from complete beginner to confident photographer. Explore our full range of courses to find the right starting point for your photography journey.