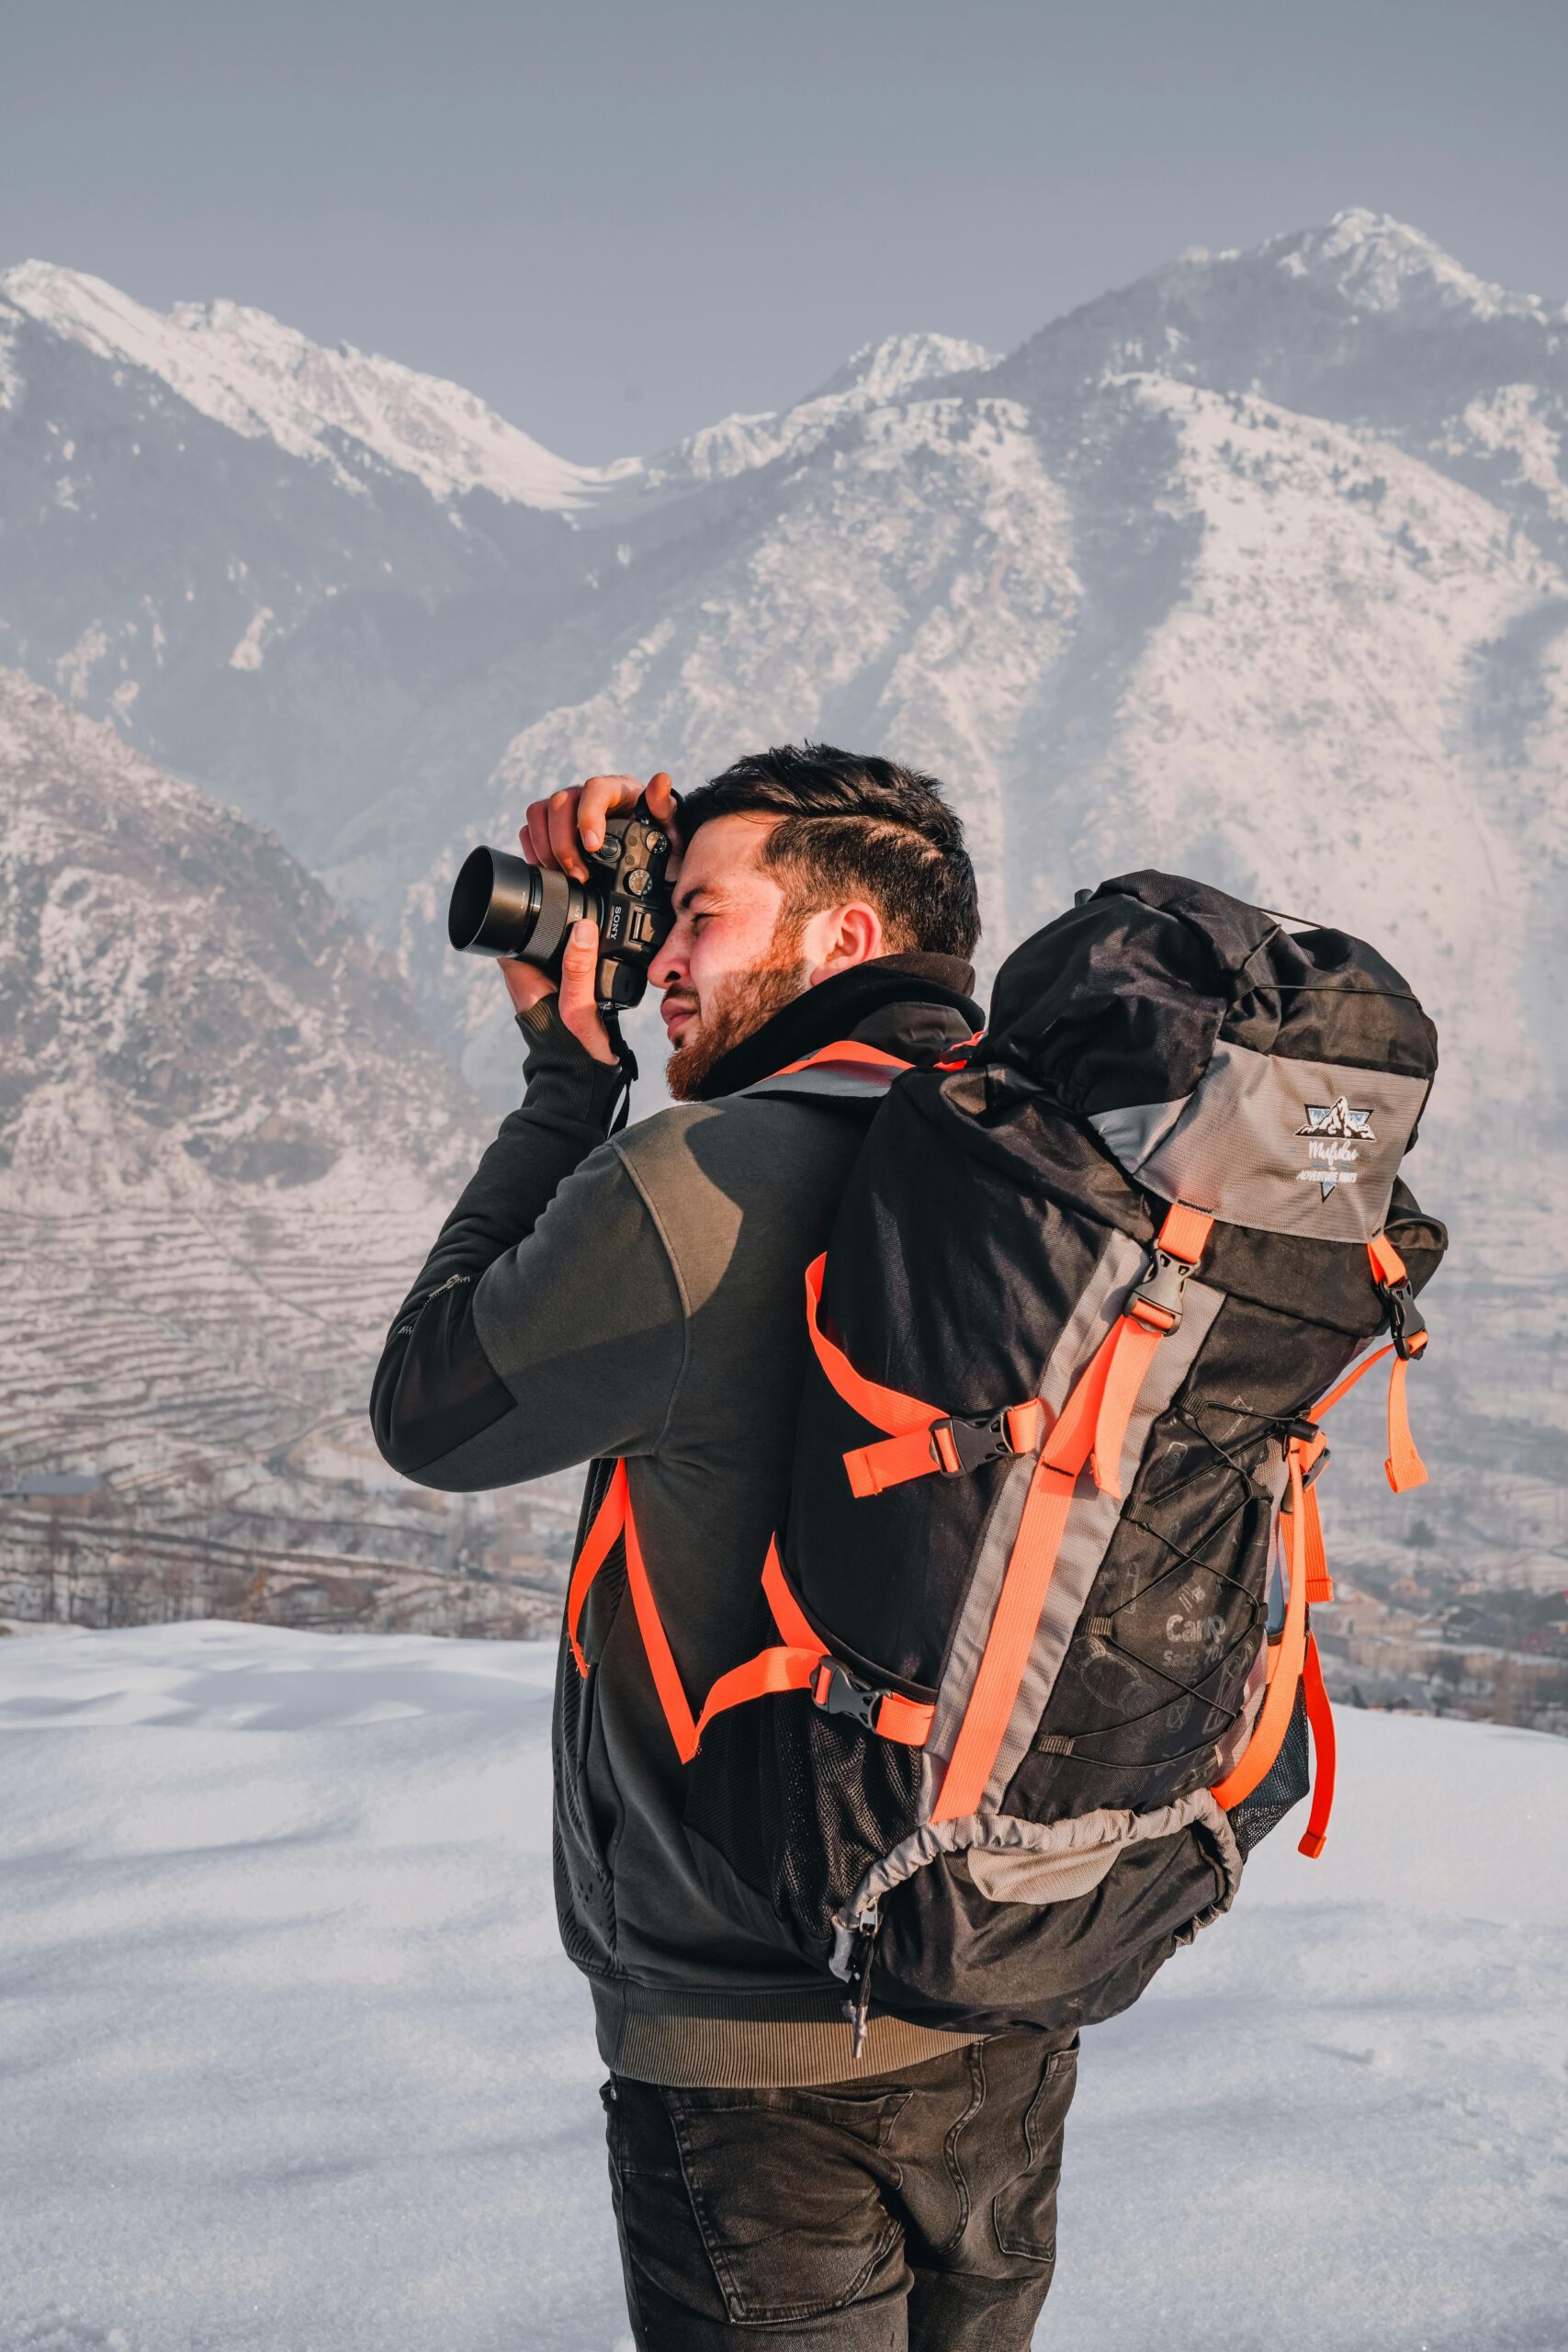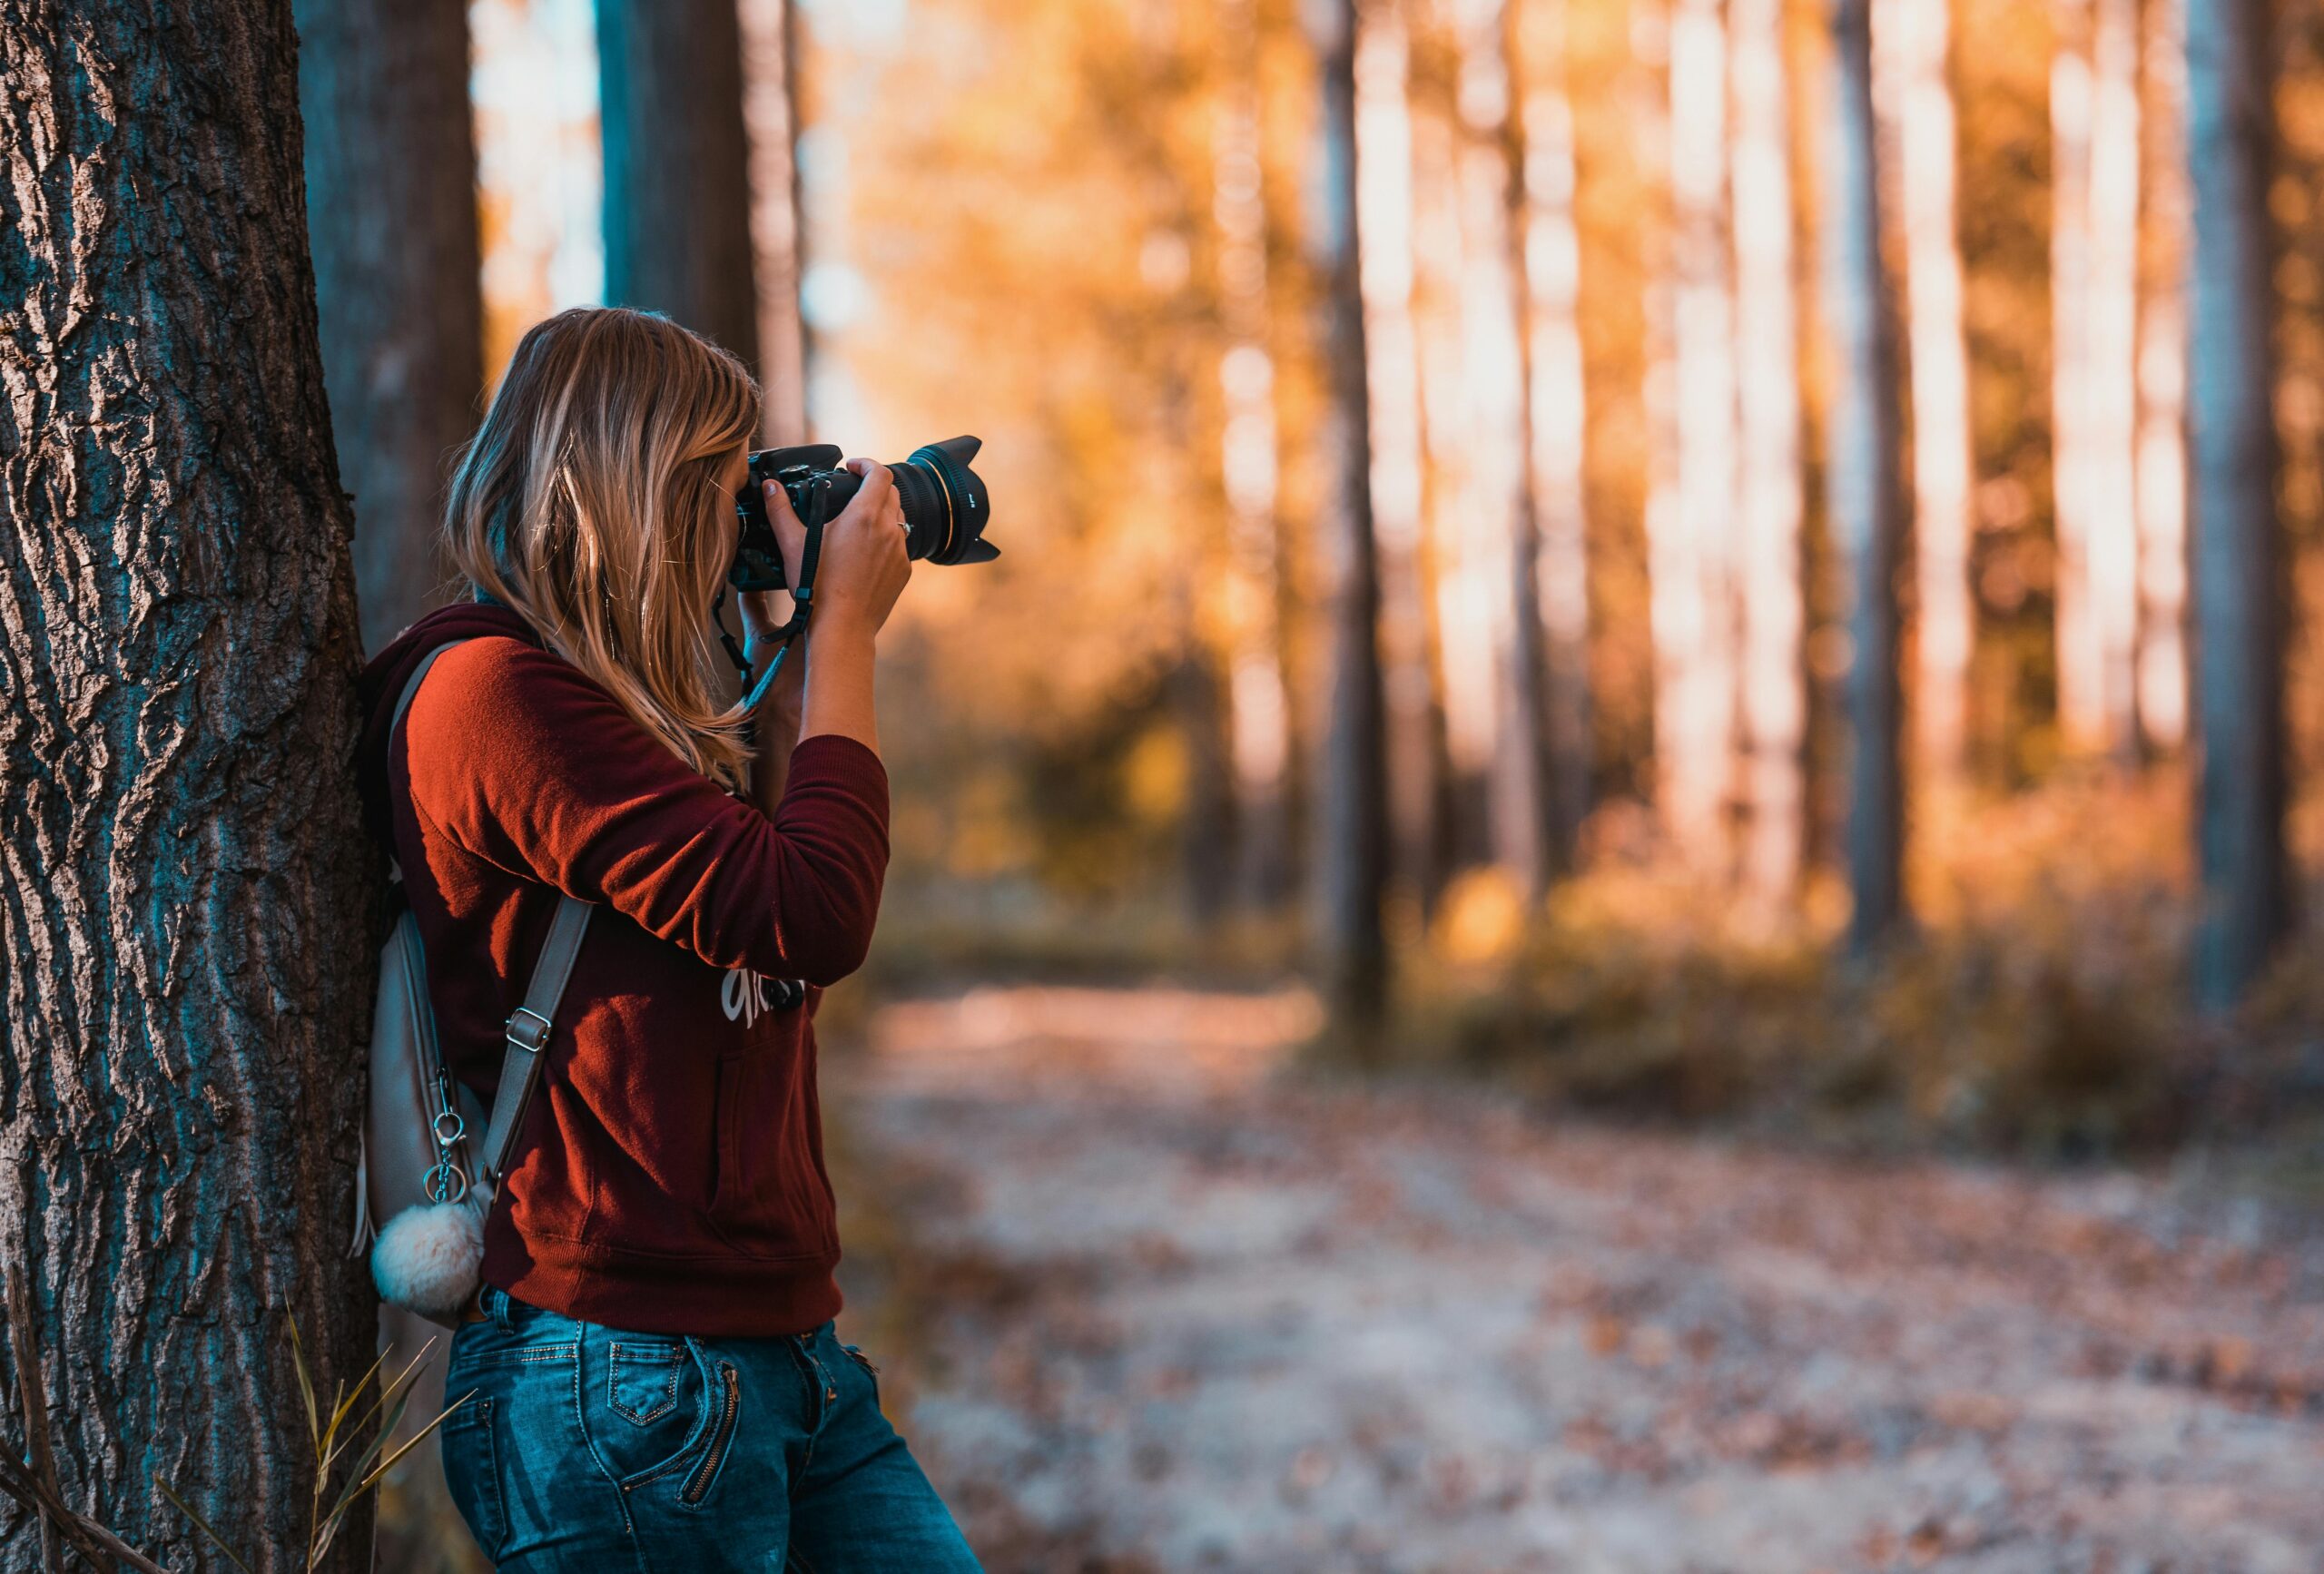
Canada is home to over 450 regularly occurring bird species — from bald eagles soaring over British Columbia coastlines to Atlantic puffins nesting on Newfoundland cliffs to tiny warblers flashing through boreal forests. Bird photography is one of the most technically challenging and deeply rewarding specialisations in wildlife photography, requiring patience, fast reflexes, and an intimate understanding of animal behaviour.
A bird photography course teaches you how to find, approach, and photograph birds in the wild using the right equipment, camera settings, and field craft. This guide covers what you need to know to start capturing compelling images of Canadian avian wildlife.
Why Bird Photography Is Uniquely Challenging
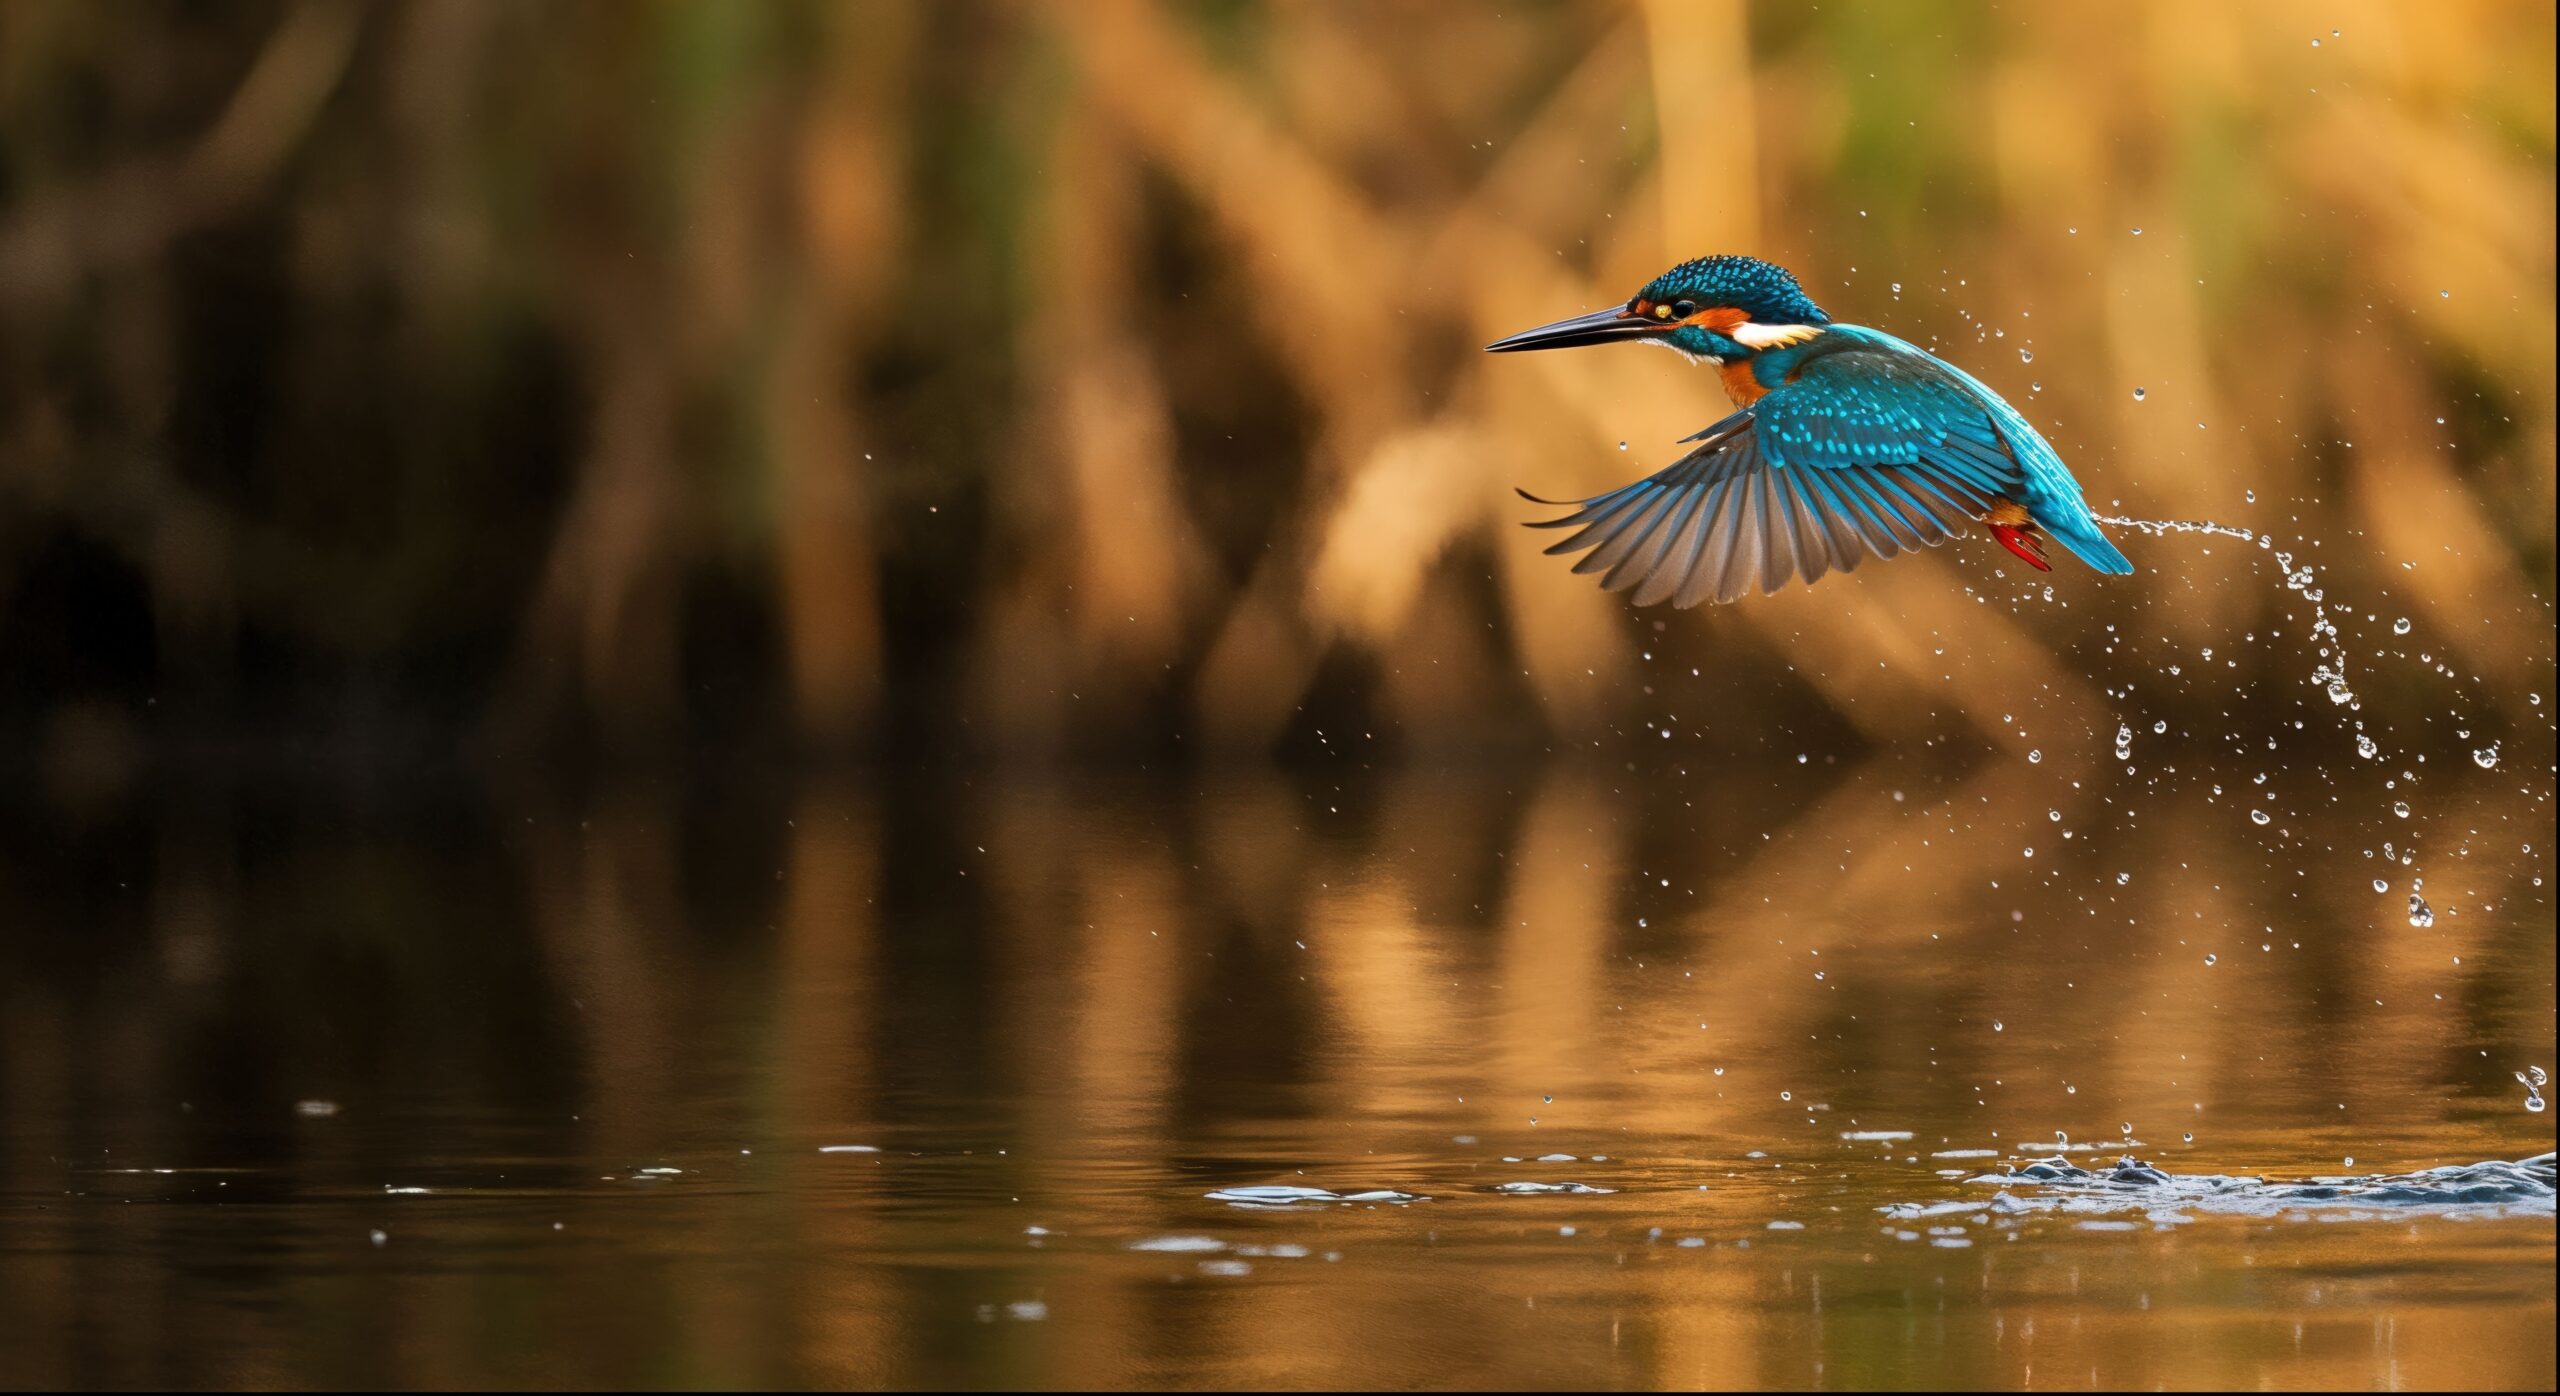
Birds are small, fast, and easily disturbed. Unlike landscape photography where your subject stays perfectly still, or portrait photography where your subject follows directions, birds do exactly what they want — and they do it at speed. A kingfisher dives and surfaces in under a second. A heron takes flight without warning. A warbler appears in dense foliage for three seconds before vanishing completely.
This combination of speed, distance, and unpredictability is what makes bird photography technically demanding — and deeply satisfying when you nail the shot. According to Birds Canada, the country’s leading bird conservation organisation, citizen science programmes like the Christmas Bird Count and eBird attract hundreds of thousands of Canadian participants annually — many of whom combine birding with photography.
Essential Gear for Bird Photography
Lens selection is the most critical equipment decision in bird photography. Birds are typically photographed from a distance, and you need significant focal length to fill the frame with your subject.
A 100–400mm zoom lens is an excellent starting point for beginners. It offers flexibility to photograph birds at varying distances without changing lenses. A 150–600mm zoom from Sigma or Tamron provides even greater reach in the $1,200–$2,000 CAD range and is the most popular choice among serious bird photographers on a budget. Prime lenses like the 500mm f/4 or 600mm f/4 offer the absolute best image quality but cost $8,000–$15,000+ CAD and are typically reserved for professionals.
A sturdy tripod or monopod reduces fatigue during long sessions and improves sharpness with heavy telephoto lenses. A gimbal head allows smooth tracking of birds in flight — essential for capturing sharp images of moving subjects.
Our Certificate in Wildlife Photography includes professional telephoto equipment, removing one of the biggest barriers to entry in this specialisation.
Camera Settings for Bird Photography
Shutter speed is the most critical setting. For perched birds, 1/500th of a second is a minimum. For birds in flight, 1/2000th or faster freezes wing motion completely. On overcast days, you may need to increase ISO to maintain these speeds — modern cameras handle ISO 1600–6400 with very acceptable noise levels.
Continuous autofocus mode — called AI Servo on Canon or AF-C on Nikon and Sony — tracks moving subjects and continuously adjusts focus as the bird changes position. Pair this with a wide autofocus area or zone AF to give the camera flexibility to find and follow the bird.
Burst mode or high-speed continuous shooting captures multiple frames per second, increasing your chances of getting the perfect wing position, expression, or moment of action. Most modern cameras shoot 8–20 frames per second — use this capability freely. Our autofocus techniques guide covers these settings in detail for all major camera brands.
Shoot in RAW format. Bird photography often involves heavy cropping to enlarge distant subjects, and RAW files provide the quality headroom needed to crop aggressively while maintaining detail and colour accuracy.
Field Craft and Approaching Birds
Technical skill gets you a sharp image. Field craft gets you close enough to take it.
Move slowly and predictably. Sudden movements trigger flight responses. Walk at an angle to the bird rather than directly toward it — a direct approach is perceived as predatory. Stop frequently and allow the bird to assess you as non-threatening before moving closer.
Learn bird behaviour and vocalisations. Understanding when a species feeds, when it is most active, and what its alarm calls sound like helps you predict behaviour and anticipate photographic moments. The Cornell Lab of Ornithology provides free bird identification guides, behaviour descriptions, and audio recordings for virtually every North American species.
Use natural blinds and cover. Photographing from behind vegetation, a vehicle, or a portable photography blind dramatically reduces the distance at which birds become nervous. Many national wildlife areas and bird sanctuaries in Canada have permanent photography blinds positioned at productive locations.
Best Locations for Bird Photography in Canada
Canada offers extraordinary bird photography opportunities coast to coast. Point Pelee National Park in Ontario is one of North America’s premier spring migration hotspots, with hundreds of species funnelling through a narrow peninsula in May. The Bay of Fundy in New Brunswick and Nova Scotia hosts massive shorebird concentrations during fall migration. British Columbia’s coastline offers bald eagles, herons, and seabirds year-round. The boreal forests across northern Ontario, Quebec, and the Prairie provinces provide access to owls, woodpeckers, and boreal specialties.
Our wildlife photography guide for Canadian national parks covers permit requirements and access regulations for photographing in protected areas, and our guide to capturing Canada’s iconic species provides species-specific techniques for the country’s most photographed wildlife.
Ethical Bird Photography
Responsible bird photography means never prioritising a photograph over the welfare of your subject. Do not approach nests, do not use playback of bird calls to lure subjects into the open excessively, and do not trample sensitive habitat to get closer. Stressed birds abandon nests, expend critical energy reserves, and become vulnerable to predation when flushed by photographers.
Our ethical wildlife photography guide covers the principles and practices that ensure your photography supports conservation rather than undermining it.
Getting Started This Week
You do not need professional gear to start bird photography. A camera with a kit telephoto lens in the 55–250mm range, or even a smartphone with a spotting scope adapter, will let you begin practising composition, patience, and field craft in your local park or backyard.
Set up a bird feeder near a window with good natural light. This gives you a controlled environment to practise focus tracking, experiment with shutter speeds, and learn which settings produce the sharpest results before heading into the field.
Build Your Bird Photography Skills
Bird photography rewards patience, technical skill, and a genuine love of the natural world. A bird photography course gives you the structured foundation to develop all three simultaneously. Explore our Certificate in Wildlife Photography or browse our full range of courses to find the path that matches your passion.