Canada’s diverse ecosystems host some of the world’s most spectacular wildlife—from polar bears in Churchill to grizzlies in the Rockies, whales off both coasts, and countless bird species across every province. Photographing these magnificent creatures requires not just technical skill but ethical awareness, safety knowledge, and understanding of wildlife behavior.
This comprehensive guide covers everything you need to photograph Canadian wildlife responsibly and successfully—from essential equipment and camera settings to specific techniques for different species, location recommendations, and critical ethical considerations.
The Ethics of Wildlife Photography
Before discussing techniques, understand your responsibility as a wildlife photographer.
The Cardinal Rule: Wildlife Welfare First
Your photograph is never more important than the animal’s wellbeing.
Unethical Behaviors to Avoid:
- Approaching too closely (causing stress or altering behavior)
- Baiting or feeding wildlife (creates dangerous habituation)
- Using calls/sounds excessively (disrupts natural behavior)
- Disturbing nesting sites or dens
- Pursuing animals that show stress signals
- Sharing specific nesting locations publicly
- Trespassing on private property or closed areas
According to Parks Canada wildlife viewing guidelines, human disturbance is one of the primary threats to Canadian wildlife populations. Ethical photographers minimize their impact and serve as wildlife ambassadors.
Stress Signals to Recognize
Stop immediately if animals show:
- Alert posture, focused attention on you
- Stopping feeding or normal activity
- Defensive displays (raised hackles, pawing ground)
- Moving away repeatedly
- Vocalizing alarm calls
- Parent animals positioning between you and young
The Photo You Didn’t Take: Sometimes the most ethical choice is putting the camera down and backing away. These are the moments that define responsible wildlife photographers.

Legal Requirements and Regulations
Federal Regulations:
- Migratory Birds Convention Act (disturbing nests illegal)
- Species at Risk Act (special protections for endangered species)
- Canada National Parks Act (specific wildlife viewing distances)
Provincial Variations: Each province has wildlife viewing regulations. Research before shooting.
Parks Canada Minimum Distances:
- Bears, wolves, cougars: 100 meters
- Elk, moose, caribou: 30 meters
- All other wildlife: Maintain distance that doesn’t alter behavior
Permits Required:
- National/Provincial Parks: Typically need commercial photography permits for professional work
- Wildlife refuges: May have photography restrictions during sensitive periods
- Private land: Always obtain landowner permission
Essential Wildlife Photography Equipment
Camera Body Requirements
Critical Features:
- Fast continuous shooting (6+ fps minimum, 10+ fps ideal)
- Good autofocus tracking (animals move unpredictably)
- Decent high ISO performance (dawn/dusk shooting common)
- Weather sealing (shooting in elements)
- Good battery life (cold drains batteries)
Body Types:
- DSLR: Excellent AF tracking, long battery life
- Mirrorless: Improving AF, electronic viewfinder advantages, quieter operation
- Crop Sensor: Reach advantage (1.5-1.6x crop factor extends focal length)
Lenses: Your Most Critical Investment
Telephoto Lenses (Absolute requirement):
Budget Options ($300-800):
- 70-300mm f/4-5.6 (entry-level reach)
- Tamron/Sigma 150-600mm f/5-6.3 (excellent value)
Mid-Range ($1,000-2,500):
- 100-400mm f/4.5-5.6 IS/VR
- Tamron/Sigma 150-600mm f/5-6.3 Sports versions
Professional ($3,000-12,000+):
- 200-600mm f/5.6-6.3
- 100-500mm f/4-5.6
- Prime telephotos (400mm f/2.8, 500mm f/4, 600mm f/4)
Reality Check: Tamron/Sigma 150-600mm lenses offer remarkable value—professional-quality images at fraction of name-brand cost.
According to National Geographic wildlife photography resources, 400-600mm focal length is the sweet spot for most wildlife photography—close enough for detail, not so long that you can’t find subjects.
Secondary Lens: Wide-angle (16-35mm) for environmental wildlife portraits showing habitat context.
Support Equipment
Tripod/Monopod:
- Tripod: Stability for stationary subjects, heavy lenses
- Monopod: Mobility for moving subjects, tracking action
- Many wildlife photographers carry both
Requirements:
- Support your heaviest lens/camera combo
- Quick-release plate
- Fluid video head for smooth panning (optional but helpful)
Gimbal Head: For super-telephoto lenses (400mm+), gimbal heads provide smooth, balanced movement—expensive but transformative for serious wildlife work.
Accessories
Essential:
- Extra batteries (cold weather drains power)
- Multiple memory cards (wildlife shoots generate hundreds of images)
- Lens cleaning supplies (dusty/muddy conditions)
- Rain covers for gear (weather happens)
- Camouflage or neutral-colored clothing
Helpful:
- Beanbag or vehicle window mount (shooting from vehicle)
- Portable blind/hide (stationary shooting)
- Better Beamer (flash extender for bird photography)
- Camouflage lens coat (reduces attention to lens)
Camera Settings for Wildlife
Shooting Mode
Aperture Priority (Av/A):
- Control depth of field
- Camera sets shutter speed
- Good for stationary or slowly moving subjects
Manual Mode:
- Total control
- Consistent exposure across series
- Preferred by many professionals
Shutter Priority (Tv/S):
- Ensure fast enough shutter to freeze motion
- Camera sets aperture
- Good for unpredictable action
The Wildlife Photography Exposure Triangle
Shutter Speed:
- Stationary subjects: 1/focal length (1/500 for 500mm lens)
- Walking/slow movement: 1/1000
- Running/flying: 1/2000-1/4000
- Creative blur: 1/125-1/250 (panning technique)
Aperture:
- Isolation: f/4-f/5.6 (blurred background)
- Environmental portraits: f/8-f/11 (show habitat context)
- Critical sharpness: Sweet spot (typically f/5.6-f/8 for telephotos)
ISO:
- Start as low as light allows
- Modern cameras handle ISO 1600-3200 excellently
- Dawn/dusk wildlife: ISO 3200-6400 acceptable
- Don’t sacrifice shutter speed—blurry image worse than noisy one
Autofocus Settings
AF Mode:
- AF-C/AI Servo (continuous): For any animal that might move
- AF-S/One Shot: Only for completely stationary subjects
AF Area:
- Single point: Precise control, slow-moving subjects
- Zone/Flexible area: Balance of control and tracking
- Wide/Tracking: Fast, erratic subjects (birds in flight)
Subject Tracking: Modern cameras offer animal eye-detection AF—game-changing for wildlife. Enable if your camera has it.
Focus Priority vs. Release Priority:
- Focus Priority: Camera only shoots when focus confirmed (fewer blurry images)
- Release Priority: Camera shoots regardless of focus (more keepers with practice)
Techniques for Specific Canadian Wildlife
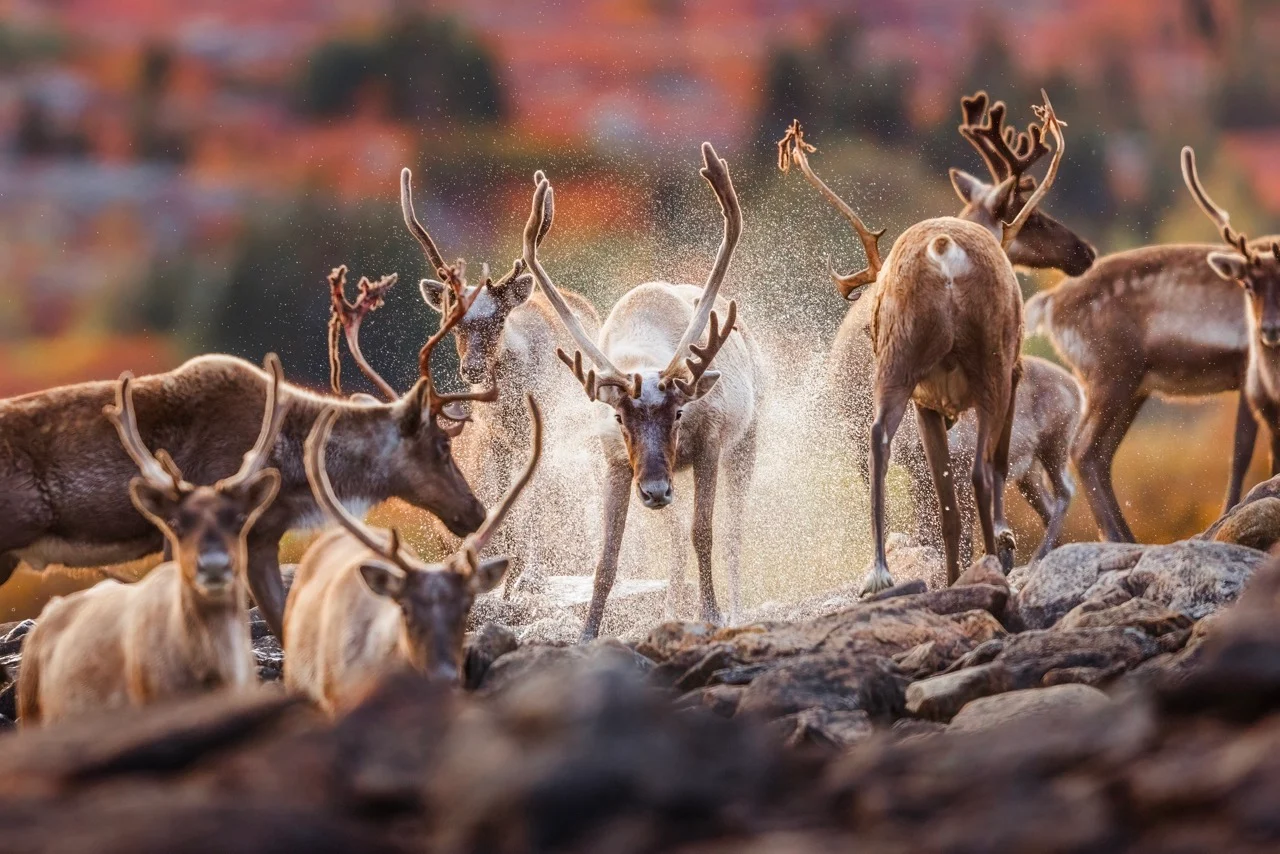
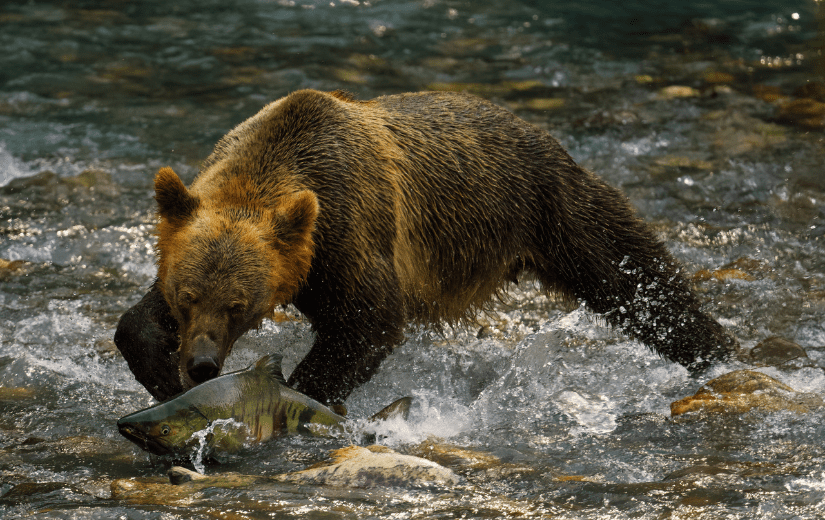
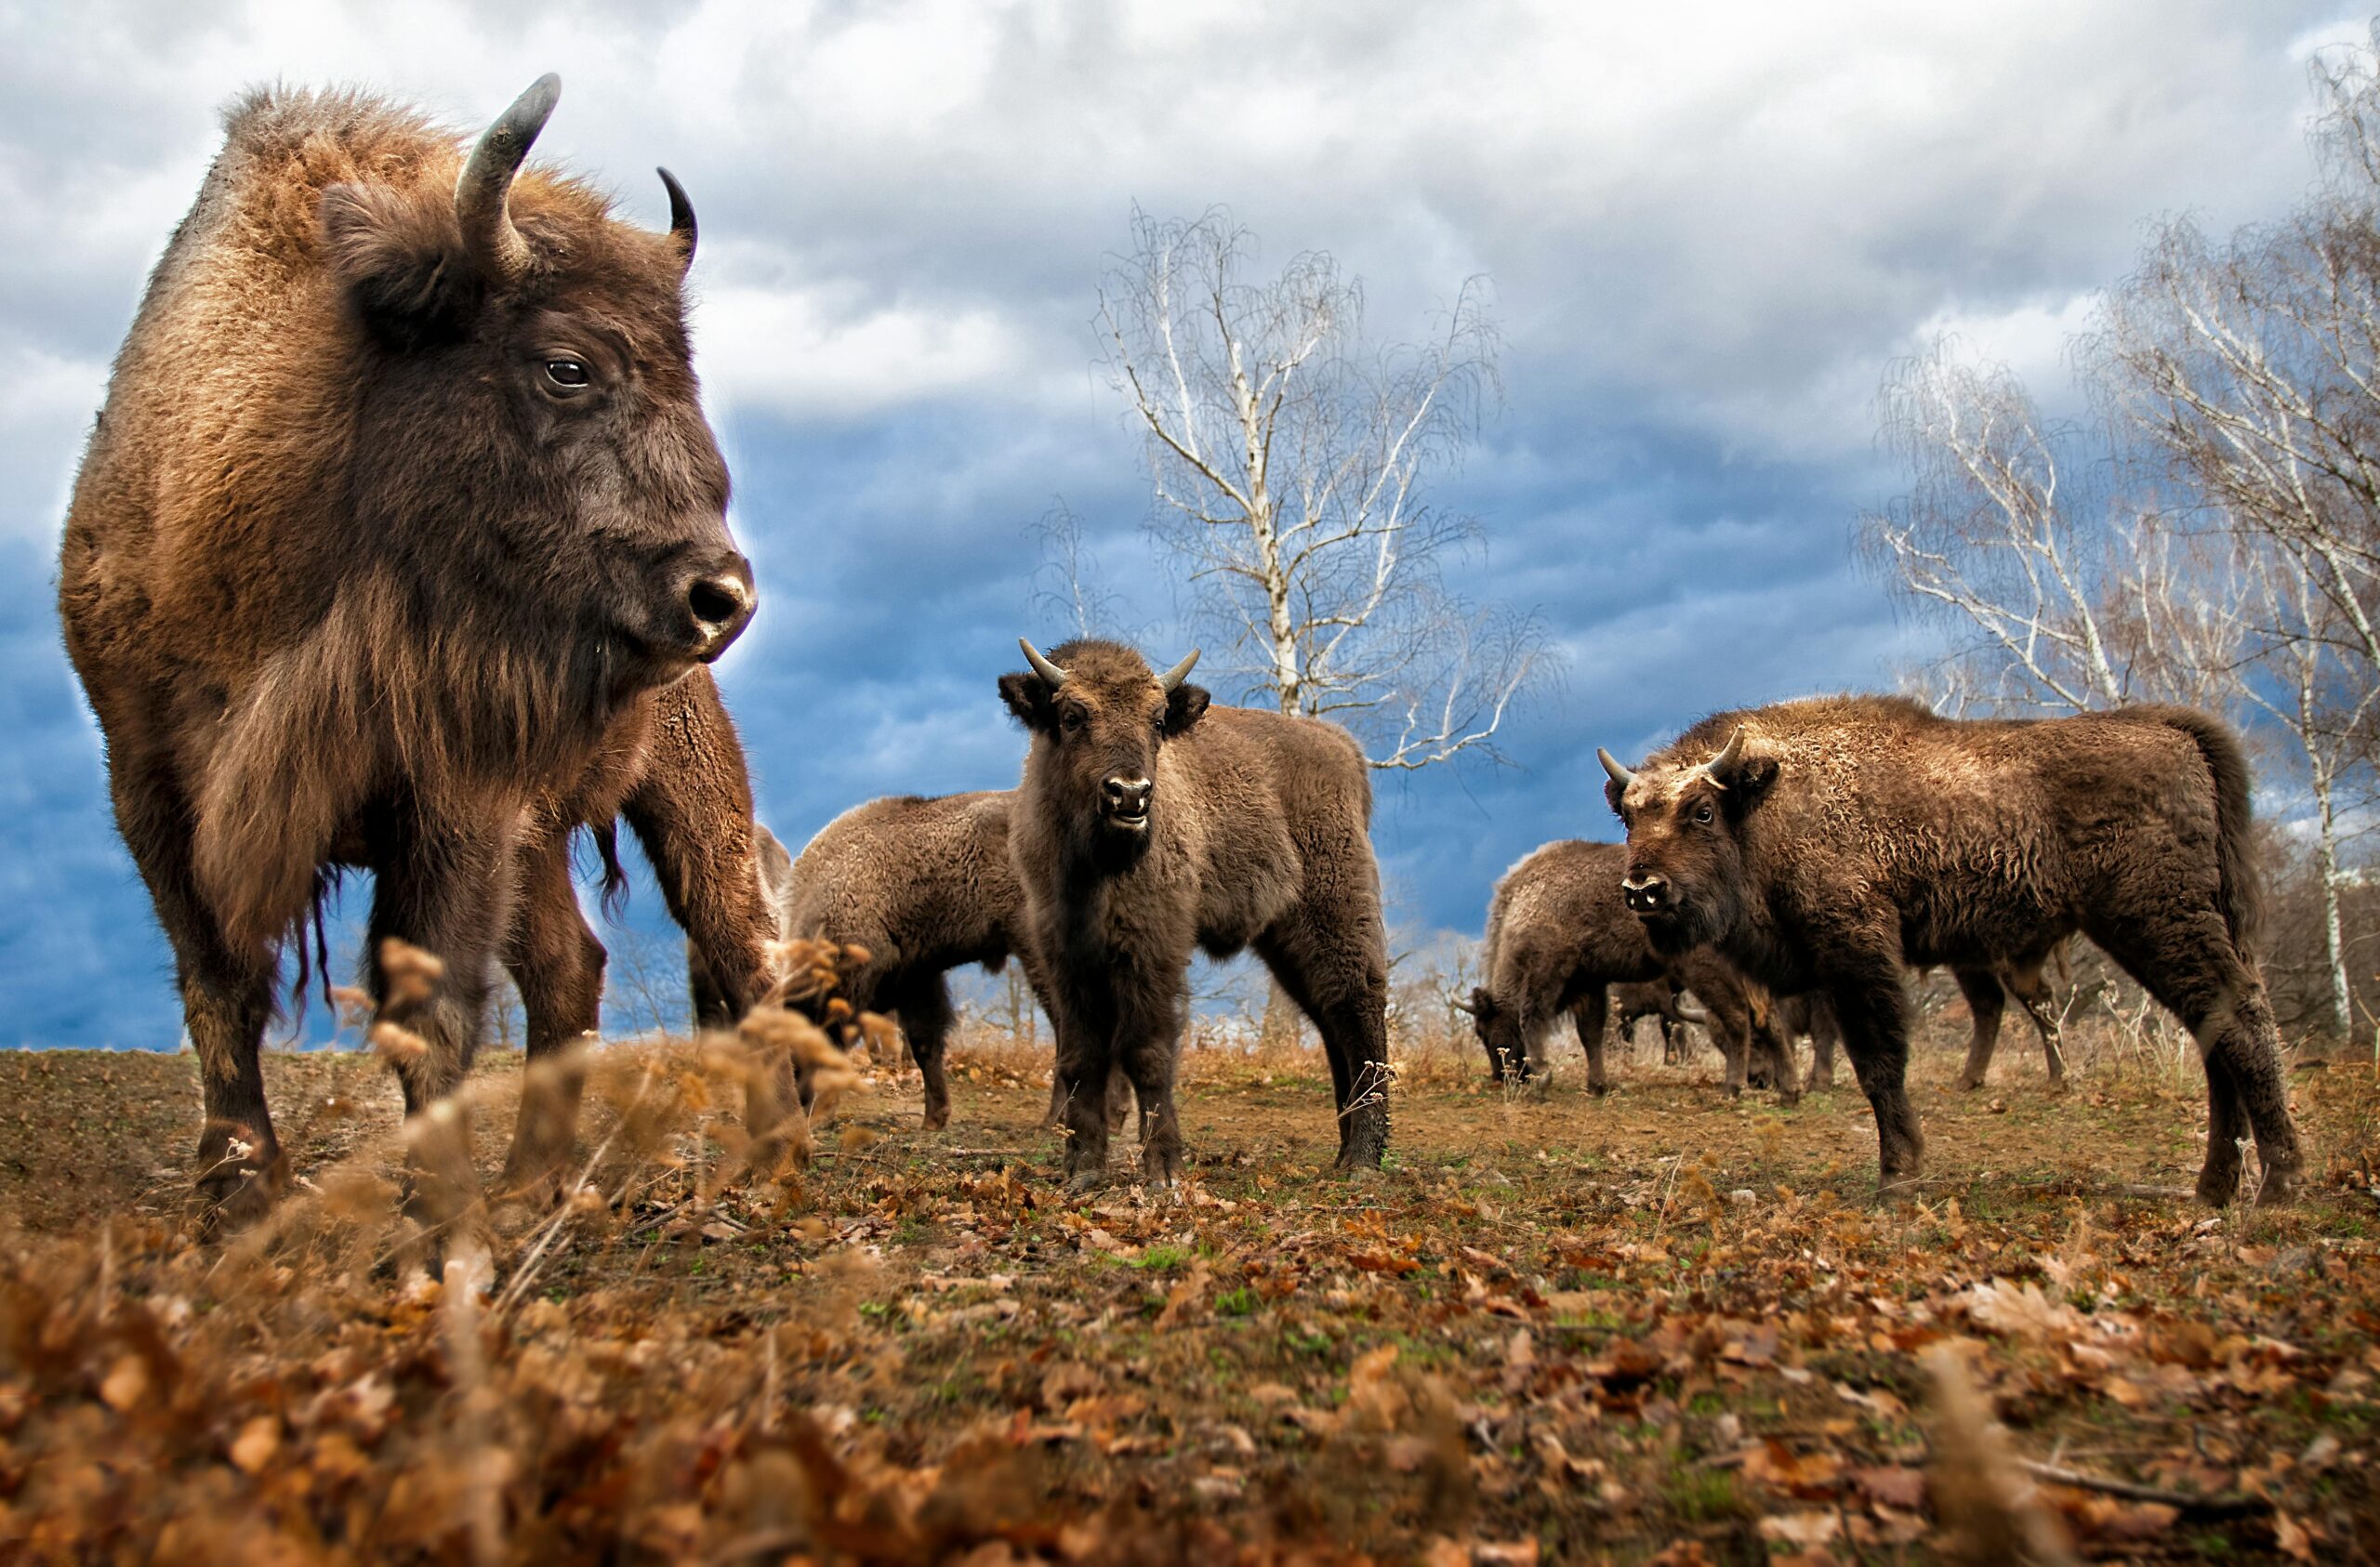
Large Mammals (Bears, Moose, Elk, Caribou)
Behavior Knowledge:
- Most active dawn/dusk
- Seasonal patterns (rutting season for elk/moose, salmon runs for bears)
- Predictable travel routes (trails, river crossings)
Photography Approach:
- Arrive early, wait patiently at productive locations
- Let animals approach you, never pursue
- Shoot from vehicle when possible (natural blind)
- Use focal length to maintain safe distance
Settings:
- Shutter: 1/500-1/1000 (faster if running)
- Aperture: f/4-f/5.6 (subject isolation)
- ISO: As needed for proper shutter speed
Canadian Hotspots:
- Grizzlies: Khutzeymateen Grizzly Sanctuary (BC), Knight Inlet (BC)
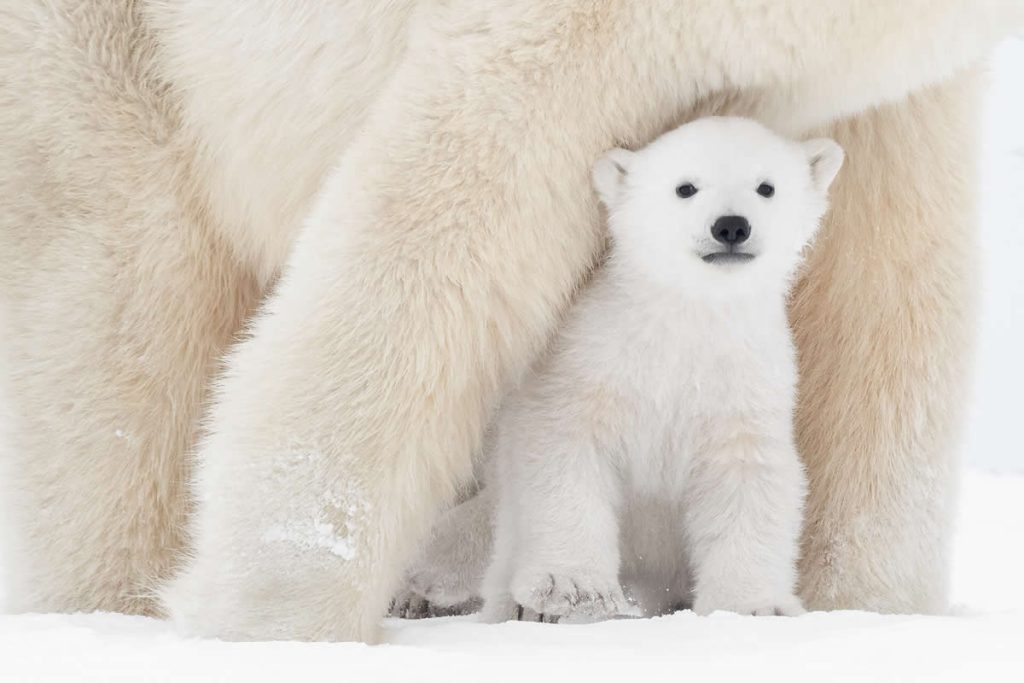
- Polar Bears: Churchill (Manitoba) – October/November
- Moose: Algonquin Park (Ontario), Newfoundland
- Elk: Jasper/Banff National Parks (Alberta)
- Caribou: Northern Quebec, Newfoundland
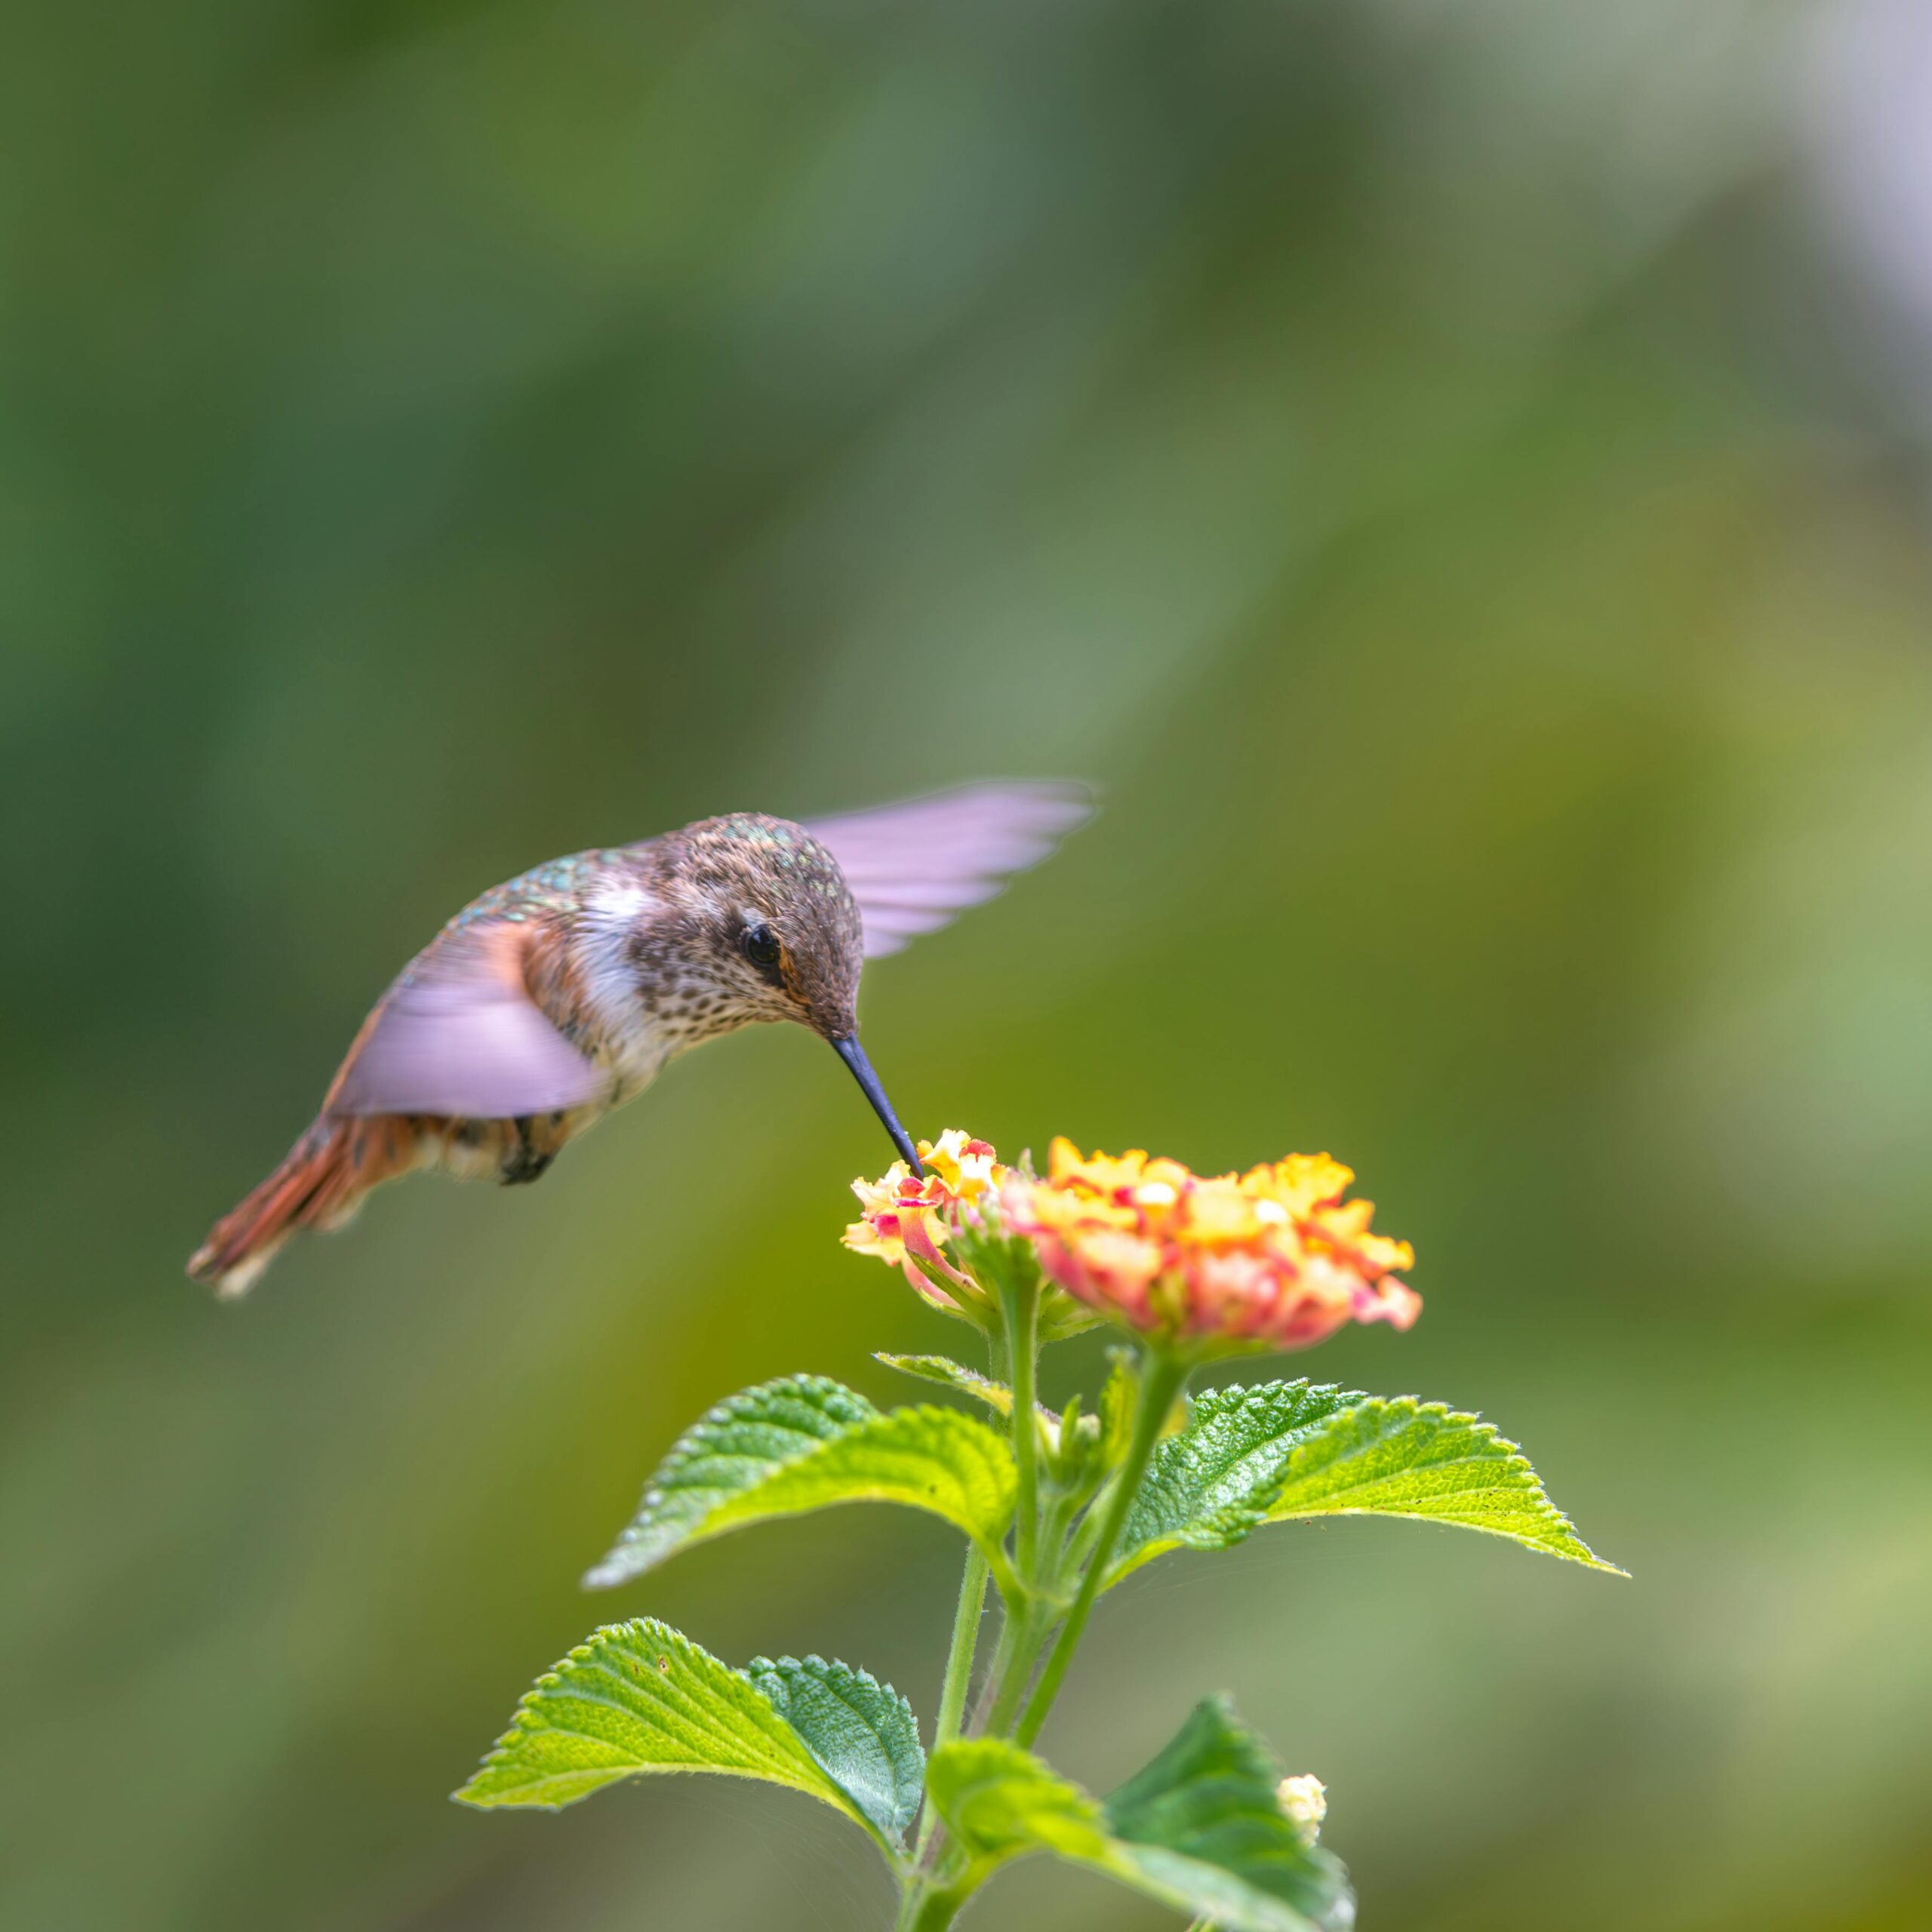
Birds
Stationary Birds:
- Shutter: 1/1000 minimum
- Aperture: f/5.6-f/8
- Focus on eye (critical for bird photography)
Birds in Flight:
- Shutter: 1/2000-1/4000
- Continuous shooting mode
- Wide AF area or tracking
- Pre-focus on anticipated flight path
- Pan with bird motion
Canadian Bird Photography Locations:
- Waterfowl: Point Pelee (Ontario), Alaksen Wildlife Area (BC)
- Raptors: Boundary Bay (BC), Snake Island (Ontario)
- Puffins: Witless Bay (Newfoundland)
- Shorebirds: Bay of Fundy (NB/NS)
Marine Wildlife (Whales, Seals, Orcas)
Boat-Based Photography:
- Fast shutter speeds (1/1000+) compensate for boat movement
- Image stabilization critical
- Anticipate surfacing locations
- Shoot in bursts (animals surface briefly)
Settings:
- Shutter: 1/1000-1/2000
- Aperture: f/5.6-f/8 (flexibility with distance)
- ISO: As needed (typically 400-800 on bright water)
Canadian Marine Wildlife Locations:
- Orcas: Northern Vancouver Island, Johnstone Strait (BC)
- Humpback Whales: Bay of Fundy (NB/NS), Newfoundland coast
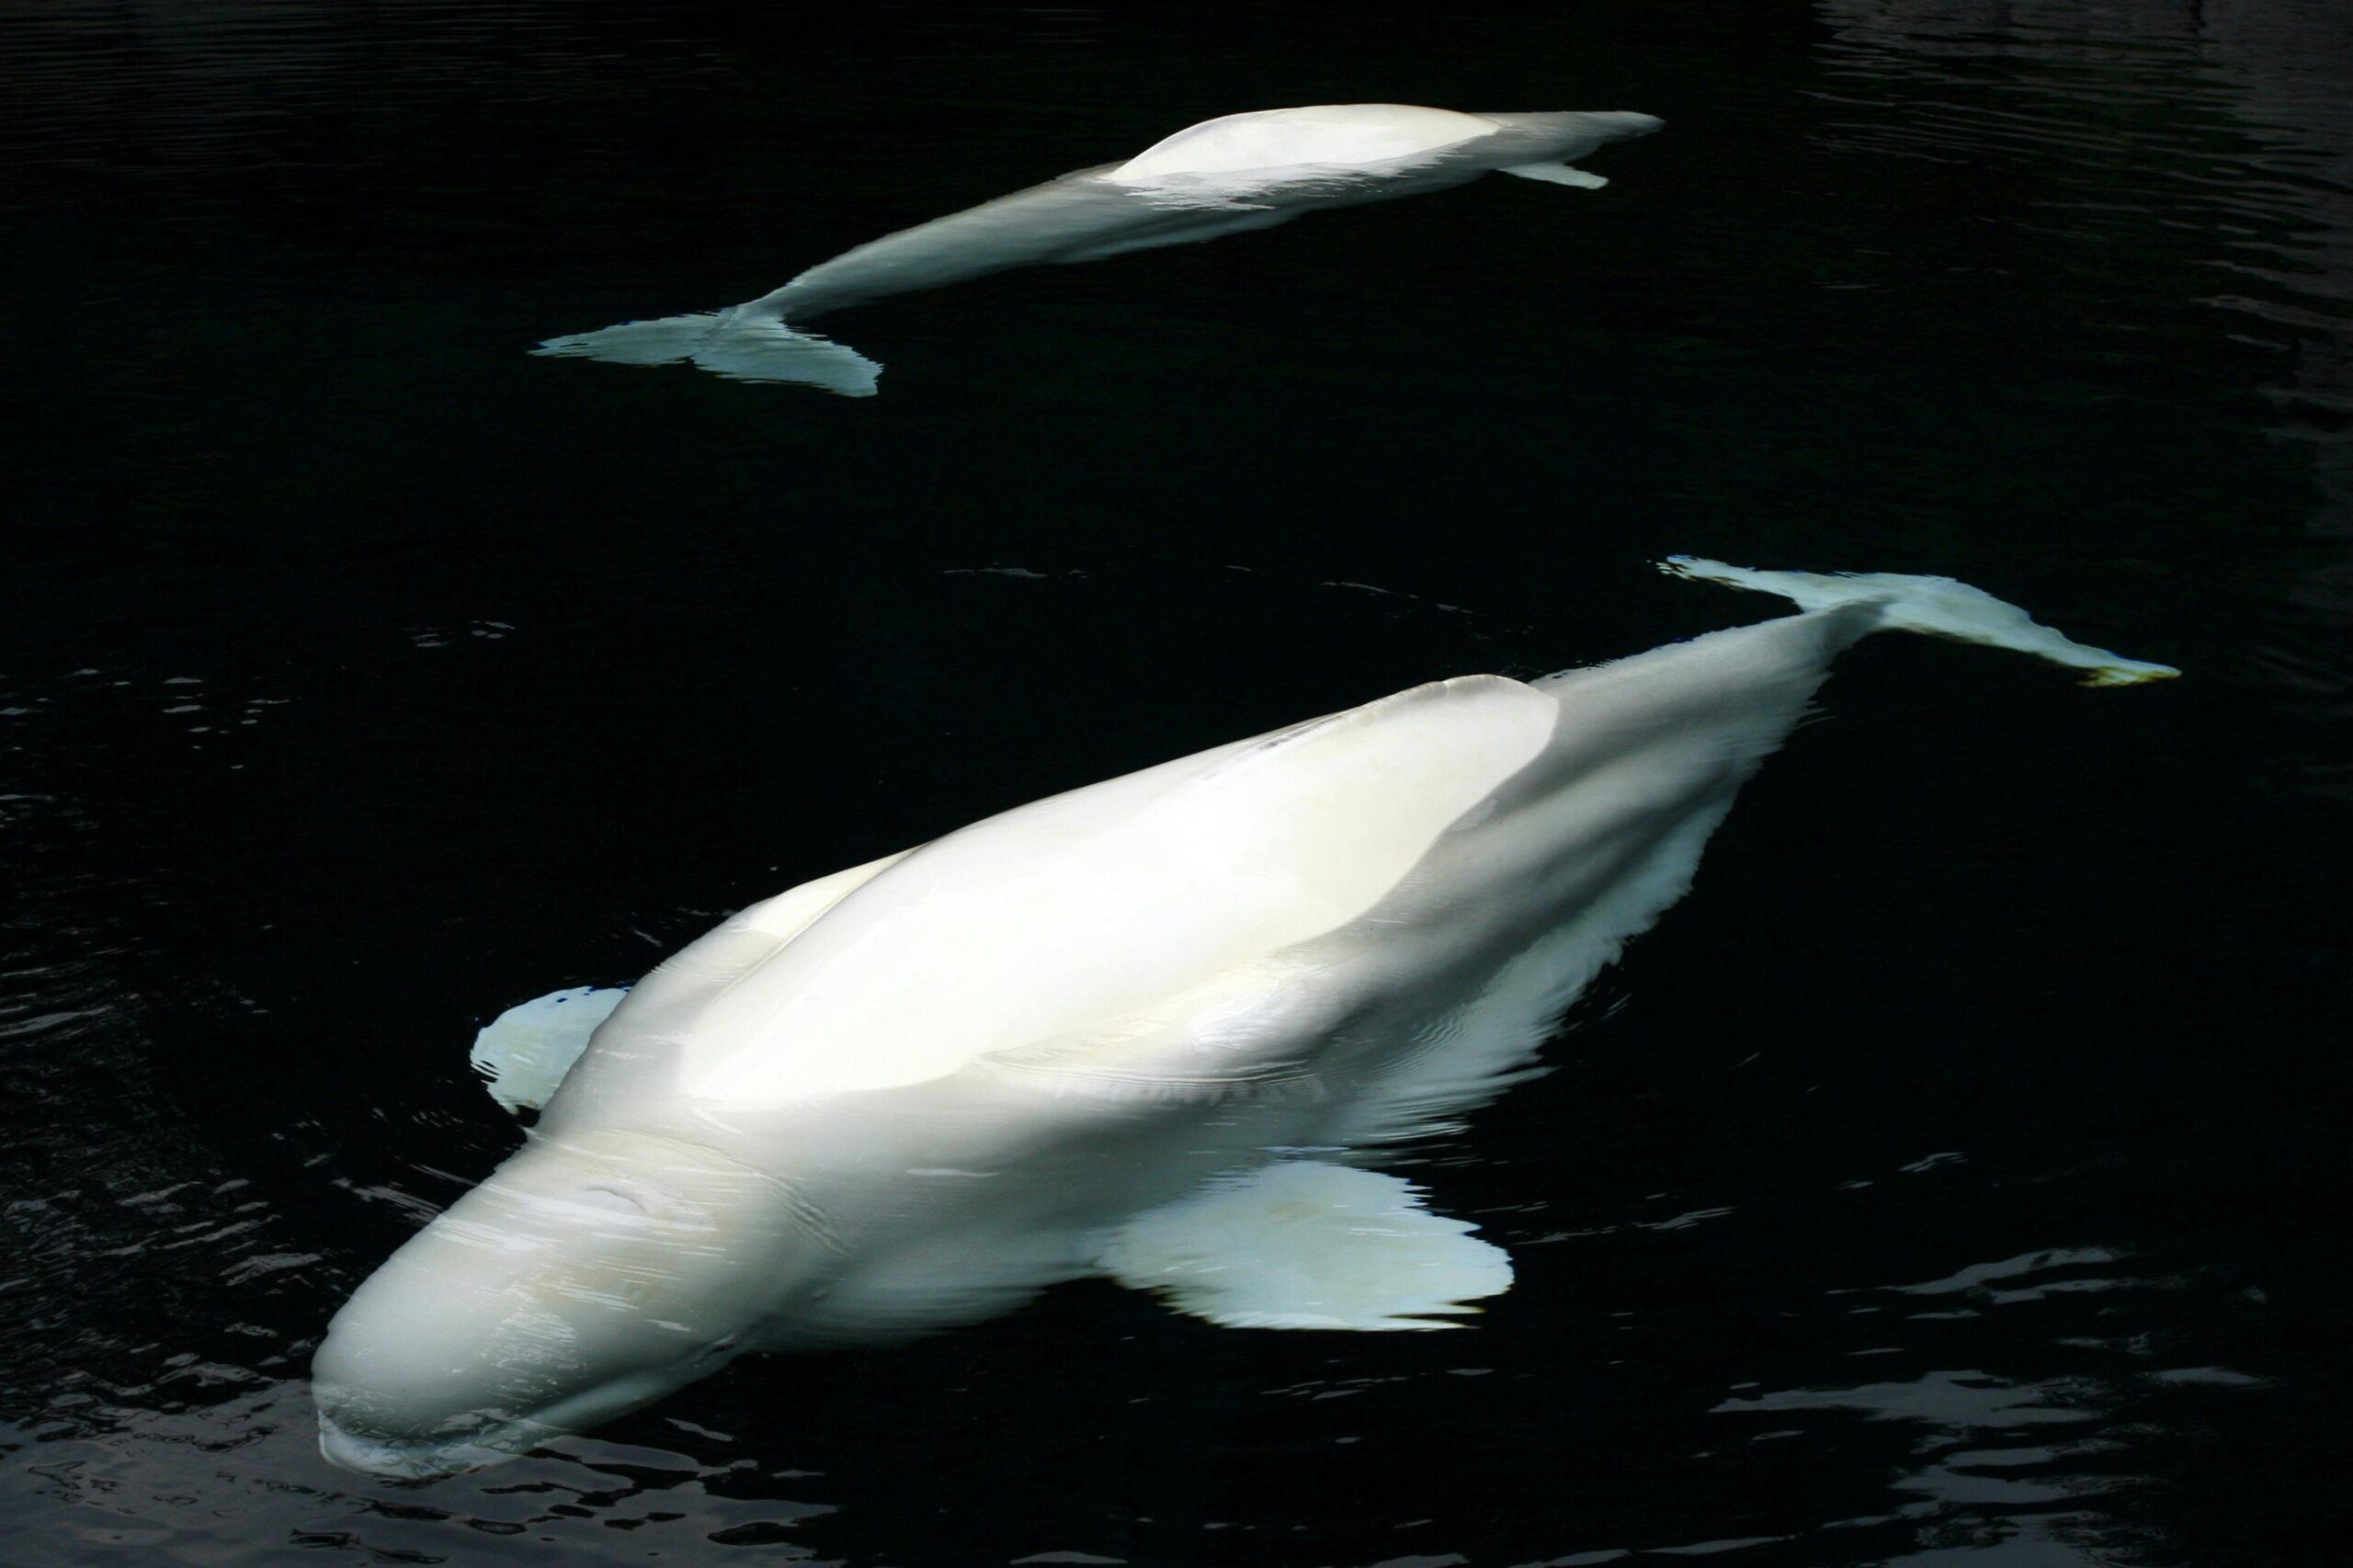
- Belugas: Churchill (Manitoba), St. Lawrence River (Quebec)
According to Digital Photography School’s wildlife techniques, marine wildlife photography demands different skills than land-based—boat movement, spray, and unpredictable surfacing create unique challenges.
Small Mammals and Ungulates
Approach:
- Lower vantage point (eye-level perspective)
- Slower movements (less threatening)
- Use natural cover
- Longer focal lengths allow comfortable distance
Settings:
- Shutter: 1/500-1/1000
- Aperture: f/4-f/5.6 (isolation from environment)
- Continuous AF with tracking
Composition Techniques
Eye-Level Perspective
Shooting from animal’s eye level creates intimate, engaging images. Get low—kneel, lay prone, use low tripod.
Environmental Context
Don’t always zoom in fully. Show habitat—mountains behind bears, forests with moose, coastal cliffs with seabirds. Tells complete story.
Rule of Thirds
Position animal off-center with facing direction having more space (looking room). Creates dynamic composition.
Negative Space
Use empty sky, water, or landscape to emphasize subject and create minimalist, powerful images.
Action and Behavior
Most compelling wildlife photos show behavior:
- Feeding
- Hunting
- Parent/offspring interaction
- Mating displays
- Social interaction
- Species-specific behaviors
Patient observation reveals these moments.
Safety Considerations
Bear Safety
Essential Knowledge:
- Carry bear spray, know how to use it
- Make noise while hiking (alert bears to presence)
- Never get between mother and cubs
- Respect established viewing distances
- Know difference between defensive and predatory behavior
If Charged:
- Black bear: Fight back
- Grizzly: Play dead
- Polar bear: Fight back (though you should never be close enough for this to happen)
Moose Safety
Moose are more dangerous than many realize—they charge unpredictably, especially:
- Mothers with calves
- Bulls during rut (fall)
- In winter when food-stressed
Warning Signs: Laid-back ears, raised hackles, licking lips
Response: Back away slowly, put trees/obstacles between you and moose
Marine Wildlife Safety
Boat-Based Regulations:
- Minimum approach distances (100m for whales in many areas)
- No pursuing or herding wildlife
- Slow, predictable boat movement
- Professional tour operators most ethical choice
Post-Processing Wildlife Images
Essential Adjustments:
- Increase exposure if needed (underexposure common with bright skies)
- Add clarity and texture for fur/feather detail
- Enhance eye sharpness and catchlight
- Subtle vignette draws attention to subject
- Noise reduction (high ISO often necessary)
What to Avoid:
- Over-saturation (unnatural colors)
- Excessive sharpening (creates halos)
- Dramatic HDR effects (wildlife should look natural)
Ethical Post-Processing:
- Remove distracting elements (branches, fence posts)
- Don’t add/remove animals
- Don’t manipulate behavior appearance
- Disclose significant alterations
Building Your Wildlife Photography Portfolio
Start Local:
- Urban wildlife (squirrels, raccoons, urban birds)
- Provincial parks (accessible, diverse species)
- Wildlife refuges (concentrated populations)
- Backyard feeders (bird photography practice)
Progress Gradually: As skills develop, pursue more challenging subjects and remote locations.
Develop Specialization: Consider focusing on specific taxa:
- Birds of prey
- Waterfowl
- Large carnivores
- Marine mammals
Specialization builds expertise and marketability.
Master Wildlife Photography
Wildlife photography combines technical skill, patience, behavioral knowledge, and ethical awareness. Whether you dream of photographing iconic Canadian species professionally or simply want to capture compelling images of local wildlife, comprehensive training accelerates your success.
Our wildlife photography course covers everything from fundamental camera techniques to advanced field craft, species-specific strategies, and ethical practices. You’ll learn not just how to capture technically excellent images, but how to anticipate behavior, work safely in the field, and create compelling wildlife portfolios.
The Bottom Line
Canadian wildlife photography offers lifetime learning opportunities. Every species has unique behaviors, every season brings different challenges, and every location offers new photographic possibilities. Success requires technical mastery, patient observation, behavioral knowledge, and unwavering ethical commitment.
The most memorable wildlife photographs aren’t lucky accidents—they’re the result of photographers who understand their subjects, respect their wellbeing, and invest time observing behavior. With the techniques in this guide and dedicated field time, you’re well-equipped to capture compelling wildlife images while serving as an ambassador for Canada’s remarkable wild places.
Now grab your camera, research a nearby wildlife location, and start observing. The more time you spend watching wildlife, the better your photographs become. And remember—if you’re ever uncertain whether your presence is disturbing an animal, err on the side of caution and back away. The wildlife will still be there tomorrow, and your photographs should never come at their expense.