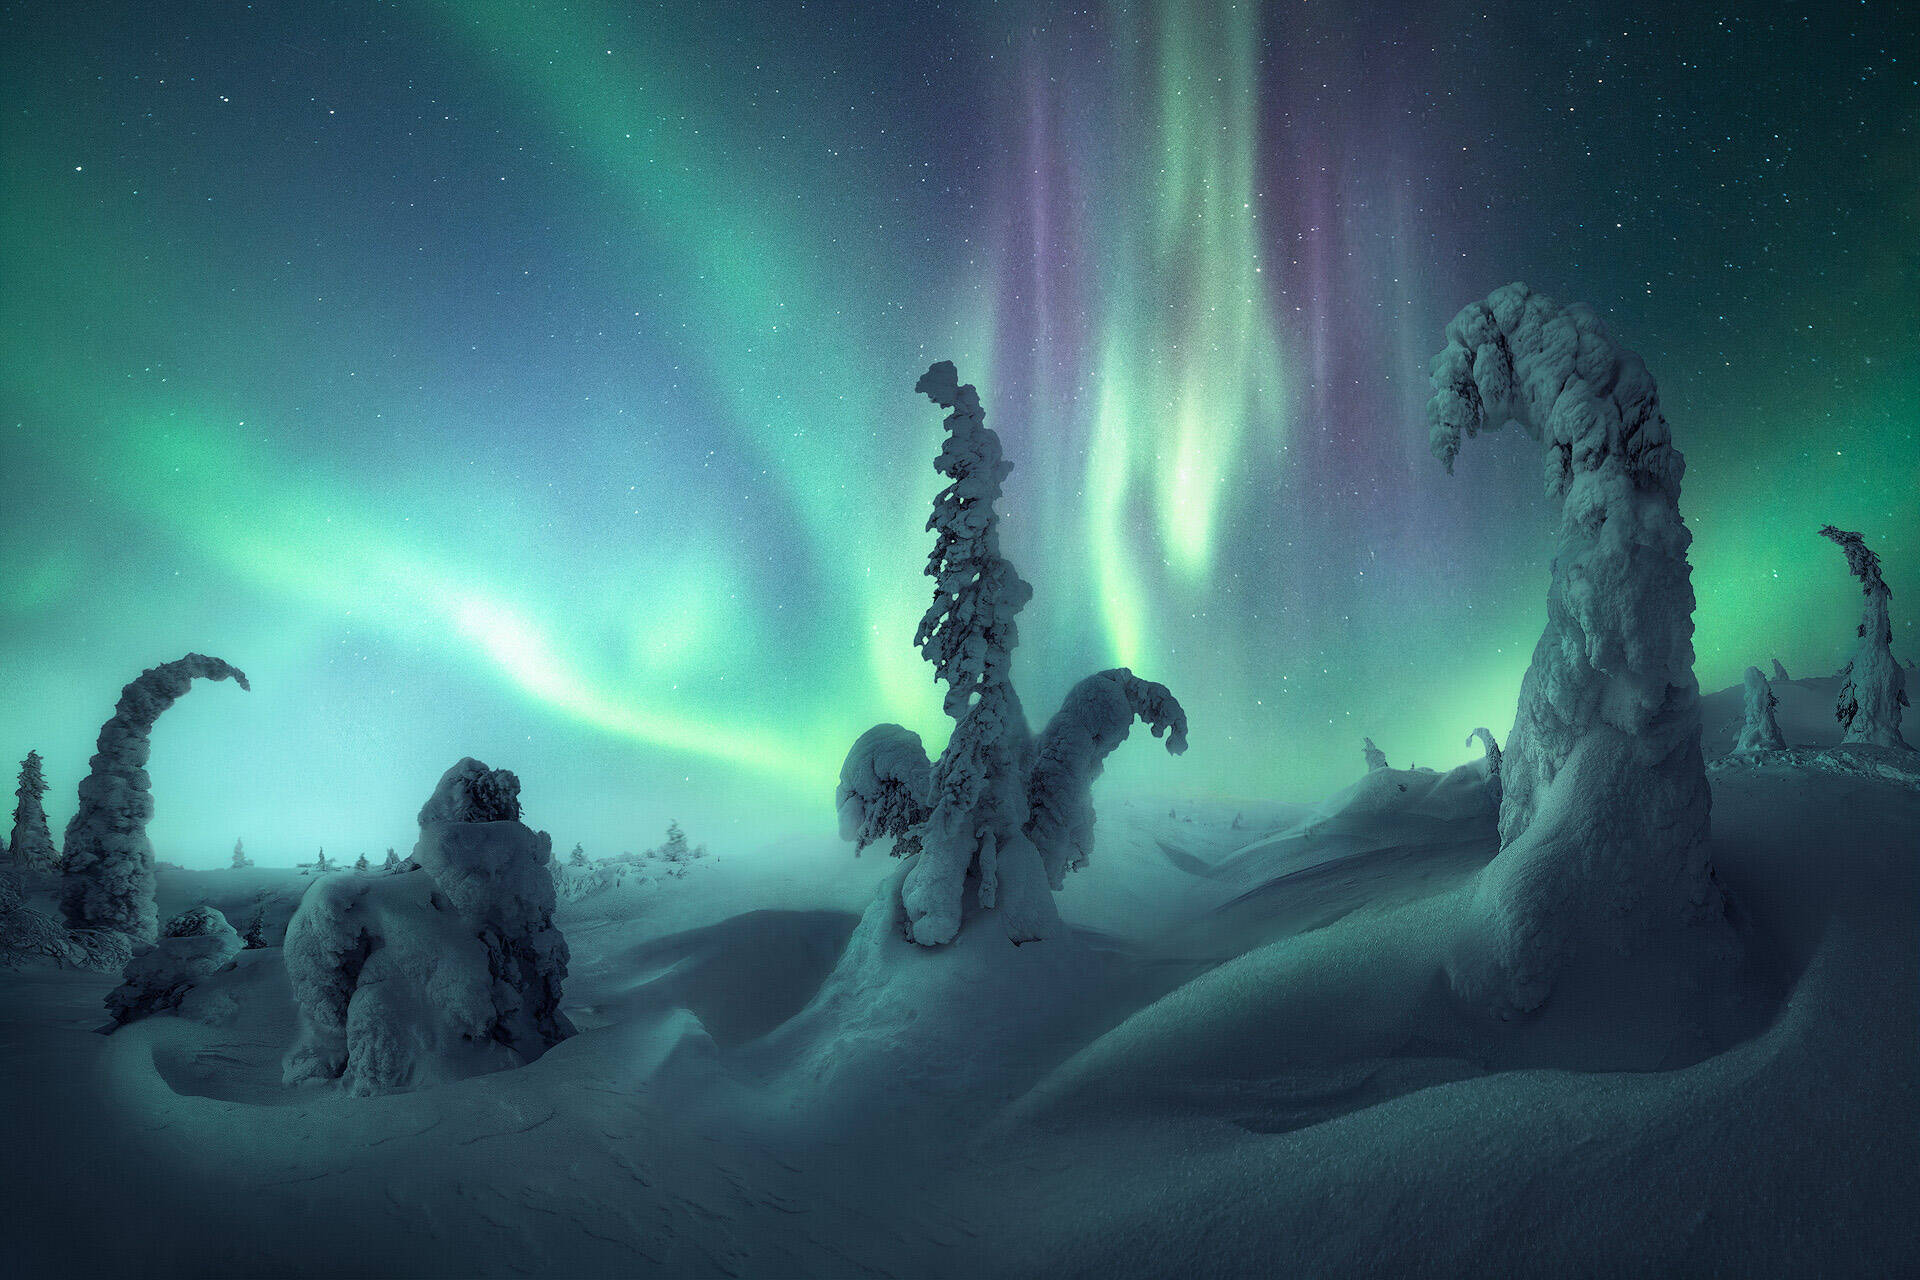
Few natural phenomena inspire photographers like the aurora borealis. Those ethereal curtains of green, purple, and red light dancing across the northern sky create images that stop viewers in their tracks. Yet capturing the Northern Lights presents unique challenges that confound even experienced photographers.
This comprehensive guide covers everything you need to photograph the aurora successfully: optimal camera settings, best Canadian locations, timing strategies, and composition techniques that transform simple aurora captures into compelling images.
Understanding the Aurora Borealis
Before technical details, understanding what you’re photographing helps you anticipate and capture better images.
The aurora occurs when charged particles from the sun collide with gases in Earth’s atmosphere, releasing energy as visible light. The collision altitude determines color:
- Green (most common): Oxygen at 100-300km altitude
- Red: Oxygen above 300km (rare, requires strong solar activity)
- Purple/Blue: Nitrogen (less common, appears at lower altitudes)
Aurora Intensity: Measured on the Kp index (0-9 scale):
- Kp 0-2: Weak aurora, visible only in far northern locations
- Kp 3-4: Moderate activity, visible across Northern Canada
- Kp 5-6: Strong activity, visible into Southern Canada
- Kp 7-9: Major storm, visible into Northern United States
According to Space Weather Canada, Kp 3+ provides excellent photography opportunities in Yukon, NWT, Nunavut, and Northern provinces.
Essential Camera Equipment
Camera Body Requirements
Must Have:
- Manual mode capability
- Bulb mode (exposures longer than 30 seconds)
- High ISO performance (3200-6400 minimum)
- RAW file format
Helpful Features:
- Full-frame sensor (better high ISO performance)
- Weather sealing (aurora viewing means cold, potentially damp conditions)
- Intervalometer for time-lapse (built-in or external)
Lens Selection
Ideal Aurora Lens:
- Ultra-wide angle: 14-24mm (captures more sky)
- Fast aperture: f/2.8 or wider (f/1.4, f/1.8, f/2.0 even better)
- Sharp at wide apertures: Budget lenses struggle wide open
Popular Choices:
- Canon RF 15-35mm f/2.8, Nikon Z 14-30mm f/4
- Sigma 14mm f/1.8 Art (exceptional for aurora)
- Rokinon/Samyang 14mm f/2.8 (budget option)
- Sony 16-35mm f/2.8 GM
Canon’s astrophotography recommendations emphasize that lens quality matters more than megapixels for aurora photography—a sharp, fast lens on a modest camera outperforms expensive camera with slow lens.
Critical Accessories
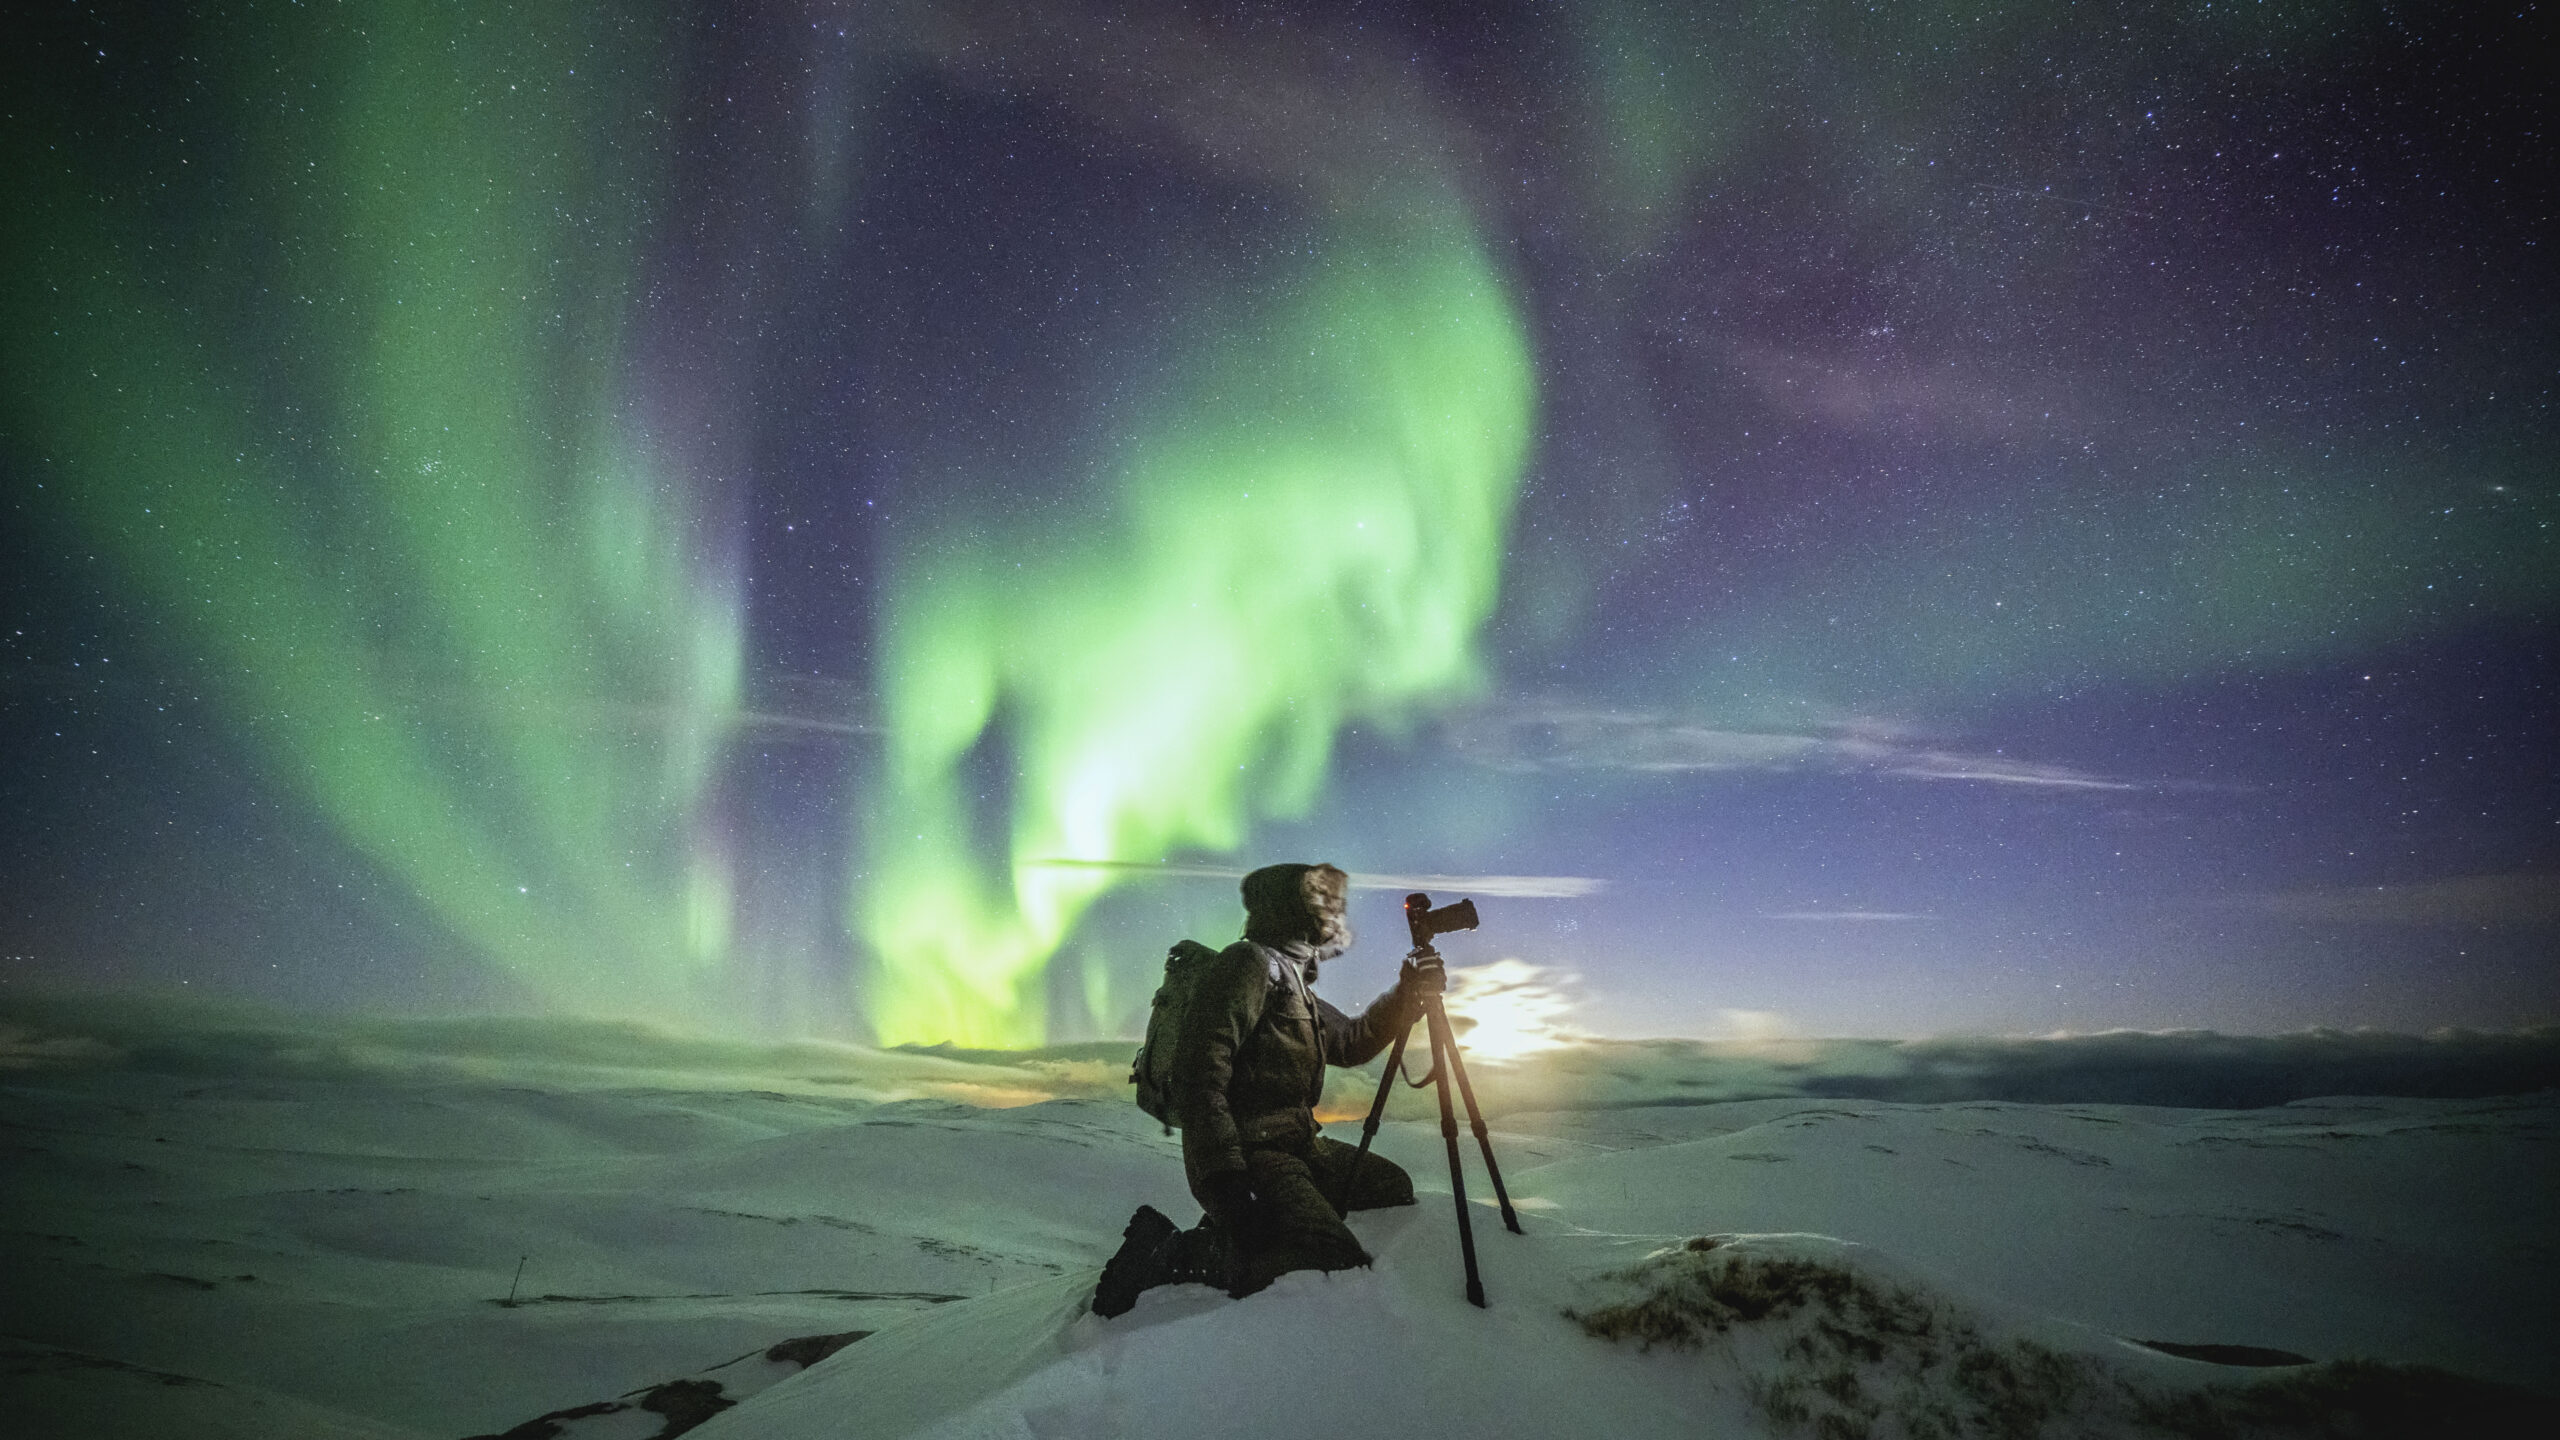
Tripod: Non-negotiable. Aurora requires long exposures (5-25 seconds). Any camera movement ruins the shot.
Remote Release: Cable release or wireless trigger prevents camera shake. In a pinch, use 2-second timer, though you’ll miss some fleeting aurora moments.
Extra Batteries: Cold drains batteries rapidly. Carry 3-4 charged batteries, keep spares warm in jacket pockets.
Headlamp with Red Light: White light ruins night vision for 20-30 minutes. Red light lets you see gear without compromising aurora viewing.
Hand/Foot Warmers: You’ll be standing still in the cold for hours. Staying warm is essential.
Camera Settings for Aurora Photography
Aurora intensity varies dramatically—from subtle glow to bright dancing curtains. Settings must adapt to conditions.
Starting Point Settings
For Moderate Aurora (Kp 3-4):
- ISO: 3200
- Aperture: f/2.8
- Shutter Speed: 10-15 seconds
- Focus: Manual infinity (∞)
- White Balance: 3500-4000K (or Auto)
For Bright Aurora (Kp 5+):
- ISO: 1600-2500
- Aperture: f/2.8-f/4
- Shutter Speed: 5-8 seconds
- Focus: Manual infinity
- White Balance: 3500-4000K
The Aurora Exposure Dilemma
Short Exposures (3-8 seconds):
- Capture aurora structure and movement
- Show distinct curtains and rays
- Require brighter aurora or higher ISO
- Result in sharper, more defined aurora
Long Exposures (15-25 seconds):
- Capture faint aurora invisible to eye
- Create softer, dreamier appearance
- Work with weaker aurora
- Can blur fast-moving aurora
There’s no “correct” choice—fast movement demands shorter exposures, while subtle aurora needs longer ones.
Focusing in Complete Darkness
Autofocus won’t work—there’s nothing for the lens to grab onto in darkness.
Manual Focus Techniques:
Method 1: Infinity Focus
- Set lens to manual focus
- Rotate to infinity mark (∞)
- Take test shot at high ISO, short exposure
- Review at 100% magnification—stars should be pinpoints
- Fine-tune if necessary
Method 2: Live View Stars
- Enable live view
- Find bright star
- Magnify 10x
- Focus manually until star is pinpoint sharp
- Switch off live view (avoid battery drain)
- Don’t touch focus ring
Method 3: Distant Light Source If available, focus on distant light source (town, mountain lights) before aurora appears, then lock focus.

White Balance Considerations
Aurora has complex color spectrum that confounds auto white balance.
Options:
- Auto WB: Often works reasonably well
- 3500-4000K: Preserves aurora’s natural cool tones
- Daylight (5500K): Warms the scene, popular aesthetic choice
- Custom: Gray card during blue hour, lock for night
The RAW Advantage: Shoot RAW and you can adjust white balance in post-processing without quality loss. This is critical for aurora photography.
According to National Geographic’s aurora photography guide, experienced aurora photographers shoot RAW and refine white balance for each image based on aurora color intensity.
Best Canadian Locations for Northern Lights
Yukon Territory
Best Overall: Yukon offers dark skies, aurora oval positioning, and accessible locations.
Top Spots:
- Whitehorse Area: Fish Lake, Miles Canyon
- Dawson City: Historic town provides foreground interest
- Tombstone Territorial Park: Dramatic mountain landscapes
- Viewing Season: August-April (peak: December-March)
Northwest Territories
Yellowknife: Self-proclaimed “Aurora Capital”—positioned directly under aurora oval.
Advantages:
- 240+ nights per year with aurora visibility
- Multiple viewing tours and heated aurora viewing domes
- Accessible winter travel infrastructure
Top Spots:
- Prelude Lake Territorial Park
- Cameron Falls
- Yellowknife Bay (frozen in winter)
Nunavut
Most Remote Option: Purest dark skies, but extreme cold and limited access.
Considerations:
- Requires tour operator for most locations
- Extreme cold (-40°C common in winter)
- Spectacular but expensive aurora viewing
Northern Provinces
Northern Saskatchewan:
- Reindeer Lake: Dark skies, aurora visible during strong activity
- Viewing Season: September-April
Northern Manitoba:
- Churchill: Known for polar bears, also offers good aurora viewing
- Combine aurora with wildlife photography
Northern Alberta/BC:
- Aurora visible during stronger displays (Kp 4+)
- Wood Buffalo National Park (Alberta) is Dark Sky Preserve
Urban and Southern Aurora Viewing
During major geomagnetic storms (Kp 6+), aurora becomes visible farther south:
- Calgary, Edmonton, Saskatoon, Regina: Occasional viewing
- Northern Ontario, Quebec: Moderate frequency
- Southern Ontario, Southern BC: Rare but spectacular when it happens
Urban Aurora Tips:
- Get away from city lights (drive 30-60 minutes)
- Face north
- Use longer exposures to compensate for light pollution
- Embrace urban light pollution creatively (foreground city lights with aurora)
Timing Your Aurora Photography
Seasonal Considerations
Best Months: September-April (long, dark nights)
Why Not Summer?: Northern summers offer limited darkness—aurora occurs but isn’t visible in twilight.
Peak Season: December-February (coldest but longest nights)
Shoulder Seasons: September-October and March-April offer milder cold with decent darkness.
Night Timing
Aurora activity peaks around magnetic midnight (roughly 11 PM – 2 AM local time), but can occur any time after dark.
Strategy: Start checking skies after sunset. If aurora is active, it may begin as early as 9 PM.
Aurora Forecasting
Essential Resources:
- Space Weather Canada: Official government aurora forecasts
- Aurora Forecast Apps: My Aurora Forecast, Aurora Alerts (iOS/Android)
- Clear Sky Chart: Cloud cover predictions (critical—clouds block aurora)
- NOAA Space Weather: Three-day aurora forecasts
Understanding Forecasts:
- Kp Index: Activity level (3+ is photographable)
- Solar Wind Speed: Higher speed = more intense aurora
- Cloud Cover: Check weather forecast—clear skies essential
Digital Photography School’s night sky photography guide recommends checking forecasts 3-4 times daily when planning aurora shoots—conditions change rapidly.
Composition Techniques
Capturing aurora is straightforward. Creating compelling aurora images requires composition.
Foreground Elements
Why Foreground Matters: Aurora alone can become repetitive. Foreground provides:
- Scale and context
- Visual anchor
- Story and location sense
- Compositional structure
Effective Foregrounds:
- Trees (especially coniferous with snow)
- Mountains or hills
- Frozen lakes with ice formations
- Cabins, buildings, or structures
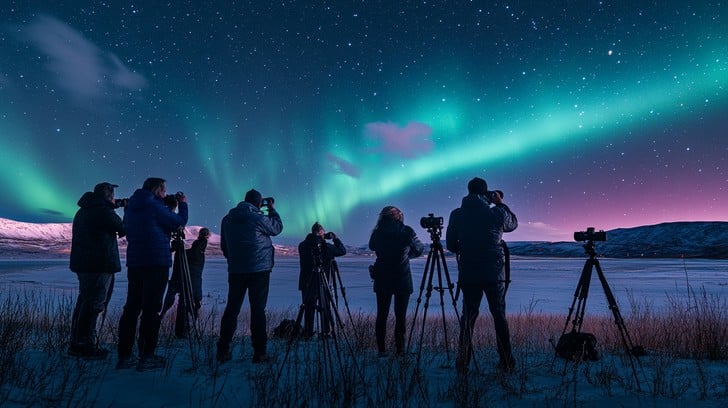
- People (silhouettes or illuminated)
Foreground Lighting:
- Natural illumination (moonlight, twilight)
- Artificial lighting (flashlight during long exposure)
- Light painting with colored lights
- Campfire or lanterns
Rule of Thirds for Aurora
Position aurora displays in upper two-thirds, foreground in lower third. The horizon line should generally sit around the lower third line.
Variations:
- Dominant aurora: Fill 2/3+ of frame
- Subtle aurora: Balance with substantial foreground
- Reflections: Split frame 50/50 (aurora and reflection)
Including People
Silhouettes: Position person against aurora, expose for aurora Illuminated: Use headlamp or flashlight to light person during exposure Self-Portraits: Use tripod, remote release, and light painting
Technical: Person must remain still during 10+ second exposure or they’ll blur.
Vertical vs. Horizontal
Horizontal (most common):
- Captures aurora spread across horizon
- Includes extensive foreground
- Emphasizes landscape context
Vertical:
- Dramatic for tall, column-like aurora
- Shows aurora reaching zenith
- Creates powerful, unique compositions
Reflections
Frozen lakes, calm water, or wet surfaces create mirror-like reflections of aurora.
Technique:
- Position horizon in middle (50/50 split)
- Ensure foreground (shore, ice) provides anchor
- Watch for wind—even slight ripples blur reflection
Time-Lapse Aurora Photography
Once you master still images, time-lapse reveals aurora’s dynamic movement.
Basic Setup:
- Use intervalometer (built-in or external)
- Set 5-10 second exposures
- 1-2 second interval between shots
- Shoot 300-500 frames (20-40 minutes of shooting = 10-20 seconds of video at 25fps)
Settings:
- Manual mode (everything locked)
- Manual focus (locked on infinity)
- Manual white balance (consistency across frames)
- RAW files for editing flexibility
Post-Processing: Assemble in Lightroom → Export as sequence → Compile in video editing software (Premiere, Final Cut, or free tools like StarStax)
Common Aurora Photography Problems
Problem: Aurora Too Dim or Not Visible
Causes: Weak activity, light pollution, clouds
Solutions:
- Increase ISO (6400+)
- Lengthen exposure (20-30 seconds)
- Widen aperture (f/1.8, f/1.4)
- Check forecast—activity may increase later
Problem: Aurora Blurry or Streaky
Causes: Exposure too long for aurora movement
Solutions:
- Shorten exposure (5-8 seconds)
- Increase ISO to compensate for light loss
Problem: Stars Look Like Trails
Causes: Exposure too long (Earth’s rotation blurs stars)
Solution:
- Use “500 rule”: 500 ÷ focal length = max shutter speed in seconds
- Example: 14mm lens = 35 seconds max, 24mm = 20 seconds max
- For sharp stars: keep exposures under 15-20 seconds
Problem: Foreground Completely Black
Causes: No light source for foreground
Solutions:
- Add moonlight (plan shoots around moon phases)
- Light paint foreground with flashlight
- Shoot during twilight (blue hour) with aurora
- Increase ISO and exposure time
Develop Complete Photography Skills
Aurora photography combines technical precision with artistic vision. But it’s one specialization within the broader world of professional photography. Whether you’re drawn to landscapes, portraits, wildlife, or commercial work, building comprehensive skills sets you apart.
Our wildlife photography course teaches you to capture Canada’s natural wonders—from aurora borealis to wildlife in their habitats. You’ll master technical challenges while developing the artistic eye that turns good shots into portfolio-worthy images.
The Magic Awaits
Photographing the Northern Lights ranks among photography’s most rewarding experiences. That moment when brilliant green curtains explode across the sky, your camera captures the display, and you know you’ve created something extraordinary—it never gets old.
The techniques in this guide give you everything needed to succeed. Now you need two things: aurora activity and commitment to venture into the cold darkness. Check the forecasts, bundle up, pack your gear, and head north. The aurora is waiting, and your images could inspire the next generation of aurora photographers.
Clear skies and strong solar winds to you.