Real estate photography is one of the most accessible and profitable photography niches in Canada. Properties need professional images regardless of economic conditions, realtors understand photography’s value, and the technical requirements are predictable once mastered. Yet many photographers struggle to break into this lucrative market or produce images that genuinely help sell properties.
This comprehensive guide covers everything you need to shoot and edit professional real estate photos that help properties sell faster and command higher prices—from essential equipment and shooting techniques to post-processing workflows and pricing strategies for the Canadian market.
Why Real Estate Photography Matters
Professional photography dramatically impacts real estate sales:
The Statistics:
- Listings with professional photos sell 32% faster (Canadian Real Estate Association)
- Professional photos increase perceived home value by 5-10%
- 90%+ of buyers begin their search online where photos are first impression
- Properties with quality photos receive 118% more online views
According to Canadian Real Estate Association marketing research, professional photography is the single highest-ROI marketing investment realtors can make—more impactful than staging, virtual tours, or premium listing placement.
The Opportunity: Most realtors recognize this value and actively seek reliable real estate photographers. Once you prove yourself with one agent, referrals multiply quickly.
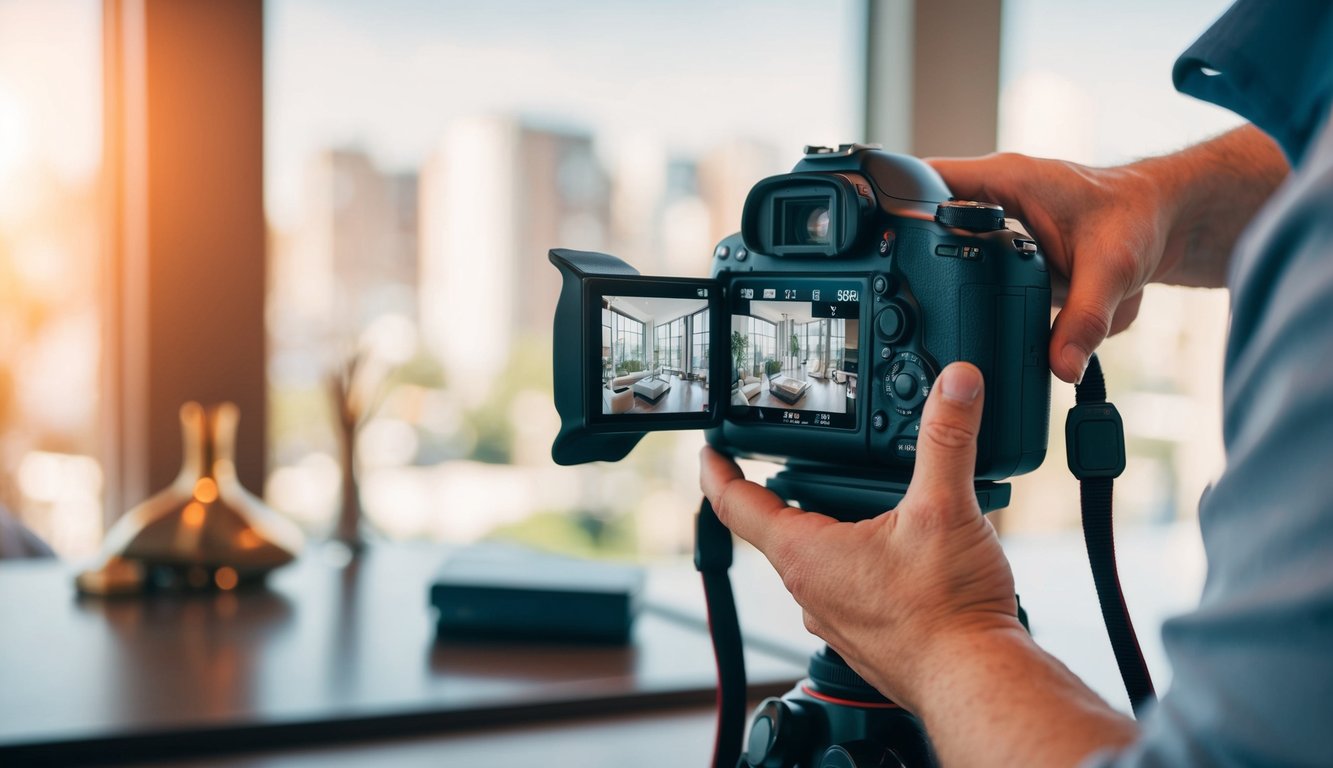
Essential Real Estate Photography Equipment
Camera Body Requirements
Minimum Specifications:
- Manual mode capability
- RAW format shooting
- Decent high ISO performance (for darker interiors)
- Live view (helpful for composition)
Ideal Features:
- Full-frame sensor (better wide-angle performance)
- Built-in level (ensures straight verticals)
- Intervalometer for HDR bracketing
- Weather sealing (exterior shoots in various conditions)
Reality Check: Your current camera is probably adequate. Equipment matters less than technique in real estate photography.
Lenses: The Critical Investment
Most Important Lens: Ultra-wide angle (16-35mm on full-frame, 10-20mm on crop sensor)
Why Wide Angle Matters:
- Captures entire rooms in single frame
- Makes spaces appear larger
- Shows context and flow
- Essential for tight spaces (small bedrooms, bathrooms)
Recommended Options:
- Budget: Tokina 11-16mm f/2.8 (crop sensor), Rokinon 14mm f/2.8 (full-frame) – $300-500
- Mid-Range: Canon EF-S 10-18mm, Nikon 10-24mm – $300-600
- Professional: Canon 16-35mm f/2.8, Nikon 14-24mm f/2.8, Sony 16-35mm f/2.8 – $1,000-2,200
Secondary Lens: Standard zoom (24-70mm) for detail shots and exteriors where wide angle creates distortion.
According to Digital Photography School’s real estate techniques, the ultra-wide lens is the only “must-have” investment—everything else is secondary.
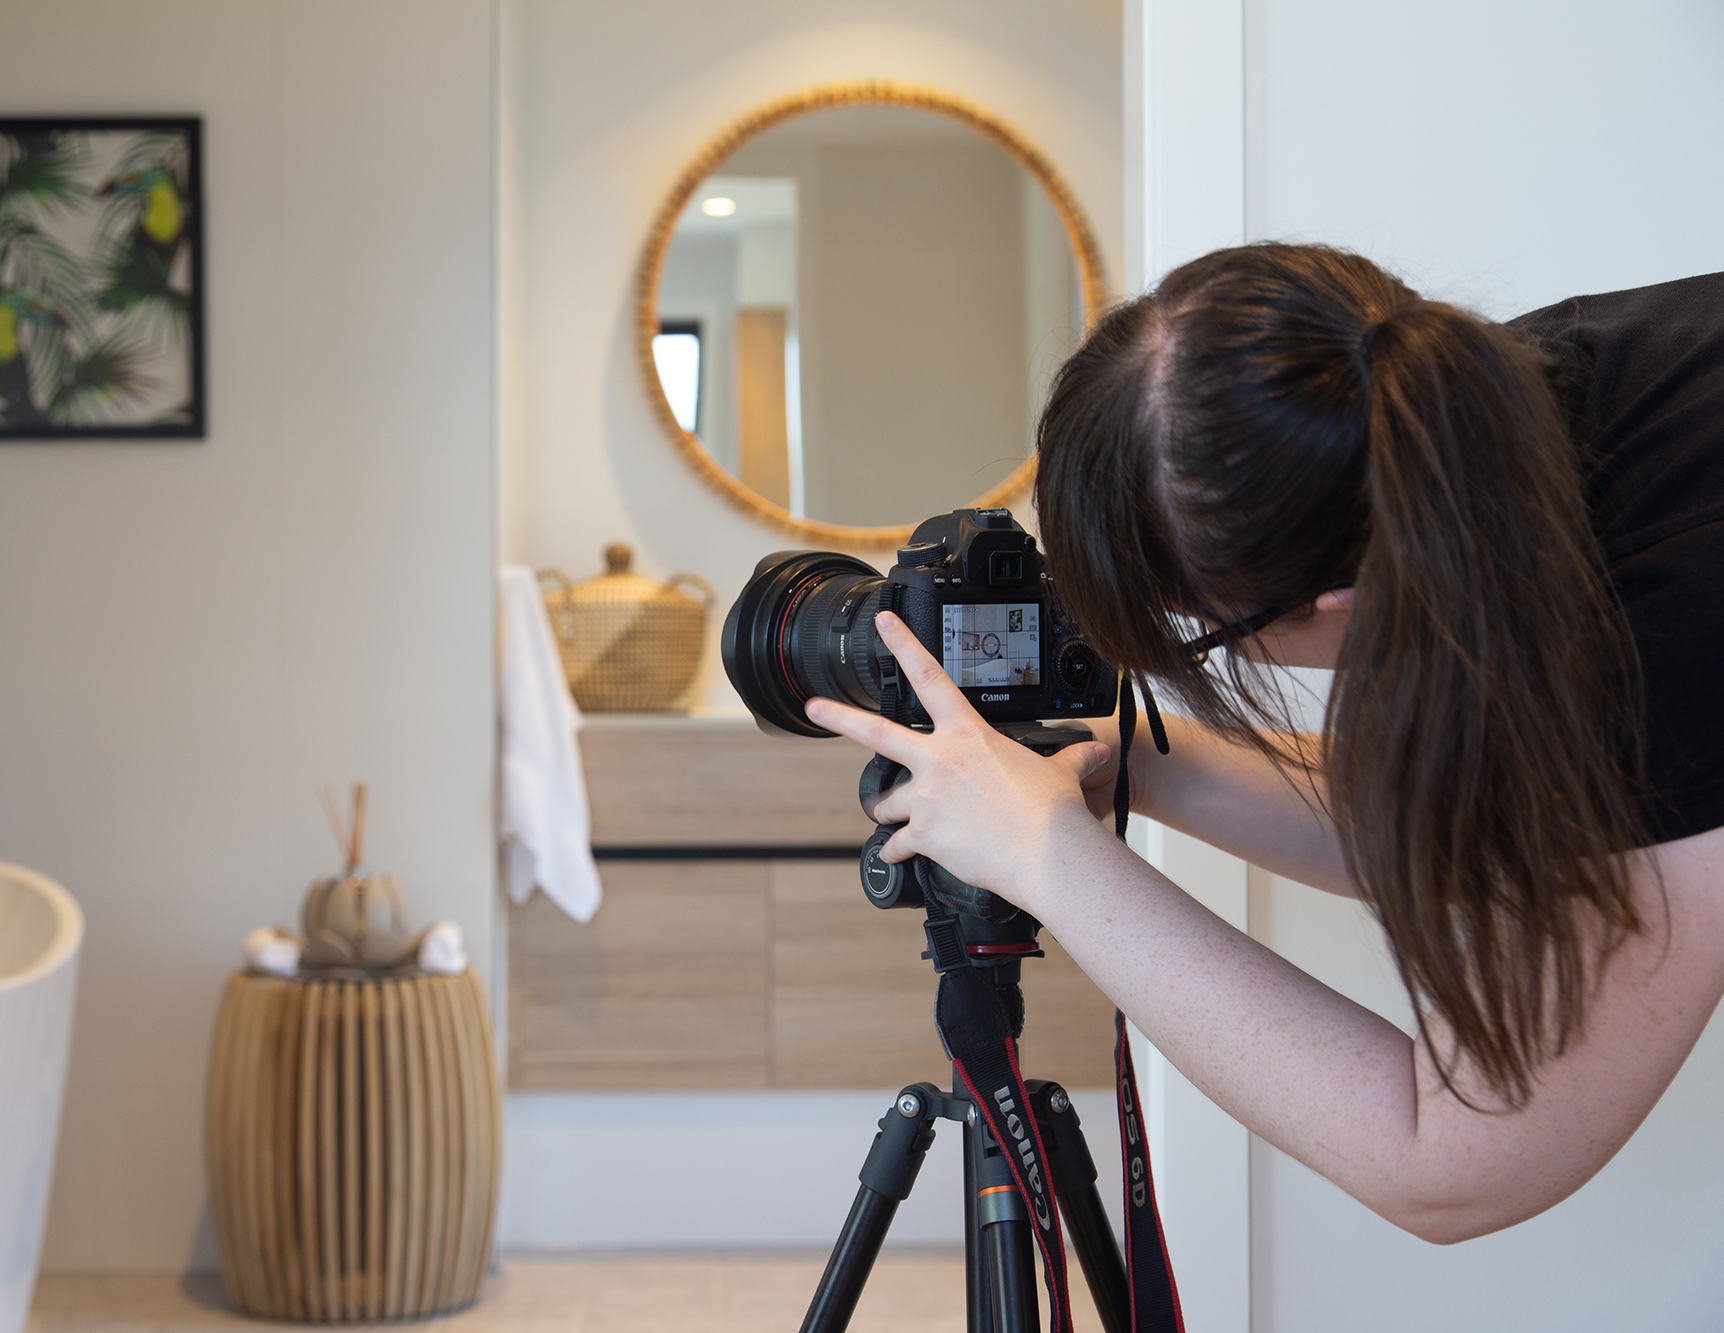
Tripod: Non-Negotiable
Requirements:
- Sturdy enough for your camera/lens combo
- Quick-release plate for efficiency
- Adjustable center column
- Spirit level (built-in or hot-shoe mount)
Budget: $100-300 (Manfrotto, Vanguard, Benro)
Why Essential: Sharp images require slow shutter speeds in interiors. Handheld real estate photography looks unprofessional.
Flash/Lighting (Optional but Powerful)
Speedlights and Stands:
- 2-3 speedlights (Godox, Yongnuo for budget options)
- Light stands and umbrellas/softboxes
- Wireless triggers
- Total investment: $400-800
When Flash Helps:
- Dark interiors with small windows
- Balancing interior with bright windows
- Adding dimensionality to flat spaces
- Evening/twilight interior shots
Reality: Many successful real estate photographers shoot natural light only, using HDR techniques for exposure balancing.
Accessories
Essential:
- Extra batteries (long shoots drain power)
- Multiple memory cards
- Lens cloth (clean glass before exterior shots)
- Shoe covers/booties (protect client floors)
Helpful:
- Remote shutter release
- External level (ensure straight verticals)
- Ladder (4-6 foot for higher vantage points)
- Portable lighting (LED panel for dark corners)
Pre-Shoot Preparation
Communication with Agent/Homeowner
Critical Questions Before Shoot:
- Property address and access details
- Square footage and number of rooms
- Special features to highlight
- How many photos needed
- Deadline for delivery
- MLS requirements (specific dimensions, file sizes)
Staging Expectations: “For best results, ensure the home is clean, decluttered, lights on, blinds/curtains open, and personal items minimized. I can provide a preparation checklist if helpful.”
Shoot Planning
Time of Day:
- Interiors: 10 AM – 4 PM (best natural light through windows)
- Exteriors: Golden hour (sunrise/sunset) for dramatic appeal
- Twilight shots: 20-30 minutes after sunset (blue hour)
Weather Considerations:
- Overcast days: Excellent for interiors (soft, even light)
- Sunny days: Great for exteriors, challenging for interiors (harsh contrast)
- Rainy/snowy days: Reschedule if possible, especially for exteriors
Shot List (Typical Home)
Exterior (5-8 photos):
- Front elevation (2-3 angles)
- Backyard
- Special features (deck, pool, garage)
- Street view/neighborhood context
Interior (20-30 photos):
- Living room (2-3 angles)
- Kitchen (3-4 angles)
- Each bedroom (1-2 angles)
- Each bathroom (1-2 angles)
- Dining room
- Special features (fireplace, office, basement, etc.)
- Detail shots (fixtures, finishes, craftsmanship)
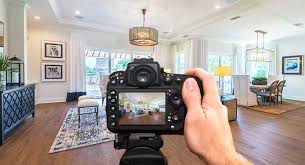
Shooting Techniques
Composition Fundamentals
The Corner Rule: Shoot from corners of rooms, not center. This:
- Shows two walls, creating depth
- Maximizes visible space
- Includes doorways showing flow to other rooms
- Creates most flattering perspective
Vertical Alignment: Keep camera level—tilted verticals (walls leaning) look unprofessional.
- Use camera’s built-in level
- Check spirit level on tripod
- Enable live view grid
- Fix any tilting in post-processing
Height Positioning:
- Standard rooms: 4-5 feet high (chest height)
- Large rooms: 5-6 feet (slight elevation shows space better)
- Bathrooms: Counter height
- Avoid shooting from eye level (too high, distorted perspective)
Doorway Framing: Include doorways in frames—shows property flow and makes spaces feel connected rather than isolated boxes.
Camera Settings
Aperture: f/8 to f/11
- Maximum sharpness
- Deep depth of field (everything in focus)
- Sufficient for real estate needs
ISO: Lowest possible (100-400)
- Cleanest images
- Tripod allows slow shutter speeds
- Only increase ISO if absolutely necessary
Shutter Speed: Whatever achieves proper exposure
- 1/15 to 2 seconds typical for interiors
- Tripod eliminates camera shake concerns
White Balance:
- Auto WB often works well
- Custom WB for consistent results across series
- Shoot RAW for flexibility
Shooting Mode:
- Manual mode for consistency
- Aperture Priority acceptable if comfortable with exposure compensation
HDR Bracketing Technique
HDR (High Dynamic Range) solves real estate’s biggest challenge: bright windows with dark interiors.
Why HDR:
- Captures detail in shadows and highlights simultaneously
- Shows view through windows while maintaining interior detail
- Creates balanced, natural-looking images
How to Bracket:
- Set camera to bracket mode (AEB – Auto Exposure Bracketing)
- Choose 3-5 exposures, 1-2 stops apart
- Typical sequence: -2, -1, 0, +1, +2
- Camera shoots entire sequence with one trigger press
- Merge in post-processing (Lightroom, Photomatix, Aurora HDR)
When to Use HDR:
- Rooms with large windows
- Bright exteriors visible through glass
- High contrast situations
- Most real estate photography benefits from HDR
According to Professional Photographers of Canada real estate guidelines, HDR is standard practice for professional real estate photography—single-exposure images rarely achieve the quality clients expect.
Flash Photography Technique
Ambient + Flash Method:
- Set exposure for ambient light (slightly underexposed)
- Add off-camera flash to fill shadows
- Bounce flash off walls/ceiling for natural look
- Balance flash power to subtly brighten without obvious flash signature
Multiple Flash Setup:
- One flash: bounce off ceiling behind camera
- Two flashes: corners of room, 45-degree angles
- Three flashes: add third in adjacent room/hallway
Challenge: Flash photography requires significant practice. Master natural light/HDR first.
Exterior Photography
Front Elevation:
- Shoot from street level, not driveway (shows property as buyers see it)
- Ensure straight verticals
- Include landscaping and context
- Remove garbage bins, cars, clutter (or edit out)
- Overcast days often better than harsh sun
Twilight Photography: Most impressive exterior technique:
- Arrive 30 minutes before sunset
- Turn on all interior lights
- Shoot as sky transitions to deep blue (20-30 minutes after sunset)
- Use tripod (1-4 second exposures)
- Bracket exposures (sky/interior balance)
Result: Warm, inviting glow from windows against beautiful sky—highest perceived value photography technique.
Post-Processing Workflow
HDR Merge (If Using Bracketed Shots)
Lightroom Method:
- Select bracketed images
- Photo > Photo Merge > HDR
- Choose settings (deghost for moving elements)
- Create merged DNG file
Alternative Software:
- Photomatix Pro (natural HDR)
- Aurora HDR (creative control)
- Photoshop HDR Pro (built-in option)
Standard Editing Adjustments
Exposure and Contrast:
- Ensure bright, airy feel (real estate should feel inviting)
- Lift shadows (+20 to +40)
- Reduce highlights (-20 to -40) if needed
- Add contrast (+10 to +20) for punch
White Balance:
- Correct any color casts
- Slight warm bias (3800-4200K) creates inviting feel
- Consistent WB across entire set
Vertical Correction:
- Transform > Guided or Auto
- Straighten any leaning walls
- Fix perspective distortion from wide angles
Brightness and Clarity:
- Increase exposure if image feels dark (+0.3 to +0.7)
- Add clarity (+10 to +20) for definition
- Dehaze (+10 to +20) removes flat look
Color Saturation:
- Moderate vibrance (+10 to +20)
- Subtle saturation (+5 to +10)
- Avoid oversaturation (garish colors)
Sky Replacement (When Necessary)
When to Replace:
- Blown white sky (no detail to recover)
- Overcast, dull gray sky
- Powerlines/clutter obscuring sky
How:
- Photoshop: Select and Mask > Select Sky
- Replace with stock blue sky image
- Match perspective and lighting direction
- Subtle, natural integration
Ethical Consideration: Standard practice in real estate photography. You’re selling the property, not the weather.
According to Canadian Real Estate Association photo standards, minor enhancements like sky replacement are acceptable provided they don’t misrepresent the property itself.
Final Touches
Remove Distractions:
- Clone out outlets and light switches (if prominent)
- Remove minor clutter
- Clean up lawn (remove sticks, debris)
- Don’t alter property features themselves
Sharpening:
- Output sharpening for web delivery
- Medium amount (60-80)
Export Settings:
- JPEG format
- sRGB color space (web standard)
- Quality 90-95%
- Maximum dimension 3000-4000px (check MLS requirements)
Pricing Real Estate Photography in Canada
Market Rates by Region
Major Markets (Toronto, Vancouver, Calgary):
- Basic package (15-25 photos): $150-250
- Standard package (25-35 photos): $250-400
- Luxury homes (40+ photos, twilight): $400-800+
Mid-Size Cities:
- Basic package: $100-200
- Standard package: $200-300
- Luxury homes: $300-500+
Smaller Markets:
- Basic package: $75-150
- Standard package: $150-250
- Luxury homes: $250-400
Package Structure
Starter Package: $150
- Up to 2,000 sq ft
- 20 photos
- Basic editing
- 48-hour delivery
Standard Package: $250
- Up to 3,500 sq ft
- 30 photos
- Full editing with HDR
- 24-hour delivery
- Twilight exterior (+$100)
Premium Package: $400+
- Any size property
- 40+ photos
- Full editing, HDR, sky replacement
- Same-day delivery
- Twilight shots included
- Virtual staging consultation
Add-On Services
Expand Your Offerings:
- Aerial/drone photography: +$100-200
- Virtual tours/3D walkthrough: +$150-300
- Floor plans: +$75-150
- Videography: +$200-500
- Virtual staging: $25-50 per room
Building Your Real Estate Photography Business
Getting Your First Clients
Start Local:
- Research active realtors in your area
- Offer introductory rate (slightly below market)
- Provide 1-2 free shoots for testimonials
- Deliver exceptional service and fast turnaround
- Request reviews and referrals
Marketing Strategies:
- Google Business Profile optimized for “[city] real estate photography”
- Instagram with local hashtags (#[City]RealEstate, #[City]Homes)
- Facebook groups for realtors
- Direct outreach to new agents (need photographers, limited budgets)
- Networking at realtor office meetings
The Snowball Effect: One satisfied agent refers others. Focus on building reputation with 3-5 active agents—they’ll keep you consistently busy.
Professional Differentiation
Stand Out Through:
- Consistent turnaround time (24-48 hours)
- Reliable availability
- Professional communication
- Deliverables that exceed expectations
- Understanding realtor needs and MLS requirements
Develop Complete Commercial Photography Skills
Real estate photography is an excellent niche, but it’s one specialization within broader commercial photography. Whether you want to expand into architectural photography, corporate work, or other commercial specializations, comprehensive training accelerates your success.
Our professional photography course covers real estate photography alongside other commercial specializations, teaching you not just technical execution but business systems, client management, and pricing strategies that support sustainable success in any photography niche.
The Bottom Line
Real estate photography offers reliable income, predictable workflow, and steady demand—making it one of the most viable full-time or part-time photography businesses. The technical requirements are learnable, the market is large, and realtors actively seek skilled photographers.
Success in real estate photography comes from consistent technical execution, reliable service, fast turnaround, and genuine understanding of what helps properties sell. Master these fundamentals, deliver exceptional service, and you’ll build a photography business with sustainable, recurring income.
The market is ready. The opportunity is real. Your camera and these techniques are all you need to start booking real estate clients and building a profitable photography niche. Now go shoot some houses.