We’ve all been there—you review your images after a shoot and discover lighting disasters. Underexposed faces, blown highlights, muddy shadows, terrible color casts. Before you delete everything in frustration, understand that Lightroom’s powerful recovery tools can salvage many “ruined” images—if you know the right techniques.
This comprehensive guide walks through systematic approaches for rescuing poorly lit photos in Lightroom, from minor corrections to extreme recovery situations, plus honest guidance on when images are beyond saving.
Understanding What Can (and Can’t) Be Saved
Good News First: RAW files contain significantly more data than the initial preview suggests. You have approximately:
- 1-2 stops of shadow recovery without excessive noise
- 0.5-1 stop of highlight recovery before texture is lost
- Extensive color correction latitude
- Powerful noise reduction for high ISO salvage
The Hard Truth: Some images can’t be saved:
- Pure white blown highlights (zero data to recover)
- Severely underexposed images from low-end cameras/high ISO
- Major focus errors (no amount of editing fixes blur)
- Extreme motion blur or camera shake
According to Adobe’s Lightroom recovery guide, approximately 80% of exposure problems can be corrected to acceptable quality if the image was shot in RAW format.
Critical Rule: Always shoot RAW for maximum recovery potential. JPEG files have dramatically less recovery latitude.
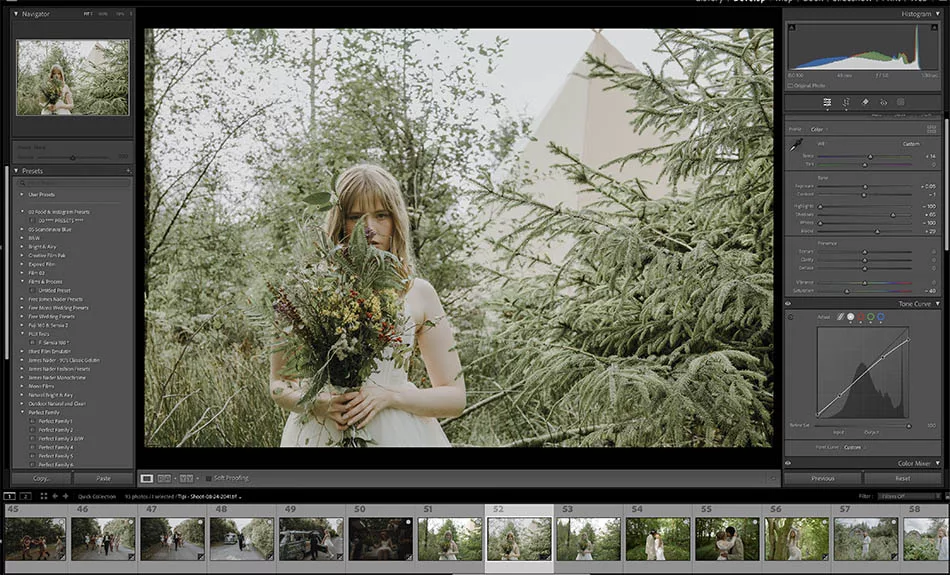
The Lightroom Recovery Workflow
Follow this systematic approach rather than randomly adjusting sliders.
Step 1: Assess the Damage
Before touching any adjustments:
- View histogram – Identifies clipping and tonal distribution
- Enable highlight/shadow clipping warnings (press J)
- Red areas: Blown highlights (no data)
- Blue areas: Blocked shadows (no detail)
- Zoom to 100% – Check critical focus areas and noise levels
- Identify the primary problem:
- Underexposed (histogram bunched left)
- Overexposed (histogram bunched right)
- Poor contrast (flat histogram)
- Color cast (wrong white balance)
Step 2: Set White Balance
Always correct color before tonal adjustments—it affects how exposure corrections appear.
Quick White Balance Fixes:
Method 1: White Balance Selector Tool (W key)
- Click on something that should be neutral gray or white
- Instantly corrects color cast
- Works excellently for most situations
Method 2: Temperature/Tint Sliders
- Cool cast (blue): Move Temperature slider right (warmer)
- Warm cast (orange): Move Temperature slider left (cooler)
- Green cast: Move Tint slider right (magenta)
- Magenta cast: Move Tint slider left (green)
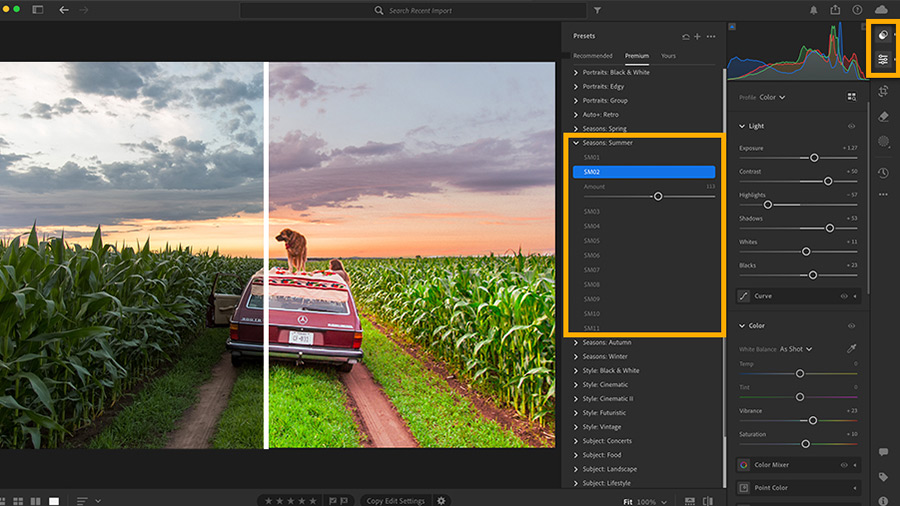
Method 3: Presets
- Daylight, Cloudy, Shade, Tungsten presets work for standard lighting
- Auto WB often produces acceptable results
Canadian Winter Tip: Snow reflects blue skylight creating cool casts. Use “Cloudy” or “Shade” preset, or add +10 to +20 temperature warmth.
Step 3: Rescue Underexposed Images
Underexposed images are generally easier to recover than overexposed.
Systematic Approach:
1. Increase Exposure (+1 to +2 stops)
- Brightens entire image
- Watch histogram—don’t clip highlights
- Stop before highlights blow out
2. Open Shadows (+40 to +100)
- Targets only dark areas
- Reveals hidden detail in shadows
- Essential for backlit subjects
3. Lift Blacks (+10 to +40)
- Prevents pure black areas
- Opens deepest shadows
- Don’t overdo—some black adds depth
4. Reduce Highlights (-20 to -50)
- Prevents highlight clipping from exposure increase
- Maintains bright area detail
- Balances bright sky with darker ground
Example Underexposed Portrait:
- Exposure: +1.5
- Shadows: +75
- Blacks: +25
- Highlights: -35
- Whites: -10
Result: Face properly exposed, sky retained, shadows opened without looking unnatural.
Step 4: Rescue Overexposed Images
Overexposed recovery is trickier—once highlights clip to pure white, data is gone.
Systematic Approach:
1. Reduce Exposure (-0.5 to -1.5 stops)
- Darkens overall image
- Watch for shadow blocking
- Stop before losing shadow detail
2. Crush Highlights (-100 common)
- Specifically targets bright areas
- Recovers highlight detail
- No penalty for aggressive adjustment if data exists
3. Reduce Whites (-30 to -80)
- Pulls down brightest tones
- Works with Highlights slider for maximum recovery
- Check histogram—aim to pull highlights off right edge
4. Add Contrast (+10 to +30)
- Overexposure often creates flat images
- Restores visual punch
- Compensates for highlight/white reduction
Example Overexposed Landscape:
- Exposure: -1.0
- Highlights: -100
- Whites: -65
- Contrast: +20
- Blacks: -15 (adds depth)
According to Digital Photography School’s editing tutorials, the Highlights and Whites sliders are your most powerful overexposure recovery tools—always max them out before concluding an image can’t be saved.
Step 5: Enhance Contrast and Clarity
After exposure correction, images often look flat.
Contrast: Increases separation between tones
- Underexposed recoveries: +15 to +30
- Overexposed recoveries: +10 to +25
- Flat lighting: +20 to +40
Clarity: Enhances midtone contrast and apparent sharpness
- Portraits: +10 to +20 (subtle)
- Landscapes: +20 to +40 (stronger)
- Avoid negative clarity (creates unnatural softness)
Texture: Enhances fine detail without affecting color
- Use +10 to +30 for recovered images that look soft
- Less “gritty” than clarity
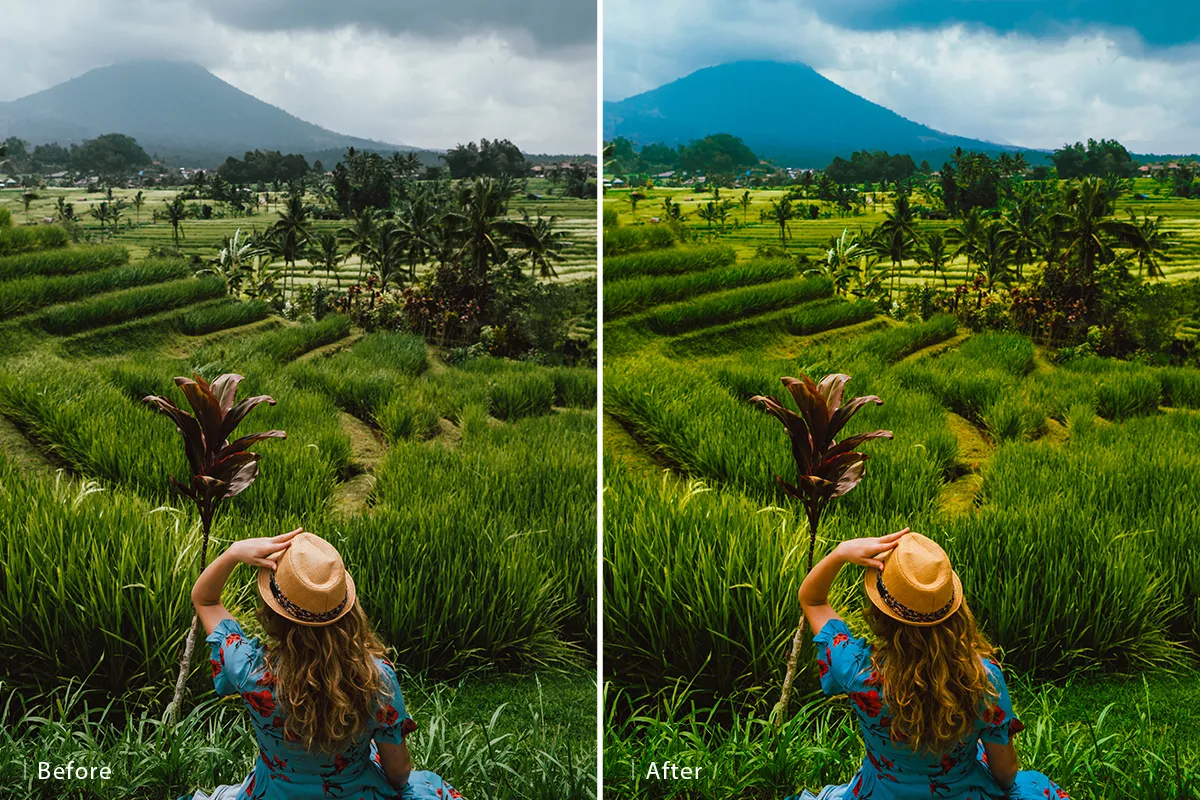
Dehaze: Removes atmospheric haze and adds contrast
- Powerful for flat images (+20 to +50)
- Can darken excessively—reduce exposure compensation if needed
- Great for landscape recovery
Step 6: Address Noise
Aggressive shadow recovery introduces noise, especially in high ISO images.
Luminance Noise Reduction:
- Start at 0, increase until noise smooths
- Typical range: 30-60 for recovered images
- Higher values reduce detail—find balance
Color Noise Reduction:
- Removes colored speckles (common in shadows)
- Default 25 usually sufficient
- Increase to 50-75 for severe issues
Detail Slider (under Noise Reduction):
- Preserves detail while reducing noise
- Increase to 60-80 if image looks too smooth
Sharpening After Noise Reduction:
- Amount: 60-80
- Radius: 1.0
- Detail: 25-40
- Masking: Hold Alt/Option while adjusting—white areas sharpen, black don’t
Step 7: Local Adjustments
After global corrections, use local tools for targeted fixes.
Graduated Filter: For skies or gradual transitions
- Darken bright skies without affecting ground
- Lighten dark foregrounds without affecting sky
Radial Filter: For circular areas (faces, subjects)
- Brighten or darken specific areas
- Add clarity to subject, reduce in background
Adjustment Brush: For precise areas
- Lighten shadowed faces
- Darken blown background areas
- Correct color casts in specific regions
Example Wedding Reception Recovery:
- Global: Increase exposure +1.5, shadows +80
- Brush: Paint over faces, increase exposure another +0.5 and add clarity +15
- Result: Properly exposed faces even in terrible venue lighting
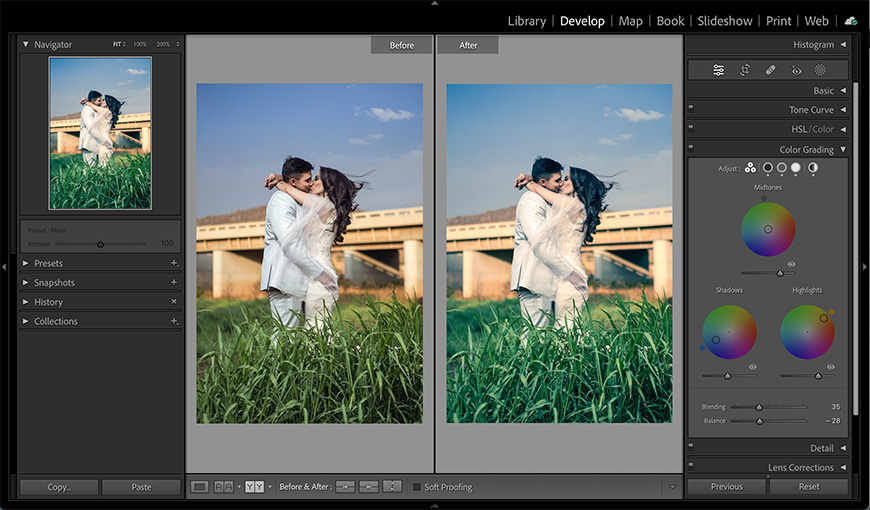
Step 8: Color Grading
After tonal correction, refine colors:
Vibrance vs. Saturation:
- Vibrance: Increases muted colors, protects skin tones—use this first (+10 to +30)
- Saturation: Increases all colors equally—use cautiously (+5 to +15)
HSL Panel (Hue, Saturation, Luminance):
- Adjust specific color channels
- Common fixes:
- Orange: Control skin tone intensity
- Blue: Enhance sky (luminance -10 to -20, saturation +10 to +20)
- Green: Refine foliage appearance
- Yellow: Manage warm tones
Color Grading (formerly Split Toning):
- Add color to shadows, midtones, highlights separately
- Creates mood and cohesive look
- Subtle application (saturation 5-15) for rescued images
Specific Problem Scenarios
Backlit Subject (Silhouette Rescue)
Problem: Subject dark against bright background
Solution:
- Shadows: +90 to +100 (open subject shadows)
- Highlights: -80 to -100 (retain background)
- Exposure: +0.5 to +1.0 (overall brightness)
- Graduated or Radial Filter on subject: Additional +0.5 exposure, +15 clarity
Harsh Midday Sun
Problem: Extreme contrast, harsh shadows, blown highlights
Solution:
- Highlights: -100 (rescue bright areas)
- Shadows: +60 to +80 (open dark areas)
- Whites: -40 to -60 (pull down brightest)
- Blacks: +10 to +20 (lift deepest shadows)
- Dehaze: +20 (adds definition)
Indoor/Low Light
Problem: Underexposed, high noise, poor color
Solution:
- Exposure: +1.5 to +2.5
- Shadows: +70 to +90
- White Balance: Correct orange/yellow tungsten cast
- Noise Reduction: Luminance 40-70
- Sharpening: 70-80 to compensate for softness
Mixed Lighting
Problem: Multiple light sources creating different color casts
Solution:
- Set overall white balance to dominant light source
- Use Adjustment Brush with temperature/tint adjustments for different areas
- Reduce overall saturation slightly (-5 to -10) to harmonize
Snow/Beach Scenes
Problem: Underexposed due to meter being fooled by brightness
Solution:
- Exposure: +1.0 to +2.0 (bring snow/sand to proper brightness)
- Highlights: -40 to -60 (prevent pure white)
- Whites: +10 to +30 (ensure snow is bright, not gray)
- Temperature: +10 to +15 (slight warmth removes blue cast)
When to Accept Defeat
Some images can’t be saved. Recognize when to move on:
Unrecoverable Situations:
- Large areas of pure white (zero highlight data)
- Severely underexposed images with extreme noise after recovery
- Multiple exposure problems combined (overexposed + motion blur + poor focus)
- Images where recovery creates unnatural, obviously edited appearance
The Professional Standard: If recovered image looks heavily processed or unnatural, it’s better to exclude it than deliver subpar work.
According to Adobe’s professional workflow recommendations, photographers should aim to deliver only their best work—recovering 50% of a problematic shoot is better than delivering 100% of mediocre images.
Prevention > Recovery
While this guide focuses on rescue, prevention is always better:
Best Practices:
- Shoot RAW always
- Check histogram during shoot
- Use exposure compensation in challenging light
- Bracket important shots
- Bring reflectors/flash for challenging situations
- Test lighting before critical moments
Develop Complete Editing Mastery
Lightroom recovery techniques are essential emergency skills, but exceptional post-processing goes far beyond fixing mistakes. From creating signature styles to efficient workflow systems and advanced creative techniques, professional editing separates good photographers from great ones.
Our professional photography course includes comprehensive post-processing training covering everything from fundamental Lightroom techniques to advanced Photoshop workflows, helping you develop an efficient editing process and signature style that makes your work instantly recognizable.
The Bottom Line
Lightroom’s recovery tools are remarkably powerful—images that look disastrous in-camera often salvage beautifully with systematic editing. The key is understanding the order of operations, knowing which tools target which problems, and recognizing when to accept that some images are beyond saving.
Every photographer faces lighting disasters. The difference between professionals and amateurs isn’t avoiding problems—it’s efficiently recovering when things go wrong. Master these Lightroom rescue techniques, and you’ll transform panic over poorly lit images into confidence that you can handle whatever challenges come your way.
Now open Lightroom, find your “disaster” folder, and start practicing these techniques. You might be surprised how many of those “ruined” images transform into portfolio-worthy work.