Controlling light is what separates professional photography from guesswork. When you shoot outdoors, you are at the mercy of weather, time of day, and environmental conditions. A studio gives you complete control — over light quality, direction, intensity, colour, and background. Every variable is in your hands.
A studio photography course teaches you how to use that control effectively. Whether you are setting up a dedicated room in your home or renting professional space, this guide covers the equipment, lighting setups, and techniques you need to start producing professional studio images.
Why Learn Studio Photography?
Studio skills open up commercial opportunities that location photography cannot. Corporate headshots, product photography, e-commerce imagery, beauty and fashion work, newborn photography, and portfolio shoots all benefit from or require the controlled environment a studio provides.
More importantly, learning to light in a studio teaches you to understand light at a fundamental level. Once you can build a lighting setup from scratch in a dark room, you will see and understand natural light outdoors with far greater clarity. The skills transfer directly. Our portrait lighting guide covers how studio and natural lighting principles connect and reinforce each other.
Setting Up Your First Home Studio
You do not need a massive space. A spare room, a garage, or even a corner of your living room can function as a home studio. The minimum practical shooting space is roughly 3 metres wide by 4 metres deep by 2.5 metres high — enough for headshots, portraits, and small product photography.
Paint the walls a neutral colour — white or light grey is ideal. Dark walls absorb light and reduce your ability to bounce fill light around the room. White walls can serve as additional light sources when you bounce your studio lights off them.
Flooring matters less than you might think. Most of the floor is not visible in headshots and upper-body portraits. For full-length work, a roll of seamless paper extended across the floor creates a clean, continuous background.
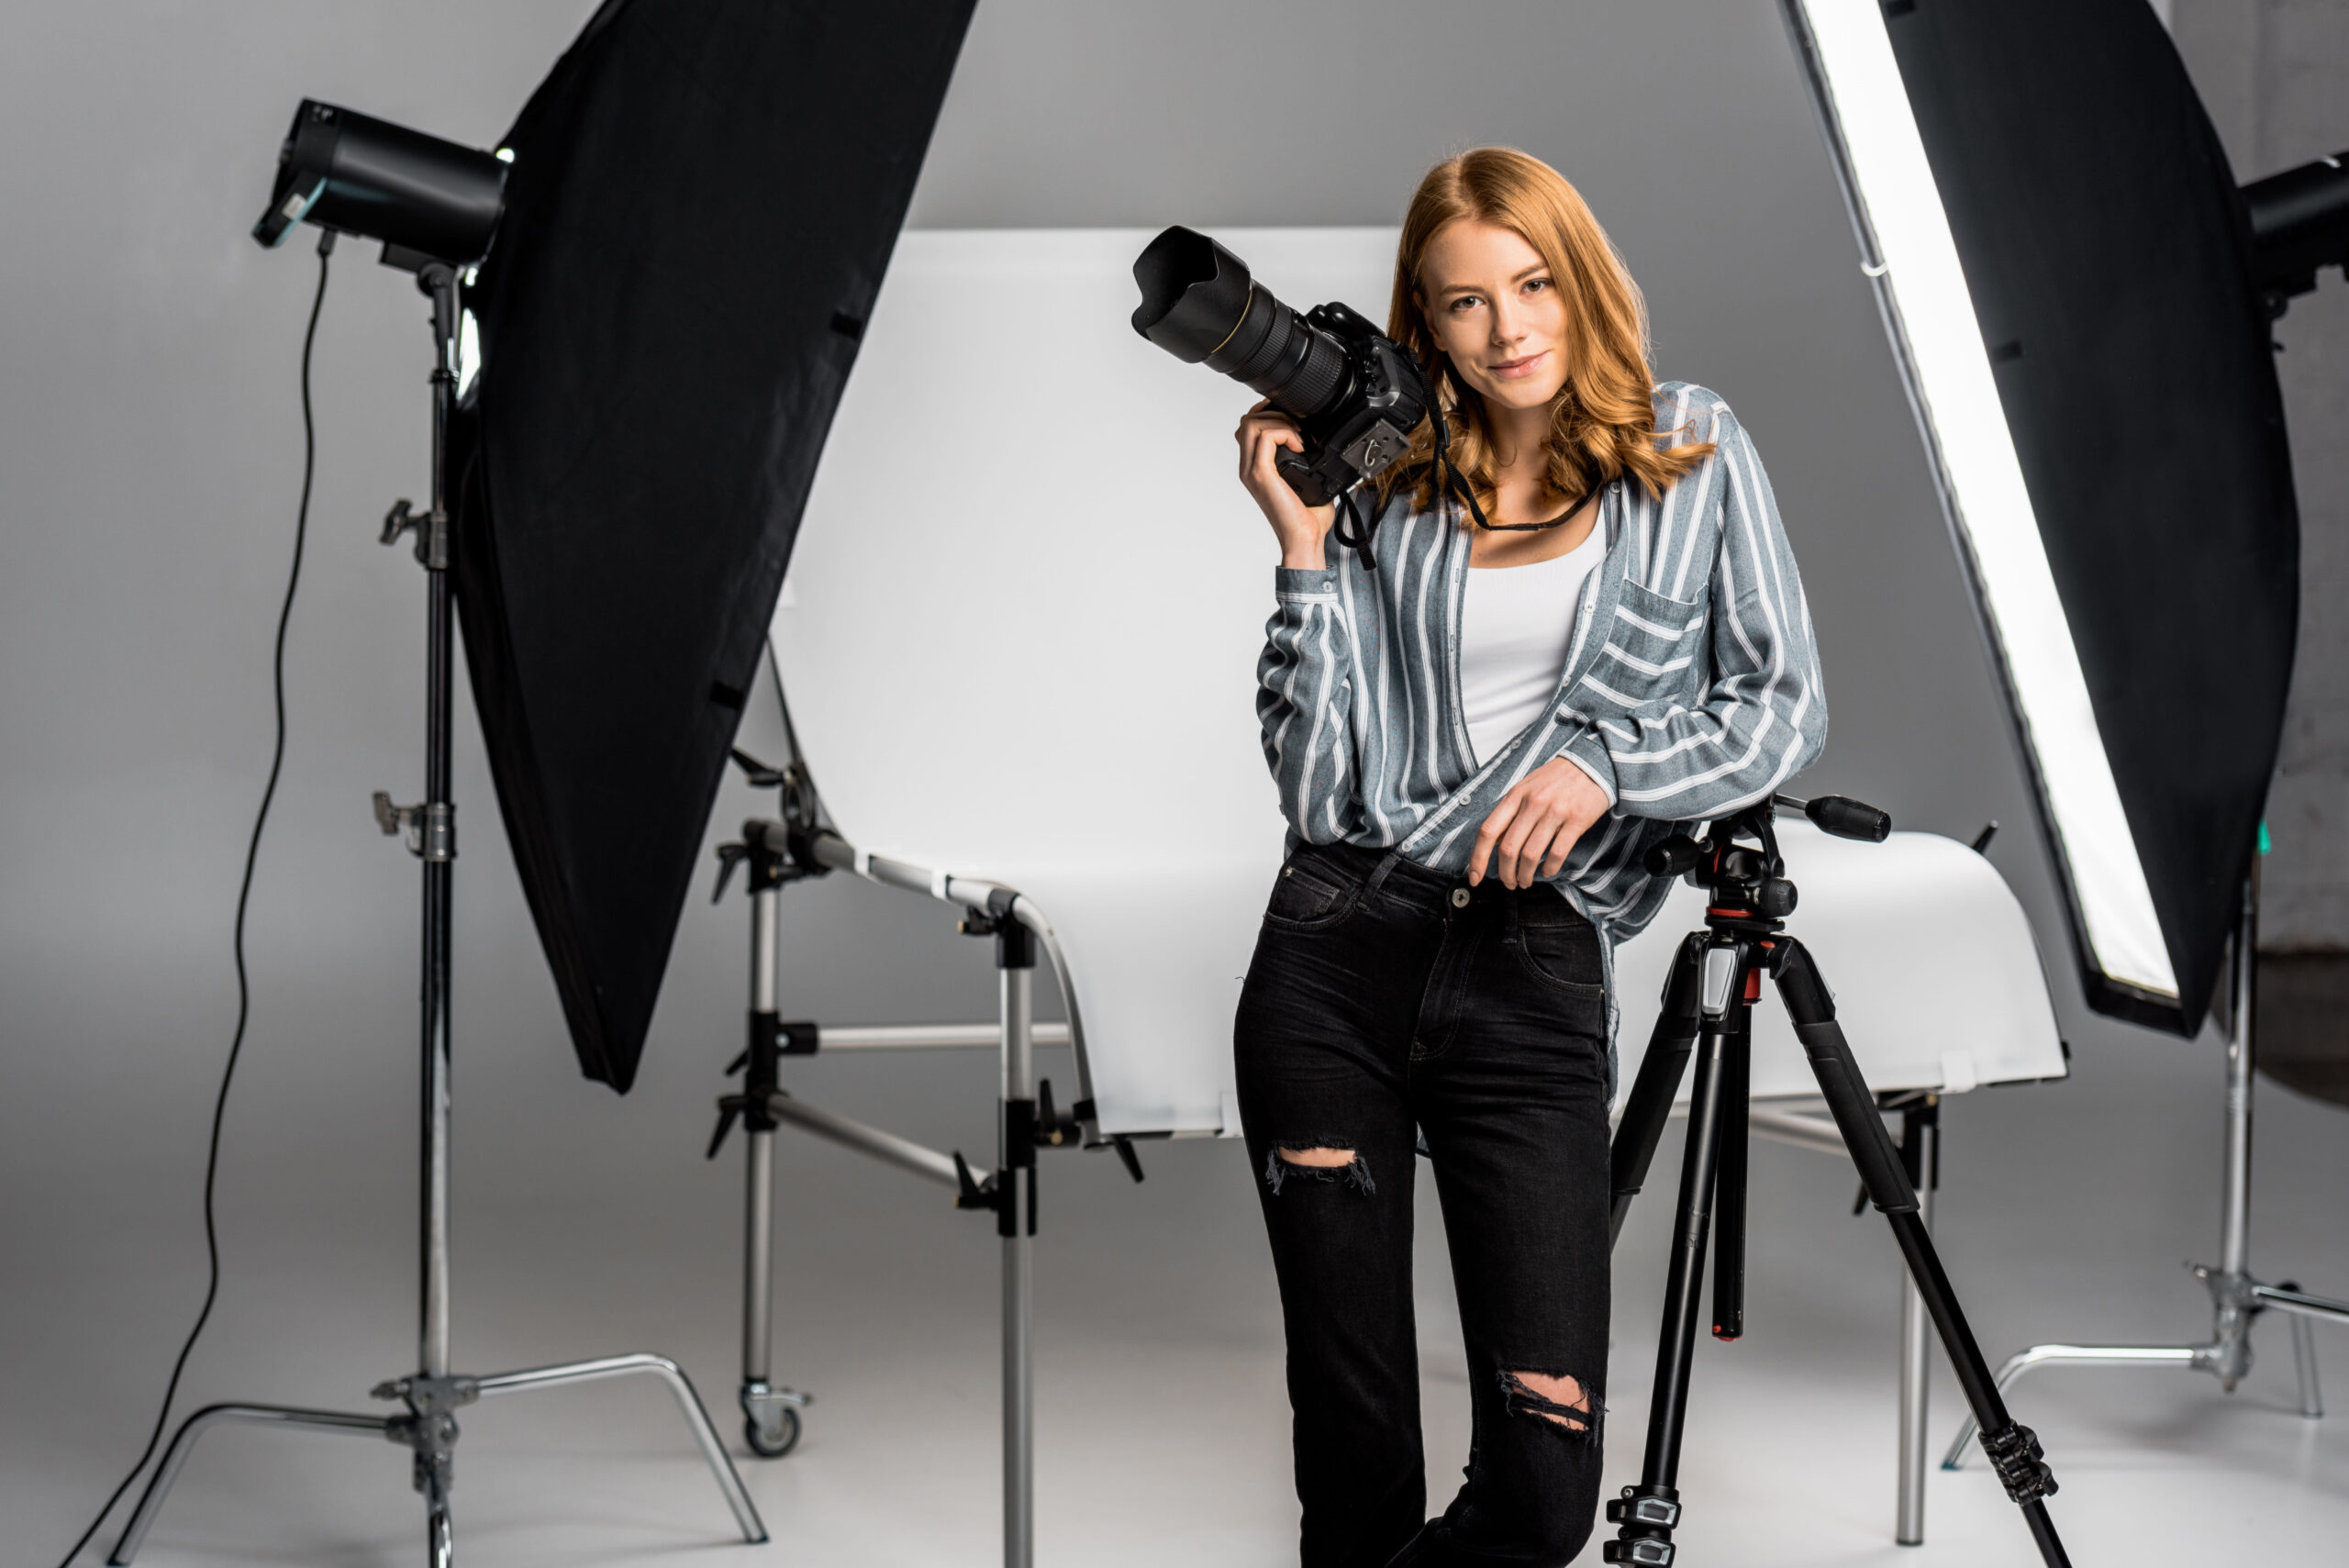
Essential Studio Equipment
The lighting system is the heart of any studio. You have two main options — continuous lights and flash or strobe lights.
Continuous LED panels produce a constant light source that lets you see exactly what the camera will capture in real time. They are intuitive for beginners, work for both photo and video, and generate minimal heat. Quality continuous lights suitable for portrait work start around $200–$500 CAD per light.
Studio strobes or flash units produce a brief, powerful burst of light when triggered by your camera. They are more powerful than continuous lights, produce sharper results due to their fast flash duration, and are the industry standard for professional studio photography. Entry-level studio strobe kits with two lights, softboxes, and stands start around $500–$1,000 CAD.
Light modifiers shape and control the quality of your light. A softbox produces soft, even light ideal for portraits. An umbrella is the most affordable and versatile modifier — shoot-through umbrellas create soft light while reflective umbrellas create slightly harder, more contrasty light. Beauty dishes produce a unique wrap-around light favoured for beauty and fashion work. Grids, snoots, and barn doors restrict light to specific areas of the frame.
Backgrounds come in several forms. Seamless paper rolls in the 2.7-metre width are the industry standard — grey is the most versatile single colour, as it can appear light or dark depending on how you light it. Fabric backdrops fold for easy storage. Vinyl and canvas backdrops offer more texture and durability. A sturdy background support system with two stands and a crossbar costs $80–$200 CAD.
B&H Photo is one of the most trusted retailers for studio lighting equipment and offers comprehensive buying guides for photographers building their first studio setup.
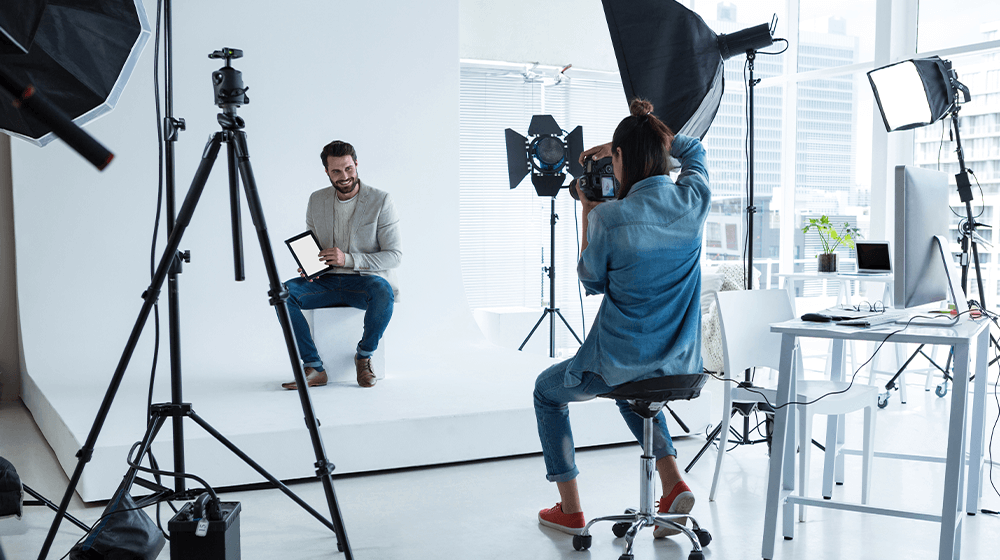
Fundamental Studio Lighting Setups
One-light setup is where every studio photographer should start. A single light source with a large softbox positioned at 45 degrees to your subject and slightly above eye level creates beautiful, dimensional light with a natural shadow pattern. Add a white reflector on the opposite side to fill the shadows, and you have a setup capable of professional headshots and portraits.
Two-light setup adds a second light behind or beside the subject to create rim light or hair light — a thin edge of brightness that separates the subject from the background and adds depth and dimension to the image.
Three-point lighting adds a third light aimed at the background to control background brightness independently from subject lighting. This gives you the ability to create pure white backgrounds, graduated tones, or coloured backgrounds using gels.
High-key lighting uses multiple lights to create bright, even, shadow-free illumination — the clean, commercial look used for e-commerce product photography and corporate headshots.
Low-key lighting uses minimal, directional light against a dark background to create dramatic, moody images with deep shadows and strong contrast — popular for editorial portraits and fine art work.
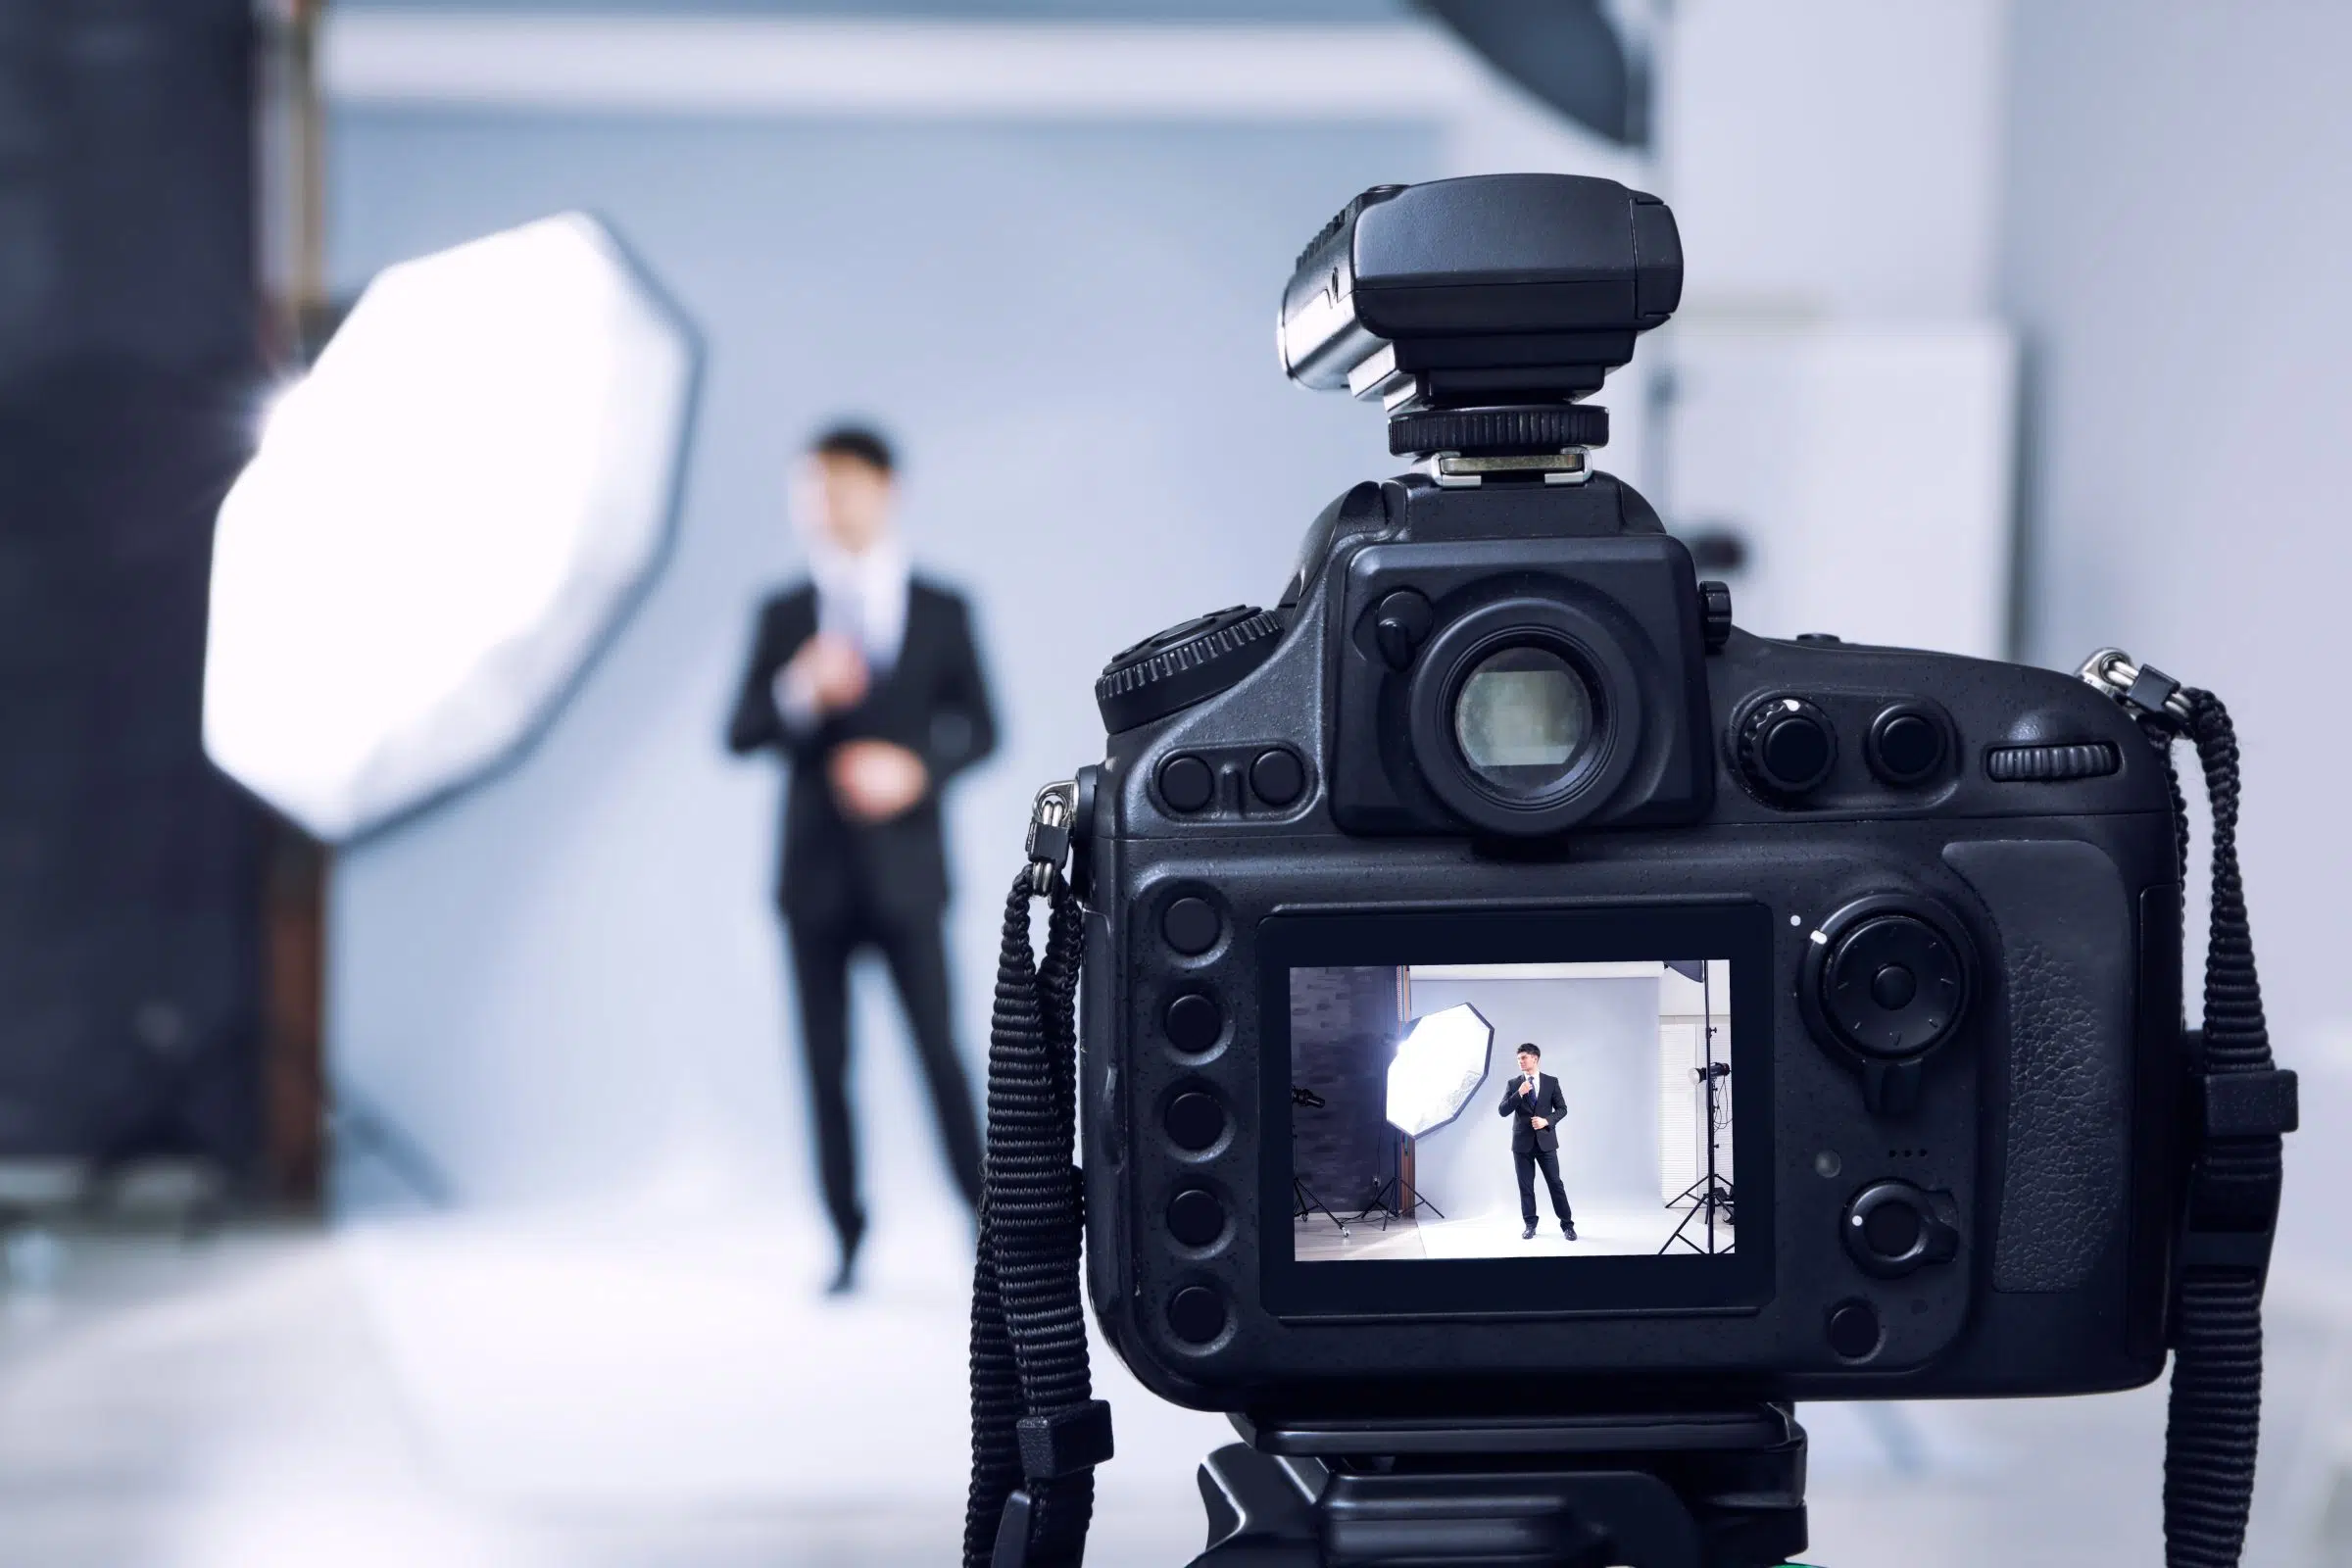
Camera Settings for Studio Photography
Shooting with studio strobes requires specific camera settings. Start with manual mode at ISO 100 for maximum image quality and minimum noise. Set your shutter speed to your camera’s flash sync speed — typically 1/160th or 1/200th of a second. Then adjust your aperture to control exposure — wider apertures like f/2.8 produce shallow depth of field, while narrower apertures like f/8 keep the entire face sharp.
A light meter — either a handheld unit or a smartphone app — helps you measure the exact light output hitting your subject, removing guesswork and ensuring consistent exposures across an entire session. Our exposure compensation guide covers the broader principles of controlling exposure in any environment.
Studio Etiquette and Client Experience
A professional studio experience goes beyond lighting and camera skills. Keep the space clean, organised, and comfortable. Have a mirror available so clients can check their appearance. Play background music at a low volume to reduce awkwardness during sessions. Maintain a comfortable temperature — studio lights generate heat, and uncomfortable subjects produce tense expressions.
Prepare your lighting setup before the client arrives. Fiddling with equipment while someone stands awkwardly waiting destroys confidence and wastes session time. Test every light, take test shots, and have your settings dialled in before the first handshake.
From Home Studio to Professional Space
Many photographers start in home studios and eventually move to dedicated commercial space as their business grows. Others rent studio space by the hour or day for specific shoots, keeping their overhead low while accessing professional-grade facilities.
In major Canadian cities, studio rental rates typically range from $50–$150 CAD per hour, with many studios offering half-day and full-day rates. This is a practical option for photographers who need studio space occasionally but cannot justify the fixed costs of their own commercial lease.
Start Your Studio Photography Journey
A studio photography course gives you control over the single most important variable in photography — light. Our Portrait Photography Course covers studio lighting, posing, and business skills in a comprehensive program. Explore our full range of courses to build your complete skill set as a photographer.