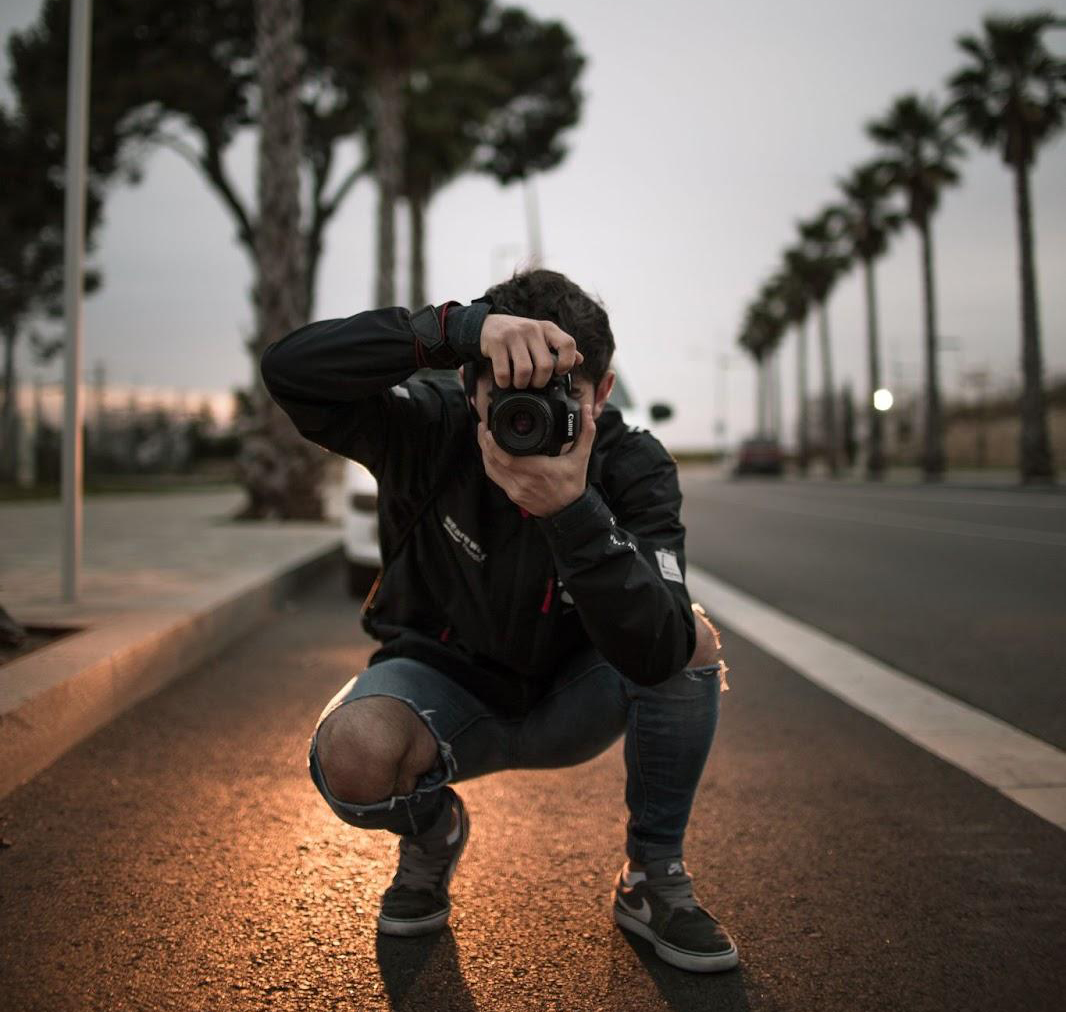
Nothing is more frustrating than capturing what you think is the perfect moment—only to discover in post-processing that your focus is slightly off. Soft images rarely survive the editing room, and in professional photography, “almost sharp” is simply not sharp enough.
This comprehensive guide reveals the advanced autofocus techniques professionals use to achieve tack-sharp focus consistently, from understanding how your camera’s AF system actually works to troubleshooting focus problems specific to Canadian shooting conditions.

Why Your Photos Aren’t Sharp: The Real Culprits
Before diving into autofocus techniques, understand that focus is only one factor in image sharpness. Blurry photos can result from:
- Focus errors: AF missed the target or focused on wrong area
- Camera shake: Shutter speed too slow for handheld shooting
- Subject movement: Subject moved during exposure
- Lens limitations: Shooting wide open on cheaper lenses
- Atmospheric conditions: Heat shimmer, fog, humidity
- Technique issues: Improper hand-holding or breathing
According to Canon’s professional autofocus guide, understanding your specific focus issue is essential before implementing solutions.
This guide addresses the first culprit—focus errors—through mastering your autofocus system.
Understanding Modern Autofocus Systems
Modern cameras use sophisticated autofocus systems with multiple points (9, 45, 61, or even 693+ AF points). Understanding how these systems work is fundamental to sharp images.
Phase Detection vs. Contrast Detection
Phase Detection AF (used in viewfinder shooting):
- Extremely fast
- Works in lower light
- Accurate for moving subjects
- Used by most DSLRs and newer mirrorless cameras
Contrast Detection AF (used in live view):
- Highly accurate
- Slower to lock
- Covers more frame area
- Can hunt in low contrast situations
Modern mirrorless cameras often use hybrid systems, combining both for speed and accuracy.
AF Point Selection: Your First Critical Choice
Your camera offers three basic AF area modes:
Single Point AF:
- You choose one AF point
- Camera focuses only on that point
- Maximum precision and control
- Best for stationary subjects where you control composition
Zone/Area AF:
- You select a cluster of AF points
- Camera chooses best point within zone
- Balance between control and flexibility
- Useful for subjects with limited movement
Auto/Wide Area AF:
- Camera selects from all AF points
- Prioritizes closest subject or uses scene detection
- Fastest to use but least predictable
- Works well for simple scenes
Professional Practice: Most serious photographers use single-point AF for portraits and careful work, switching to zone AF only when tracking unpredictable movement.
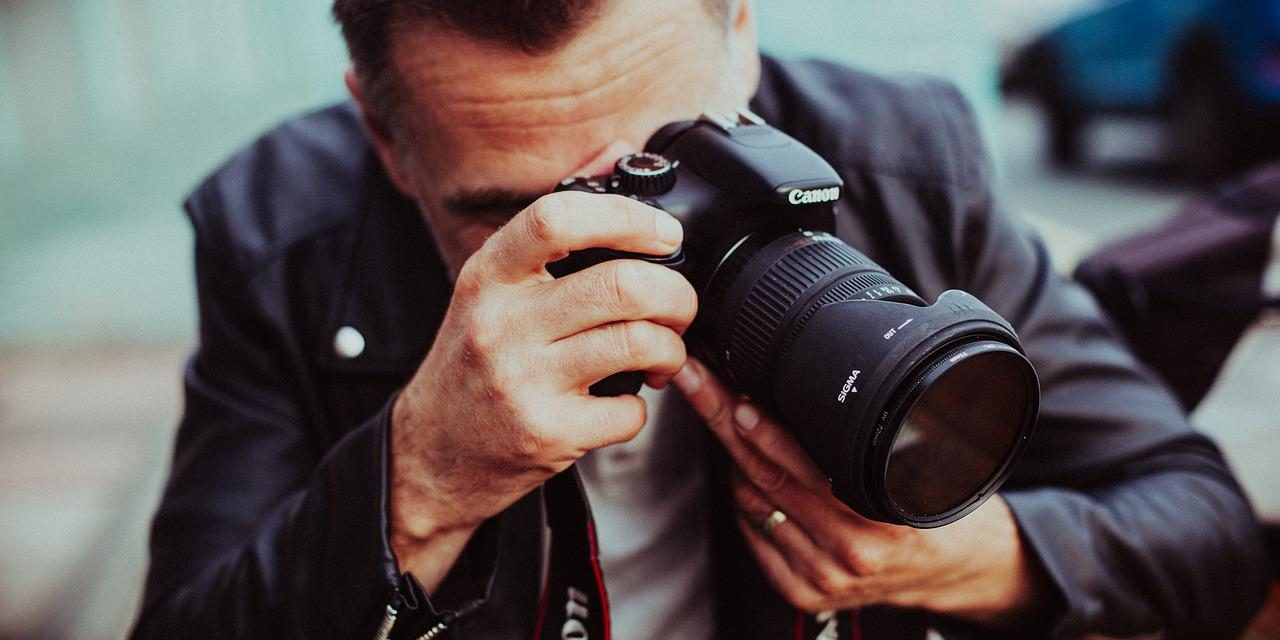
The Back Button Focus Revolution
If you’re still using shutter-button focus, you’re fighting with one hand tied behind your back. Back button focus (BBF) separates focusing from shooting—it’s the single biggest technique upgrade most photographers never make.
How Back Button Focus Works
Traditional setup:
- Half-press shutter: Focus and exposure lock
- Full press: Capture image
Back button focus setup:
- Press AF-ON (or customized button): Focus
- Press shutter: Capture image (no focusing)
- Both can be pressed simultaneously or separately
Why Back Button Focus Is Superior
1. No Refocusing Between Shots With shutter-button focus, every press refocuses—even if your subject hasn’t moved. This causes critical focus misses, especially in portraiture.
BBF solution: Focus once, shoot multiple frames with locked focus.
2. Instant Manual Focus Override Stop pressing the AF button, adjust focus ring—no need to switch AF/MF on your lens.
3. Easier Focus-and-Recompose Focus on subject’s eye, hold AF button, recompose, release AF button, shoot. No half-pressing gymnastics.
4. Reduces Focus Hunting With shutter button focus, every accidental half-press causes hunting. BBF eliminates this.
Nikon’s autofocus mastery guide calls back button focus “the professional standard” for predictable, reliable focusing.
Setting Up Back Button Focus
Canon: Custom Functions > Shutter/AF button > Disable shutter AF, enable AF-ON button Nikon: Custom Settings > AF activation > AF-ON only Sony: Custom Settings > Custom Key Settings > Assign AF-ON to rear button
Give yourself one week to adjust—after that, you’ll never go back.
Advanced AF Techniques for Different Scenarios

Portrait Photography: Nailing Eye Focus
The Challenge: With wide apertures (f/1.4-f/2.8), depth of field is razor-thin. Focus on the nose when you meant the eyes, and the portrait is ruined.
The Solution:
- Use single-point AF on center point (usually most accurate)
- Focus on the closest eye to camera (critical in 3/4 poses)
- Enable eye-detection AF if your camera has it (game-changer for Sony/Canon R/Nikon Z)
- Use continuous AF (AF-C/AI Servo) for slight subject movement
- Shoot multiple frames—focus variance is real, even at f/5.6
Canadian Studio Tip: Cold studios affect AF performance. Allow cameras to acclimate to room temperature before shooting—condensation and temperature differentials can cause focus errors.
Landscape Photography: Maximizing Depth of Field
The Challenge: Getting both foreground and background acceptably sharp.
The Solution:
- Use single-point AF on your focal point (typically 1/3 into the scene)
- Stop down to f/8-f/11 for optimal sharpness and depth
- Use live view and magnification to verify critical focus (10x zoom)
- Consider hyperfocal distance focusing for maximum depth
- Focus stacking for extreme depth requirements
Rocky Mountain Photography: Atmospheric haze between you and distant peaks can confuse AF. Use live view manual focus for verification when shooting mountain ranges beyond 5km.

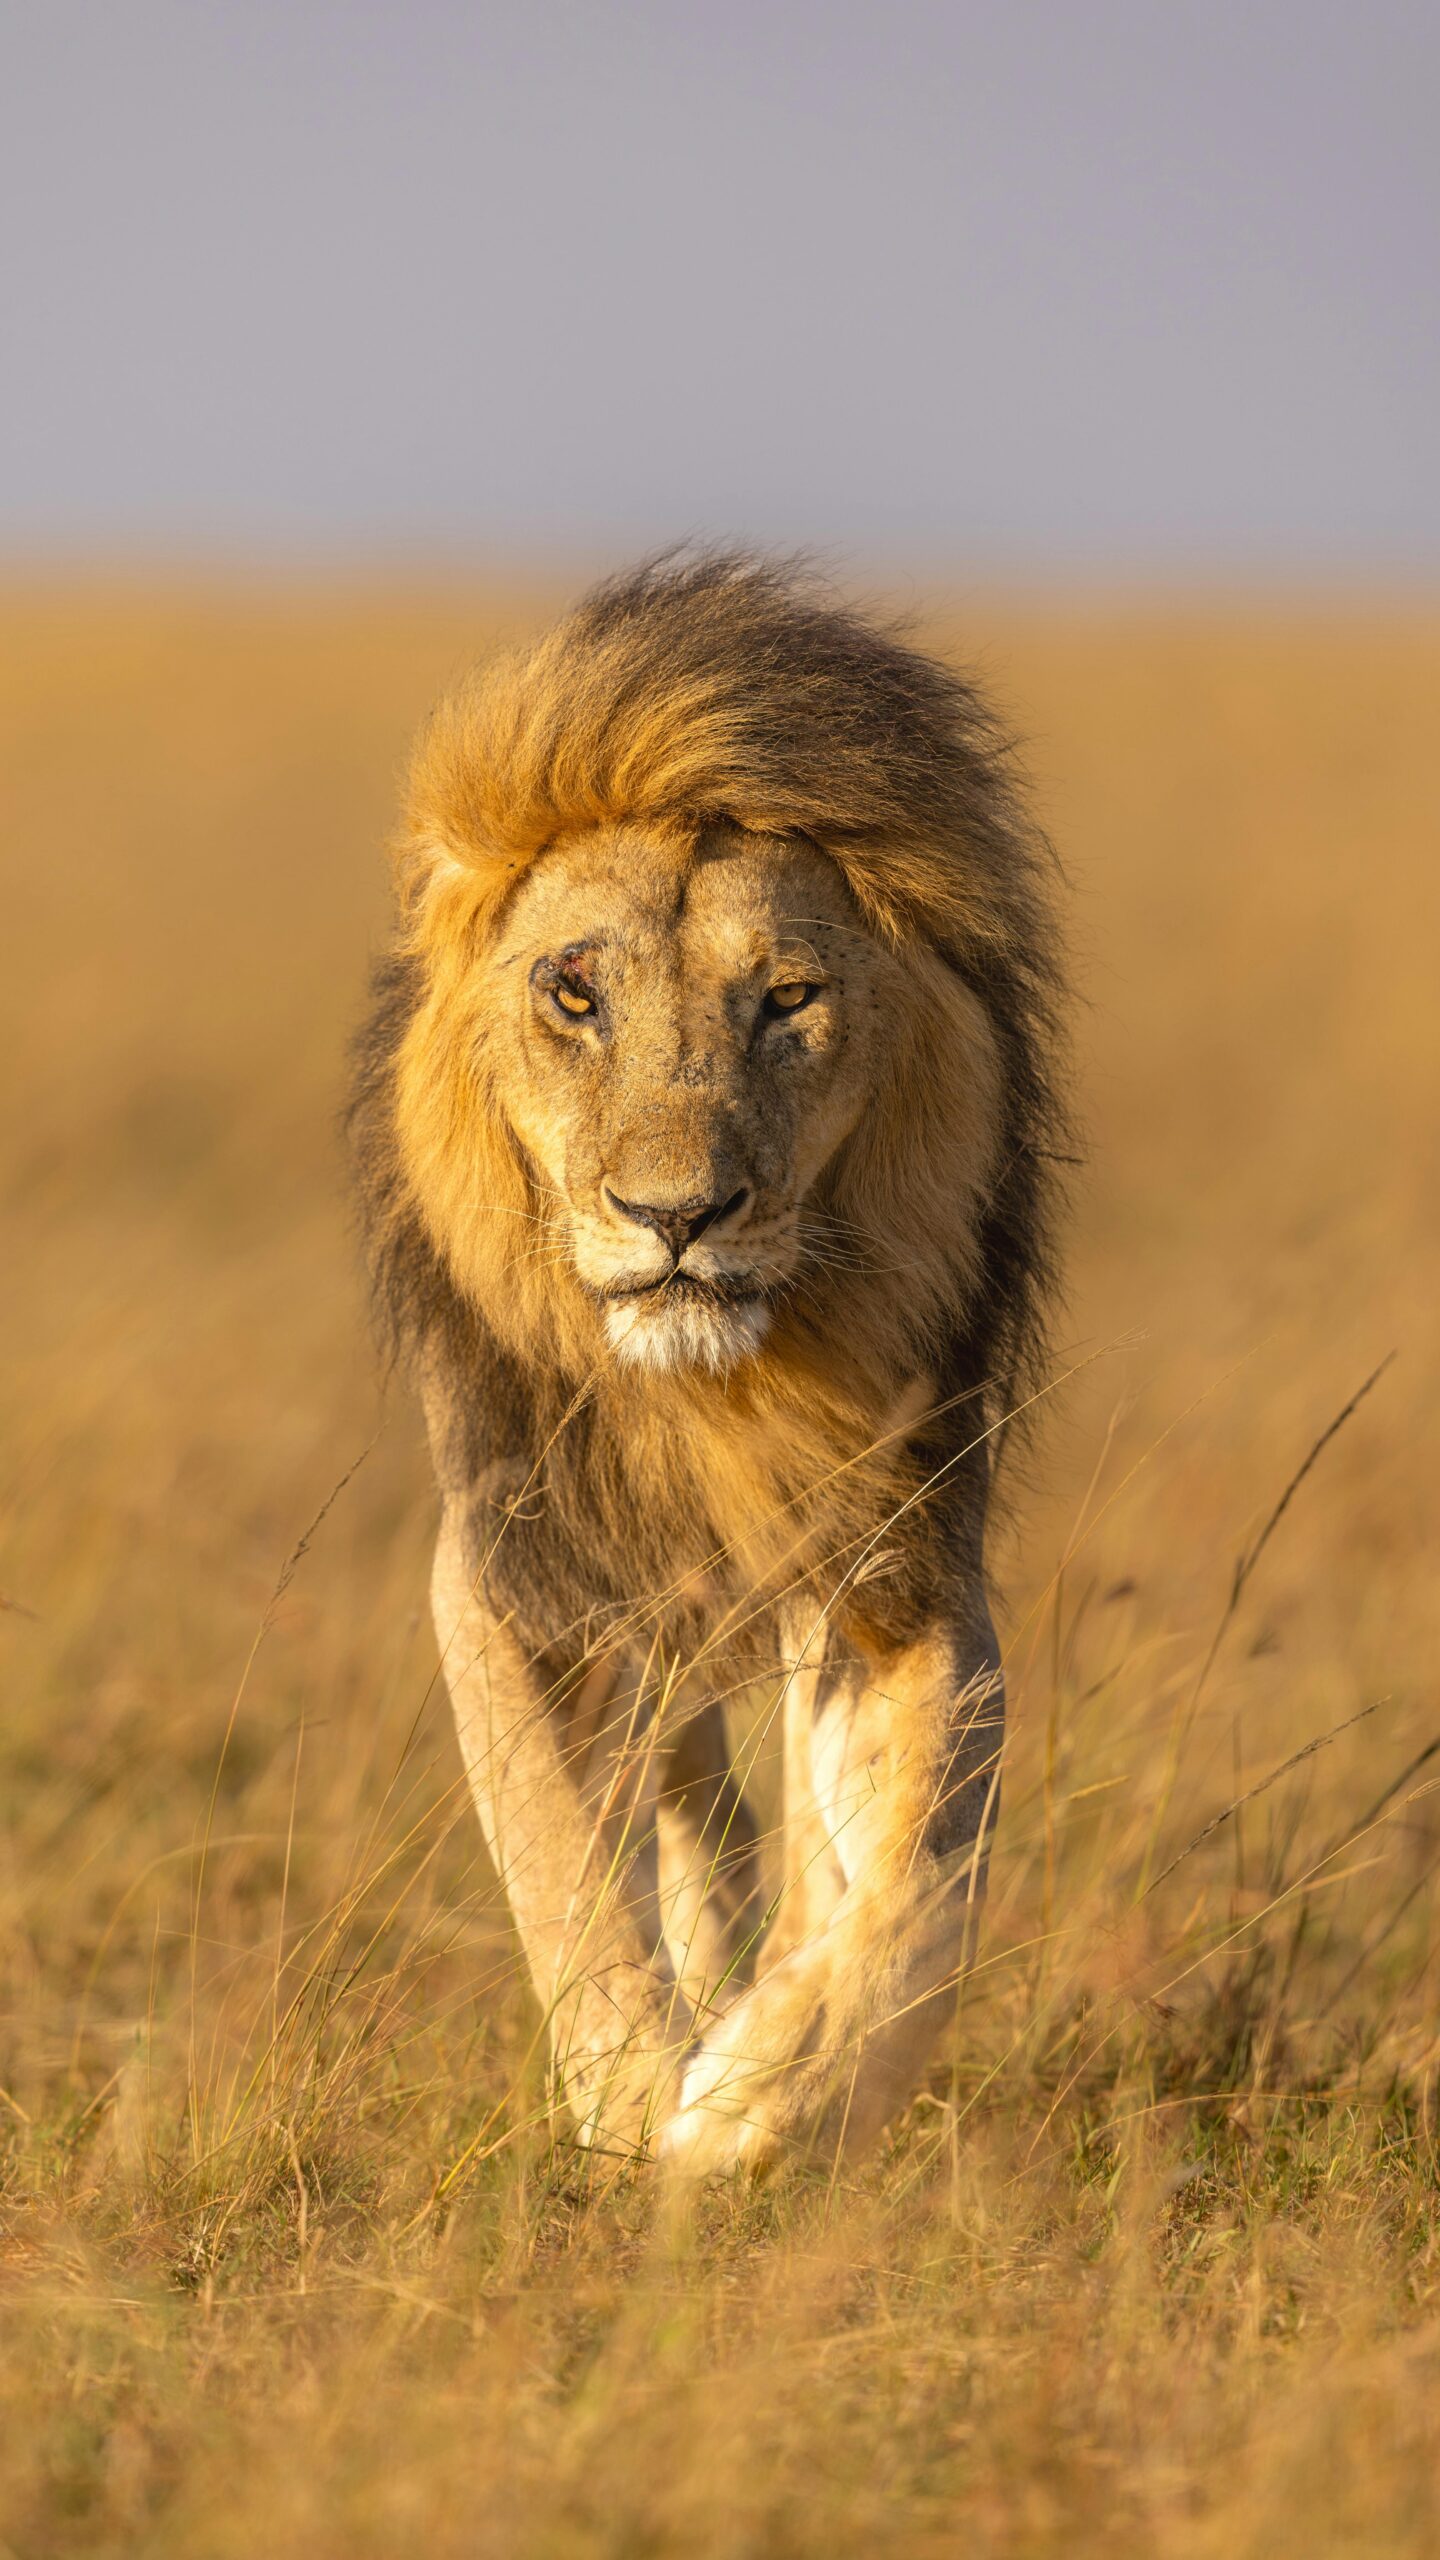
Wildlife Photography: Tracking Moving Subjects
The Challenge: Keeping focus locked on unpredictable animals in motion.
The Solution:
- Use continuous AF (AF-C/AI Servo) with tracking activated
- Select appropriate AF area mode:
- Single point: Slow, predictable movement (grazing deer)
- Zone AF: Moderate movement (walking bear)
- Wide/tracking AF: Fast, erratic movement (flying birds)
- Enable subject tracking (animal detection if available)
- Customize AF sensitivity settings to prevent focus jumping to background
- Pre-focus on anticipated location for action you’re expecting
Canadian Wildlife Specifics: When photographing white animals (polar bears, arctic foxes), AF can struggle with low contrast. Use contrast-detect AF in live view or manually verify focus.
According to National Geographic’s wildlife photography techniques, tracking AF has revolutionized wildlife photography, but understanding how to configure it for different situations separates amateurs from professionals.

Sports/Action Photography: Predictive Focus
The Challenge: Subject moving rapidly toward or away from you.
The Solution:
- Use AF-C with highest frame rate your camera offers
- Expand AF area slightly beyond subject for tracking resilience
- Enable 3D tracking (Nikon) or subject tracking (Canon/Sony)
- Understand AF tracking sensitivity:
- Low sensitivity: Sticks to subject, ignores distractions
- High sensitivity: Quickly shifts to new subjects entering frame
- Pre-focus near action zone to give AF a head start
Hockey Photography in Canadian Arenas: Glass reflections and netting confuse AF. Use zone AF on center of action, higher sensitivity to track through obstacles.
Low-Light Photography: When AF Struggles
The Challenge: Your camera hunts endlessly, never locking focus in dim conditions.
The Solution:
- Use center AF point (most sensitive, often works to -4 or -6 EV)
- Enable AF assist beam (if not distracting in environment)
- Add light source for AF, then remove for shot (flashlight technique)
- Look for contrast to focus on—light/dark edges, not smooth tones
- Switch to manual focus with focus peaking if AF fails completely
Northern Lights Photography: At night, AF is useless. Switch to manual focus, focus on brightest star or distant light, then switch to MF lock so you don’t accidentally bump focus ring.
Focus Fine-Tuning: Calibrating Your Gear
Even quality lenses can have slight focus calibration issues—front focusing (sharp plane is in front of subject) or back focusing (behind subject).
Testing for Focus Issues
The Focus Test:
- Set up focus chart at 45° angle
- Use single-point AF on center marker
- Shoot at widest aperture from 25-50x focal length distance
- Review at 100% magnification—is the focus plane where you aimed?
If you consistently miss focus in the same direction, your lens needs micro-adjustment.
AF Fine Tuning (Micro Adjustment)
Higher-end cameras (Canon 5D/1D series, Nikon D7xxx and up) offer AF fine-tuning:
- Negative values: Shifts focus closer to camera (corrects back-focus)
- Positive values: Shifts focus farther from camera (corrects front-focus)
Make adjustments in small increments (±5), test, and refine.
Note: Mirrorless cameras typically don’t need this—their AF is direct-sensor detection without calibration issues that DSLR phase-detection systems have.
The Focus-and-Recompose Debate
Focus-and-recompose is common: focus on subject’s eye (center AF point), hold focus, recompose with subject off-center, shoot.
The problem: At wide apertures, recomposing shifts the focus plane. According to Digital Photography School’s focus techniques article, with f/1.4 even slight recomposing can shift critical focus off the eye.
Solutions:
- Use off-center AF points directly on your subject (ideal)
- Stop down slightly (f/2.8 instead of f/1.4) for focus error forgiveness
- Minimize recomposing angle—subtle adjustments only
- Use focus tracking that follows subject as you recompose
Troubleshooting Common Focus Problems
Problem: Focus Hunting, Never Locks
Causes & Solutions:
- Low contrast: Focus on edge, not smooth area
- Low light: Use center AF point or add light
- Through glass/netting: Get closer, manually focus if necessary
- Subject too close: You’re inside minimum focus distance—back up
Problem: Focus Locks, But Wrong Part of Subject Sharp
Causes & Solutions:
- Using wrong AF mode: Switch from auto-area to single-point
- Subject moved after focus lock: Use continuous AF or refocus
- Poor AF point placement: Double-check AF point location in viewfinder
Problem: Sharp Center, Soft Edges
Causes & Solutions:
- Lens aberration: Normal for budget lenses at wide apertures—stop down
- Field curvature: Flat subjects (documents) need smaller apertures
- Missed focus: If only one edge soft, focus is off-plane
Problem: Every Shot Slightly Soft
Causes & Solutions:
- Camera shake: Increase shutter speed, use tripod
- Dirty/damaged lens: Clean front element, check for issues
- Lens needs calibration: Perform AF fine-tuning
- Shooting at widest aperture: Stop down to f/2.8-f/4 for sharpness
Building a Sharp-Focus Workflow
Professional photographers don’t hope for sharpness—they systematically ensure it:
Pre-Shoot Checklist:
- Clean lens front and rear elements
- Verify AF/MF switch is set correctly
- Check image stabilization (on for handheld, off for tripod)
- Confirm AF mode appropriate for subject
- Test focus on practice shot, review at 100%
During Shoot:
- Verify focus point placement before each frame
- Periodically check images at 100% magnification
- Shoot multiple frames of critical moments
- Adjust AF settings if conditions change
Post-Shoot:
- Check sharpness before leaving location
- Note any recurring focus issues
- Consider gear calibration if patterns emerge

The Role of Technique in Sharp Images
Even perfect autofocus can’t overcome poor technique:
Hand-Holding Technique:
- Elbows tucked against body
- Feet shoulder-width apart
- Exhale and shoot at bottom of breath
- Gentle shutter press (squeeze, don’t jab)
- Use image stabilization appropriately
Tripod Technique:
- Disable image stabilization
- Use remote release or 2-second timer
- Mirror lockup for extra critical work
- Ensure tripod is stable and locked
Canadian Cold Weather Caveat: Cold hands equal camera shake. Use thin glove liners under heavier gloves or mittens for better camera grip without sacrificing warmth.
Master Technical Excellence
Achieving tack-sharp focus is a fundamental technical skill, but combining it with strong composition, proper exposure, and effective post-processing separates good images from portfolio-worthy work.
If you’re ready to develop a complete photography skill set—from technical mastery to creative vision—our photography course for beginners provides structured, comprehensive training that takes you from uncertain amateur to confident photographer. You’ll learn not just how to achieve technical perfection, but how to use those technical skills in service of compelling creative work.
The Sharp Truth
Tack-sharp focus isn’t about luck or expensive gear—it’s about understanding your camera’s autofocus system and using the right techniques for each situation. The best camera in the world can’t compensate for poor AF technique, but a basic DSLR with proper AF use will outperform expensive gear used incorrectly.
With the techniques in this guide, you now have the knowledge to achieve consistent sharpness across any photographic situation. Practice these methods systematically, and watching images come into perfect focus will become one of the most satisfying parts of your photography workflow.
Now pick up your camera, set up back button focus, and start capturing images with the crisp sharpness your vision deserves.