Viewers will forgive mediocre video quality, but they’ll immediately abandon content with poor audio. This harsh reality makes audio the most critical—and most overlooked—element of professional video production. Scratchy dialogue, inconsistent levels, background noise, and echo transform otherwise excellent footage into unwatchable content.
This comprehensive guide covers everything you need to record professional audio for video, from essential equipment and microphone selection to recording techniques, problem-solving, and post-production workflows—with specific considerations for Canadian videographers working in diverse environments.
Why Audio Matters More Than You Think
The Psychology: Humans are extraordinarily sensitive to audio quality. Bad audio signals “amateur” instantly, while great audio elevates even modest video quality.
The Statistics:
- 25% of viewers abandon videos with poor audio within 10 seconds
- Poor audio is cited as #1 reason for viewer drop-off (ahead of video quality)
- Professional audio increases perceived production value by 50-70%
According to Adobe’s video production research, audio quality is the single most impactful factor in viewer retention—more important than resolution, colour grading, or camera quality.
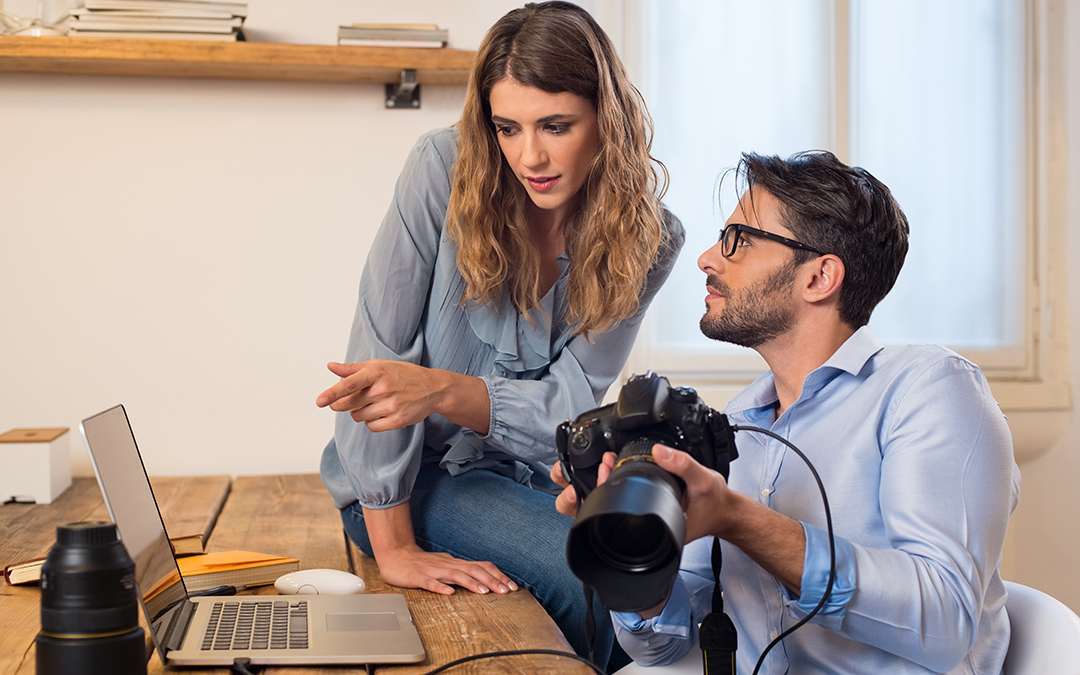
The Professional Reality: Every successful videographer invests significantly in audio equipment and knowledge. Your camera’s built-in microphone is never acceptable for paid work.
Understanding Audio Basics
Frequency and Volume
Frequency (Pitch): Measured in Hertz (Hz)
- Human hearing: 20Hz – 20,000Hz
- Human voice: 85Hz – 255Hz (fundamental frequencies)
- Intelligibility: 1,000Hz – 4,000Hz (consonants and clarity)
Volume (Loudness): Measured in decibels (dB)
- 0 dB: Threshold of hearing
- 60 dB: Normal conversation
- 85 dB: Loud traffic/restaurant
- 120 dB+: Pain threshold, hearing damage
Recording Levels: Digital audio measured in dBFS (decibels Full Scale)
- 0 dBFS: Maximum level (anything above = clipping/distortion)
- -12 dBFS: Target peak level for dialogue
- -6 dBFS: Absolute maximum before risking clipping
Sample Rate and Bit Depth
Sample Rate: How many times per second audio is measured
- 44.1kHz: CD quality, minimum acceptable
- 48kHz: Video standard (use this)
- 96kHz: High-end production
Bit Depth: Dynamic range and noise floor
- 16-bit: 96dB dynamic range, adequate
- 24-bit: 144dB dynamic range, professional standard
- 32-bit float: Virtually unclippable, emerging standard
Standard Settings: 48kHz / 24-bit for all professional video work.
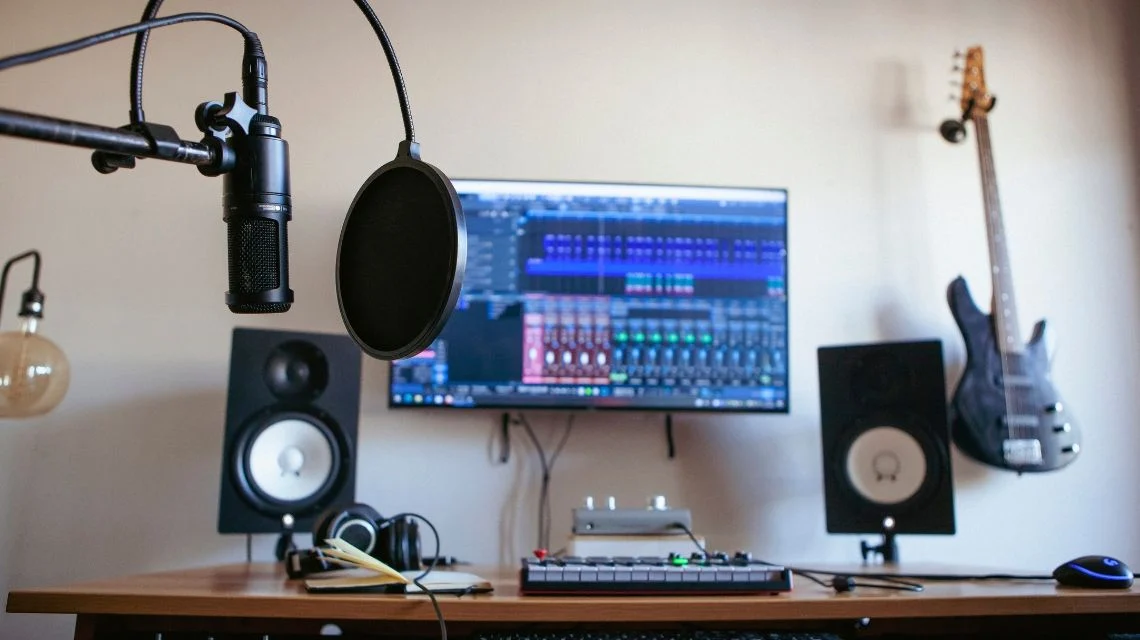
Essential Audio Equipment
Microphone Types and Uses
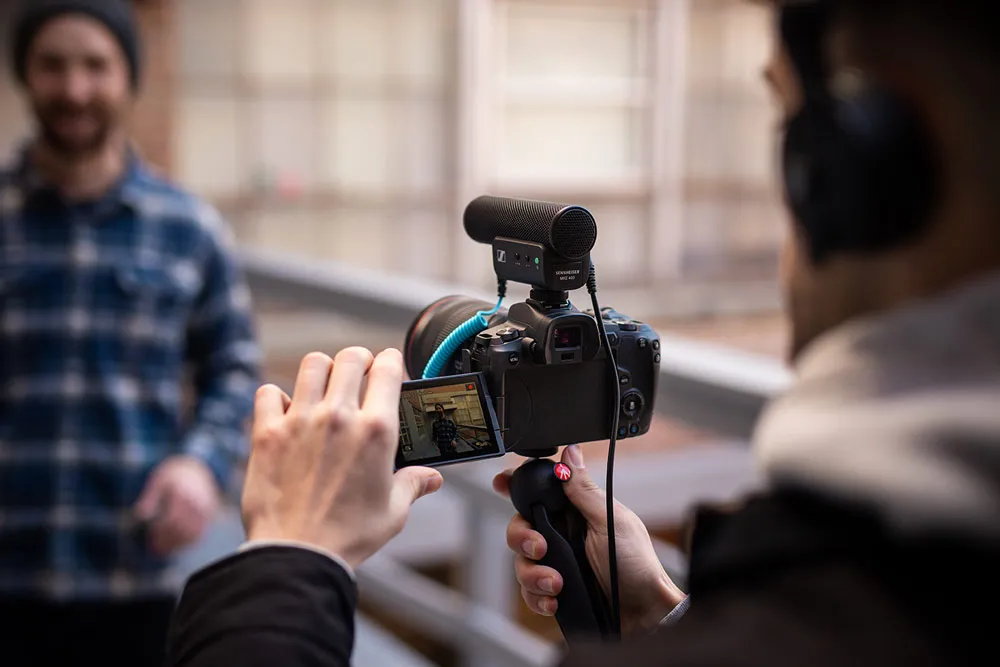
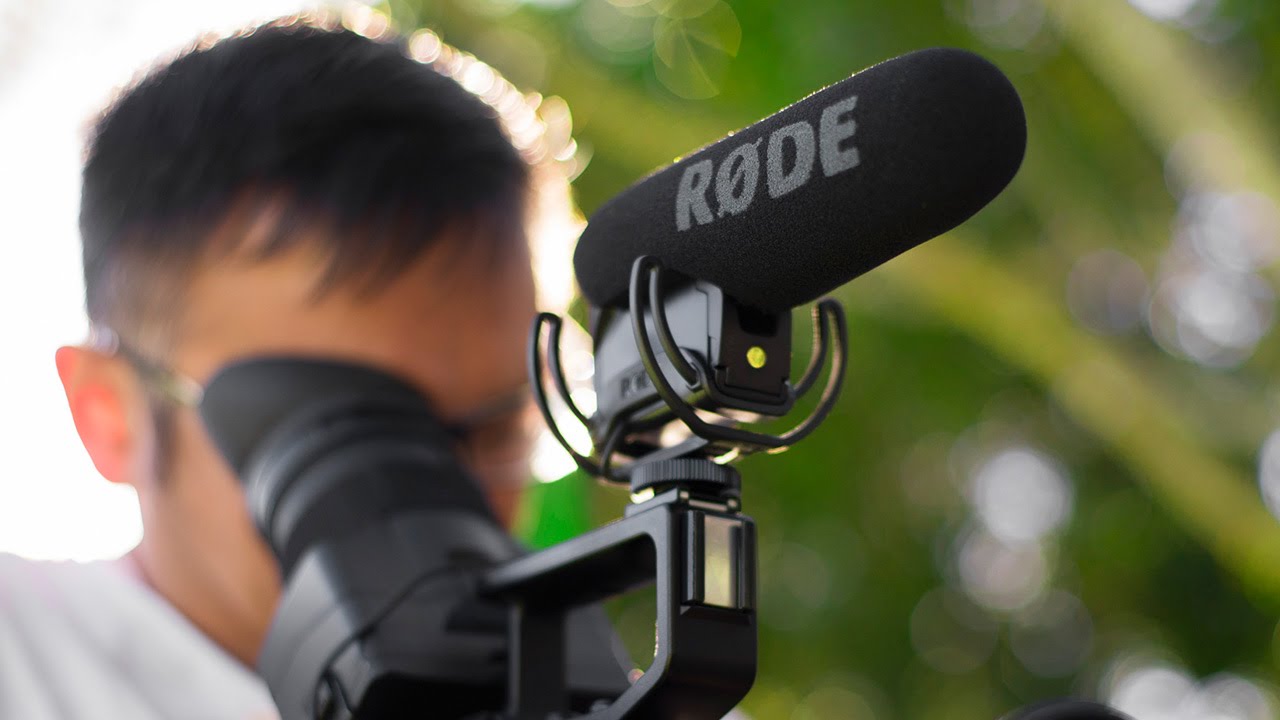
Shotgun Microphones:
- Highly directional (picks up sound directly in front)
- Rejects off-axis noise
- Boom-mounted or on-camera
- Use for: Interviews, dialogue, on-location sound
Popular Options:
- Budget: Rode VideoMic ($150-200 CAD)
- Mid: Rode NTG4+ ($350 CAD)
- Pro: Sennheiser MKH 416 ($1,200 CAD)
Lavalier (Lapel) Microphones:
- Small, clips to clothing
- Consistent sound regardless of head movement
- Close to mouth = clear dialogue
- Use for: Interviews, presentations, documentaries
Popular Options:
- Budget: Rode SmartLav+ ($100 CAD)
- Mid: Rode Wireless GO II ($400 CAD)
- Pro: Sennheiser G4 wireless system ($800+ CAD)
Handheld Microphones:
- Held by subject
- Reporter-style or performance microphones
- Use for: Run-and-gun interviews, presentations, performances
XLR vs. 3.5mm:
- 3.5mm: Consumer connections, adequate for entry-level
- XLR: Professional standard, balanced audio, superior noise rejection
- Upgrade to XLR when possible (requires audio interface/recorder)
According to Rode Microphones’ application guide, shotgun mics excel for controlled environments while wireless lavs are essential for run-and-gun documentary work.
Audio Recorders
Why External Recorders Matter:
- Superior preamps (cleaner audio)
- Better controls and monitoring
- XLR inputs (professional microphones)
- Higher quality recording
- Independent backup (if camera fails)
Recommended Recorders:
- Entry: Zoom H5 ($400 CAD)
- Mid: Zoom H6 ($500 CAD)
- Pro: Sound Devices MixPre-6 II ($1,100 CAD)
In-Camera Recording: Acceptable only with external mic via 3.5mm input. Never use built-in camera mic professionally.
Audio Interfaces
For studio/controlled environments, audio interfaces connect professional microphones to computers:
Popular Options:
- Entry: Focusrite Scarlett 2i2 ($200 CAD)
- Mid: Universal Audio Volt 276 ($350 CAD)
- Pro: Apollo Twin X ($1,200 CAD)
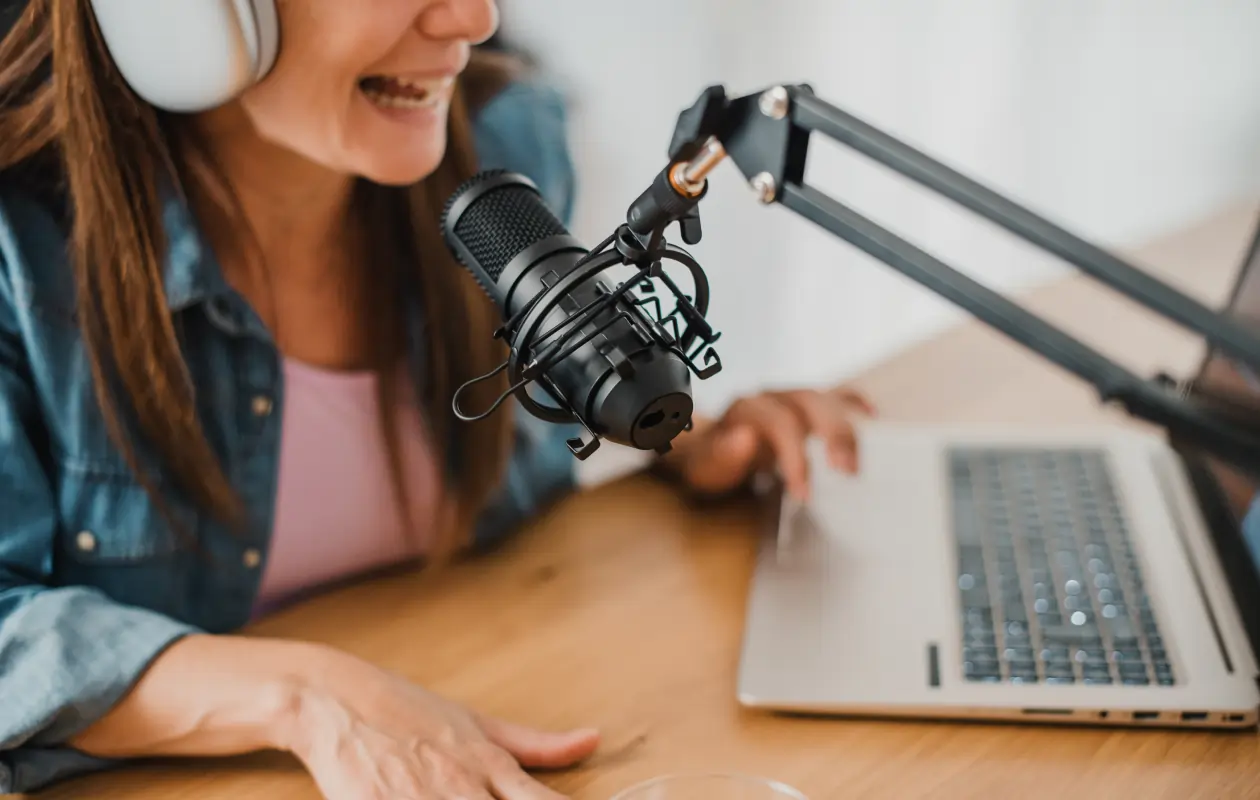
Headphones: Non-Negotiable
Closed-Back Headphones (monitoring during recording):
- Isolate from environment
- Prevent sound leakage
- Hear exactly what’s being recorded
Popular Options: Sony MDR-7506 ($130 CAD), Audio-Technica ATH-M50x ($200 CAD)
Critical Rule: Never record audio without monitoring through headphones. You cannot assess audio quality by looking at levels alone.
Accessories
Essential:
- Windscreen/deadcat (outdoor recording)
- Boom pole (proper mic positioning)
- XLR cables (quality matters—avoid cheap cables)
- Headphone extension cable (monitoring from distance)
Helpful:
- Shock mount (reduces handling noise)
- Pop filter (reduces plosives in studio)
- Acoustic treatment panels (studio recording)
Recording Techniques
The Proximity Rule
Audio quality degrades exponentially with distance. The closer your microphone to the sound source, the better.
Target Distance:
- Lavalier: 6-8 inches from mouth (under clothing)
- Shotgun: 12-24 inches above subject, pointed at mouth
- Handheld: 6-12 inches from mouth
Common Mistake: Camera-mounted shotgun mic 10 feet from subject = poor audio. Get the mic close.
Proper Recording Levels
The Target: Dialogue peaking between -12dB and -6dB, averaging around -18dB
Too Quiet (below -24dB):
- Requires boosting in post
- Increases noise floor
- Sounds thin and lacking presence
Too Loud (above -6dB):
- Risk of clipping (distortion)
- No headroom for sudden volume increases
- Unrecoverable if clipping occurs
Setting Levels:
- Have subject speak at normal volume
- Adjust input gain until peaks hit -12dB
- Ask subject to speak loudly
- Ensure loud speech doesn’t exceed -6dB
- Record 10 seconds of “room tone” (silence) for editing
According to Blackmagic Design’s production guides, proper level-setting prevents 90% of audio problems—spend time getting this right before recording.
Dealing with Background Noise
Identify Noise Sources: Before recording, listen carefully:
- Air conditioning/heating
- Refrigerators, fans
- Traffic, construction
- Fluorescent lights (buzzing)
- Computer fans
Solutions:
- Turn off controllable noise sources
- Change locations if possible
- Use directional microphones
- Get mic closer to subject (improves signal-to-noise ratio)
- Record during quieter times
Canadian HVAC Challenge: Many Canadian buildings run powerful heating systems in winter. Scout locations and time recordings when systems cycle off, or work with building managers to temporarily disable HVAC.
Recording Outdoors
Wind: The greatest outdoor audio enemy
Protection:
- Foam windscreen: Light breeze
- Furry windscreen (deadcat): Moderate wind
- Blimp system: Strong wind
- Avoid recording in excessive wind (>20km/h becomes very difficult)
Canadian Prairie/Coastal Wind: These regions require serious wind protection. Budget $50-150 for quality deadcat windscreens—essential for outdoor work.
Environmental Sounds:
- Birds, insects (seasons affect this)
- Traffic (time recordings for quieter periods)
- Aircraft (stop recording, wait for flyover to pass)
- People (control set or choose isolated locations)
Multi-Microphone Setups
Interview Scenarios:
- Lav mics on each person (cleanest separation)
- Single shotgun boom favoring primary speaker
- Two shotgun mics on stands for seated interview
Recording Multiple Sources:
- Use recorder with multiple inputs
- Set individual levels for each mic
- Record separate tracks (easier editing)
- Monitor all sources simultaneously
Common Audio Problems and Fixes
Problem 1: Clipping/Distortion
Symptoms: Harsh, crackling sound when loud
Prevention:
- Set proper input levels (-12dB peak target)
- Leave headroom for unexpected volume increases
- Use 24-bit or 32-bit float recording
Fix: If already recorded, nothing fixes true clipping. Prevention is everything.
Problem 2: Excessive Background Noise
Symptoms: Constant hiss, hum, or environmental noise
Prevention:
- Get microphone closer to source
- Use directional microphone
- Eliminate noise sources before recording
Fix in Post:
- Noise reduction plugins (iZotope RX, Premiere/DaVinci built-in)
- Don’t over-apply (creates artificial, underwater sound)
Problem 3: Echo/Reverb
Symptoms: Hollow, swimming pool sound
Cause: Hard, reflective surfaces (tile, glass, concrete)
Prevention:
- Add soft materials (blankets, furniture, curtains)
- Get mic closer to subject
- Record in smaller, carpeted rooms
Fix in Post: De-reverb plugins help but can’t fully fix severe echo
Problem 4: Clothing Rustle (Lavalier Mics)
Symptoms: Scratching, rustling sounds
Prevention:
- Secure cable to prevent movement
- Place mic on stable clothing (not loose fabrics)
- Use lav concealer (fabric triangle securing mic)
- Brief subject not to touch mic area
Fix in Post: Difficult—spot removal or mute sections
Problem 5: Plosives (P/B Sounds)
Symptoms: Harsh “pops” on P, B, T sounds
Prevention:
- Position mic slightly off-axis from mouth
- Use pop filter (studio) or windscreen (location)
- Position lav mic lower on chest (reduces plosives)
Fix in Post: EQ and de-plosive plugins help
Problem 6: Audio Drift (Sync Issues)
Symptoms: Audio gradually goes out of sync with video
Cause: Mismatched sample rates between camera and recorder
Prevention:
- Match sample rates (48kHz on all devices)
- Use timecode if available (pro equipment)
- Short recordings less prone to drift
Fix in Post: Resample audio or use drift correction
Audio in Post-Production
Syncing External Audio
Clap/Slate Method:
- Film slate being clapped
- Match audio waveform spike to visual clap
- Align and sync
PluralEyes/Auto-Sync: Modern software auto-syncs based on audio waveforms:
- PluralEyes (standalone)
- Premiere Pro (auto-sync feature)
- DaVinci Resolve (auto-sync)
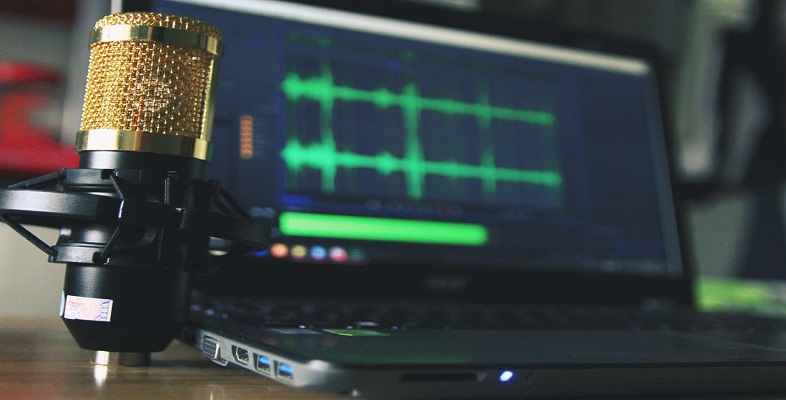
Audio Editing Workflow
1. Sync all audio sources
2. Select best audio source
- Usually lav mic (closest, most isolated)
- Or boom mic (natural sound)
3. Remove unusable sections
- Coughs, long pauses, mistakes
- Background disturbances
4. Normalize/adjust levels
- Target -3dB to -6dB average for final export
- Consistent volume across all clips
5. EQ (equalization)
- Reduce low rumble (high-pass filter at 80-100Hz)
- Reduce harshness (reduce 2-4kHz if needed)
- Add presence (slight boost at 3-5kHz)
6. Compression
- Evens out volume differences
- Makes quiet parts louder, loud parts quieter
- Gentle ratio (3:1 or 4:1)
7. Noise reduction
- Only if needed
- Subtle application
- Use room tone sample for reference
8. Final limiting
- Prevents any peaks above 0dB
- Safety measure for export
According to PremiumBeat’s audio post tutorials, audio post-production typically requires 30-50% of total editing time for professional results.
Audio for Different Video Types
Corporate/Interview Videos
Priorities: Crystal-clear dialogue, minimal background
Setup:
- Wireless lav mics on subjects
- Shotgun boom as backup/natural room tone
- Controlled, quiet environment
Documentary/Run-and-Gun
Priorities: Adaptability, quick setup, authentic sound
Setup:
- Wireless lavs on primary subjects
- Shotgun on-camera for ambient and B-roll
- Be ready to adapt to uncontrollable environments
Wedding/Event Videos
Priorities: Ceremony audio, speeches, ambient atmosphere
Setup:
- Wireless lav on officiant
- Recorder at DJ booth for music/speeches
- Shotgun on-camera for general coverage
YouTube/Content Creation
Priorities: Consistent quality, easy repeatability
Setup:
- Studio: USB mic or audio interface setup
- Field: Wireless lav or camera-mounted shotgun
- Treated recording space reduces post-work
Legal Audio Considerations in Canada
Two-Party Consent: Canada generally requires all parties to consent to audio recording
Public vs. Private Spaces:
- Public spaces: Generally okay to record
- Private property: Obtain permission
- Reasonable expectation of privacy: Requires consent
Professional Practice: Always obtain signed releases including audio recording permission.
Building Complete Videography Expertise
Professional audio is essential, but it’s one component of successful videography. From camera operation to lighting, editing, storytelling, and business skills, building a sustainable videography career requires comprehensive training.
Our videography course provides complete training in all aspects of video production, including detailed audio recording techniques, equipment selection, problem-solving, and post-production workflows. You’ll learn to deliver professional results that clients recognize and pay premium rates for.
The Bottom Line
Audio quality immediately identifies professional versus amateur video work. No amount of stunning cinematography compensates for poor dialogue, constant background noise, or inconsistent levels. Yet audio remains the most neglected skill among aspiring videographers—creating tremendous opportunity for those who master it.
The good news: professional audio doesn’t require massive budgets. A $400 wireless lav system and proper technique outperforms a $10,000 camera with built-in mic audio. Invest in understanding audio fundamentals, acquire essential equipment, and always monitor with headphones.
Your clients may not consciously notice great audio, but they’ll absolutely notice bad audio. Master audio recording, and you’ll separate yourself from 90% of competitors while delivering work clients proudly share. Now get out there and start recording audio that sounds as good as your video looks.