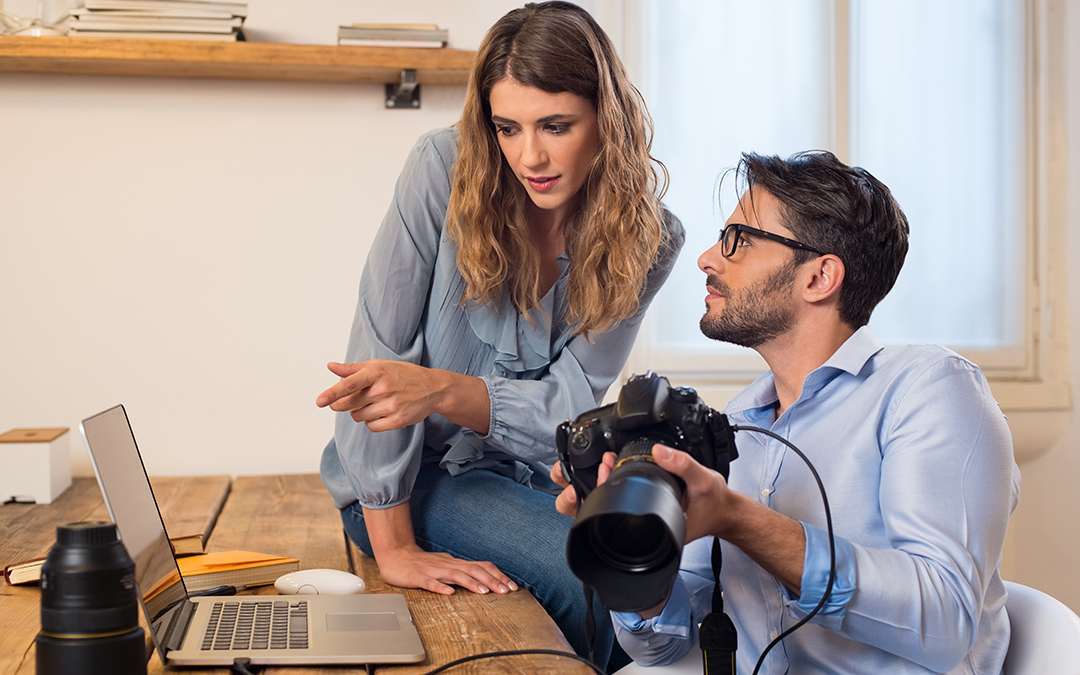
If you’ve been relying on automatic camera settings, you’re missing out on the true creative power of photography. Manual mode gives you complete control over every aspect of your image, allowing you to capture exactly what you envision—whether you’re shooting the Northern Lights in Yukon or a portrait session in downtown Toronto.
This comprehensive guide will walk you through everything you need to master manual mode, from understanding the exposure triangle to troubleshooting common problems that Canadian photographers face.
Why Shoot in Manual Mode?
Before diving into the technical details, let’s address why manual mode matters. Your camera’s automatic settings are designed for average scenes in average lighting. But photography is about capturing the extraordinary, not the average.
Manual mode allows you to:
- Control motion blur and freeze action precisely
- Create intentional depth of field effects
- Handle challenging lighting situations your camera’s meter can’t interpret
- Maintain consistent exposure across multiple shots
- Develop a deeper understanding of how light works
According to Canon’s professional photography guidelines, professional photographers shoot in manual mode because it provides predictable, repeatable results—essential when you’re being paid for your work.
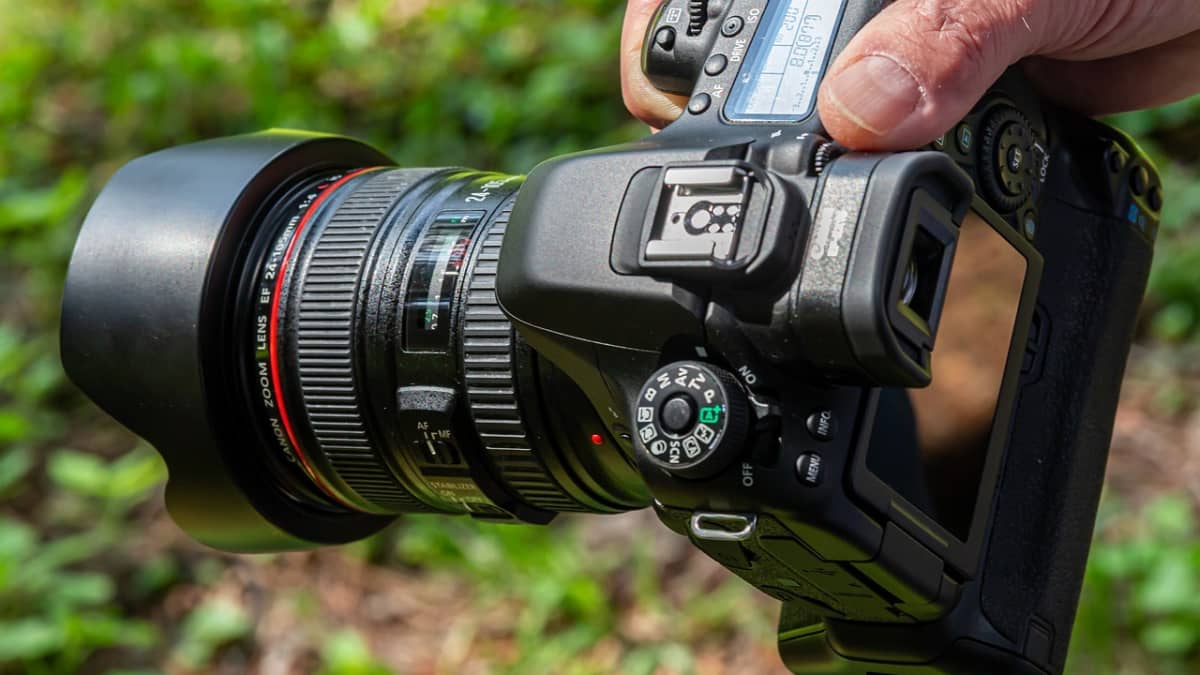
Understanding the Exposure Triangle
The foundation of manual mode photography is the exposure triangle: aperture, shutter speed, and ISO. These three elements work together to control how much light reaches your camera’s sensor.
Aperture: Controlling Light and Depth
Aperture is measured in f-stops (f/1.8, f/2.8, f/5.6, etc.) and controls two critical elements:
- How much light enters your lens – Wider apertures (smaller f-numbers like f/1.8) let in more light
- Depth of field – How much of your scene is in focus
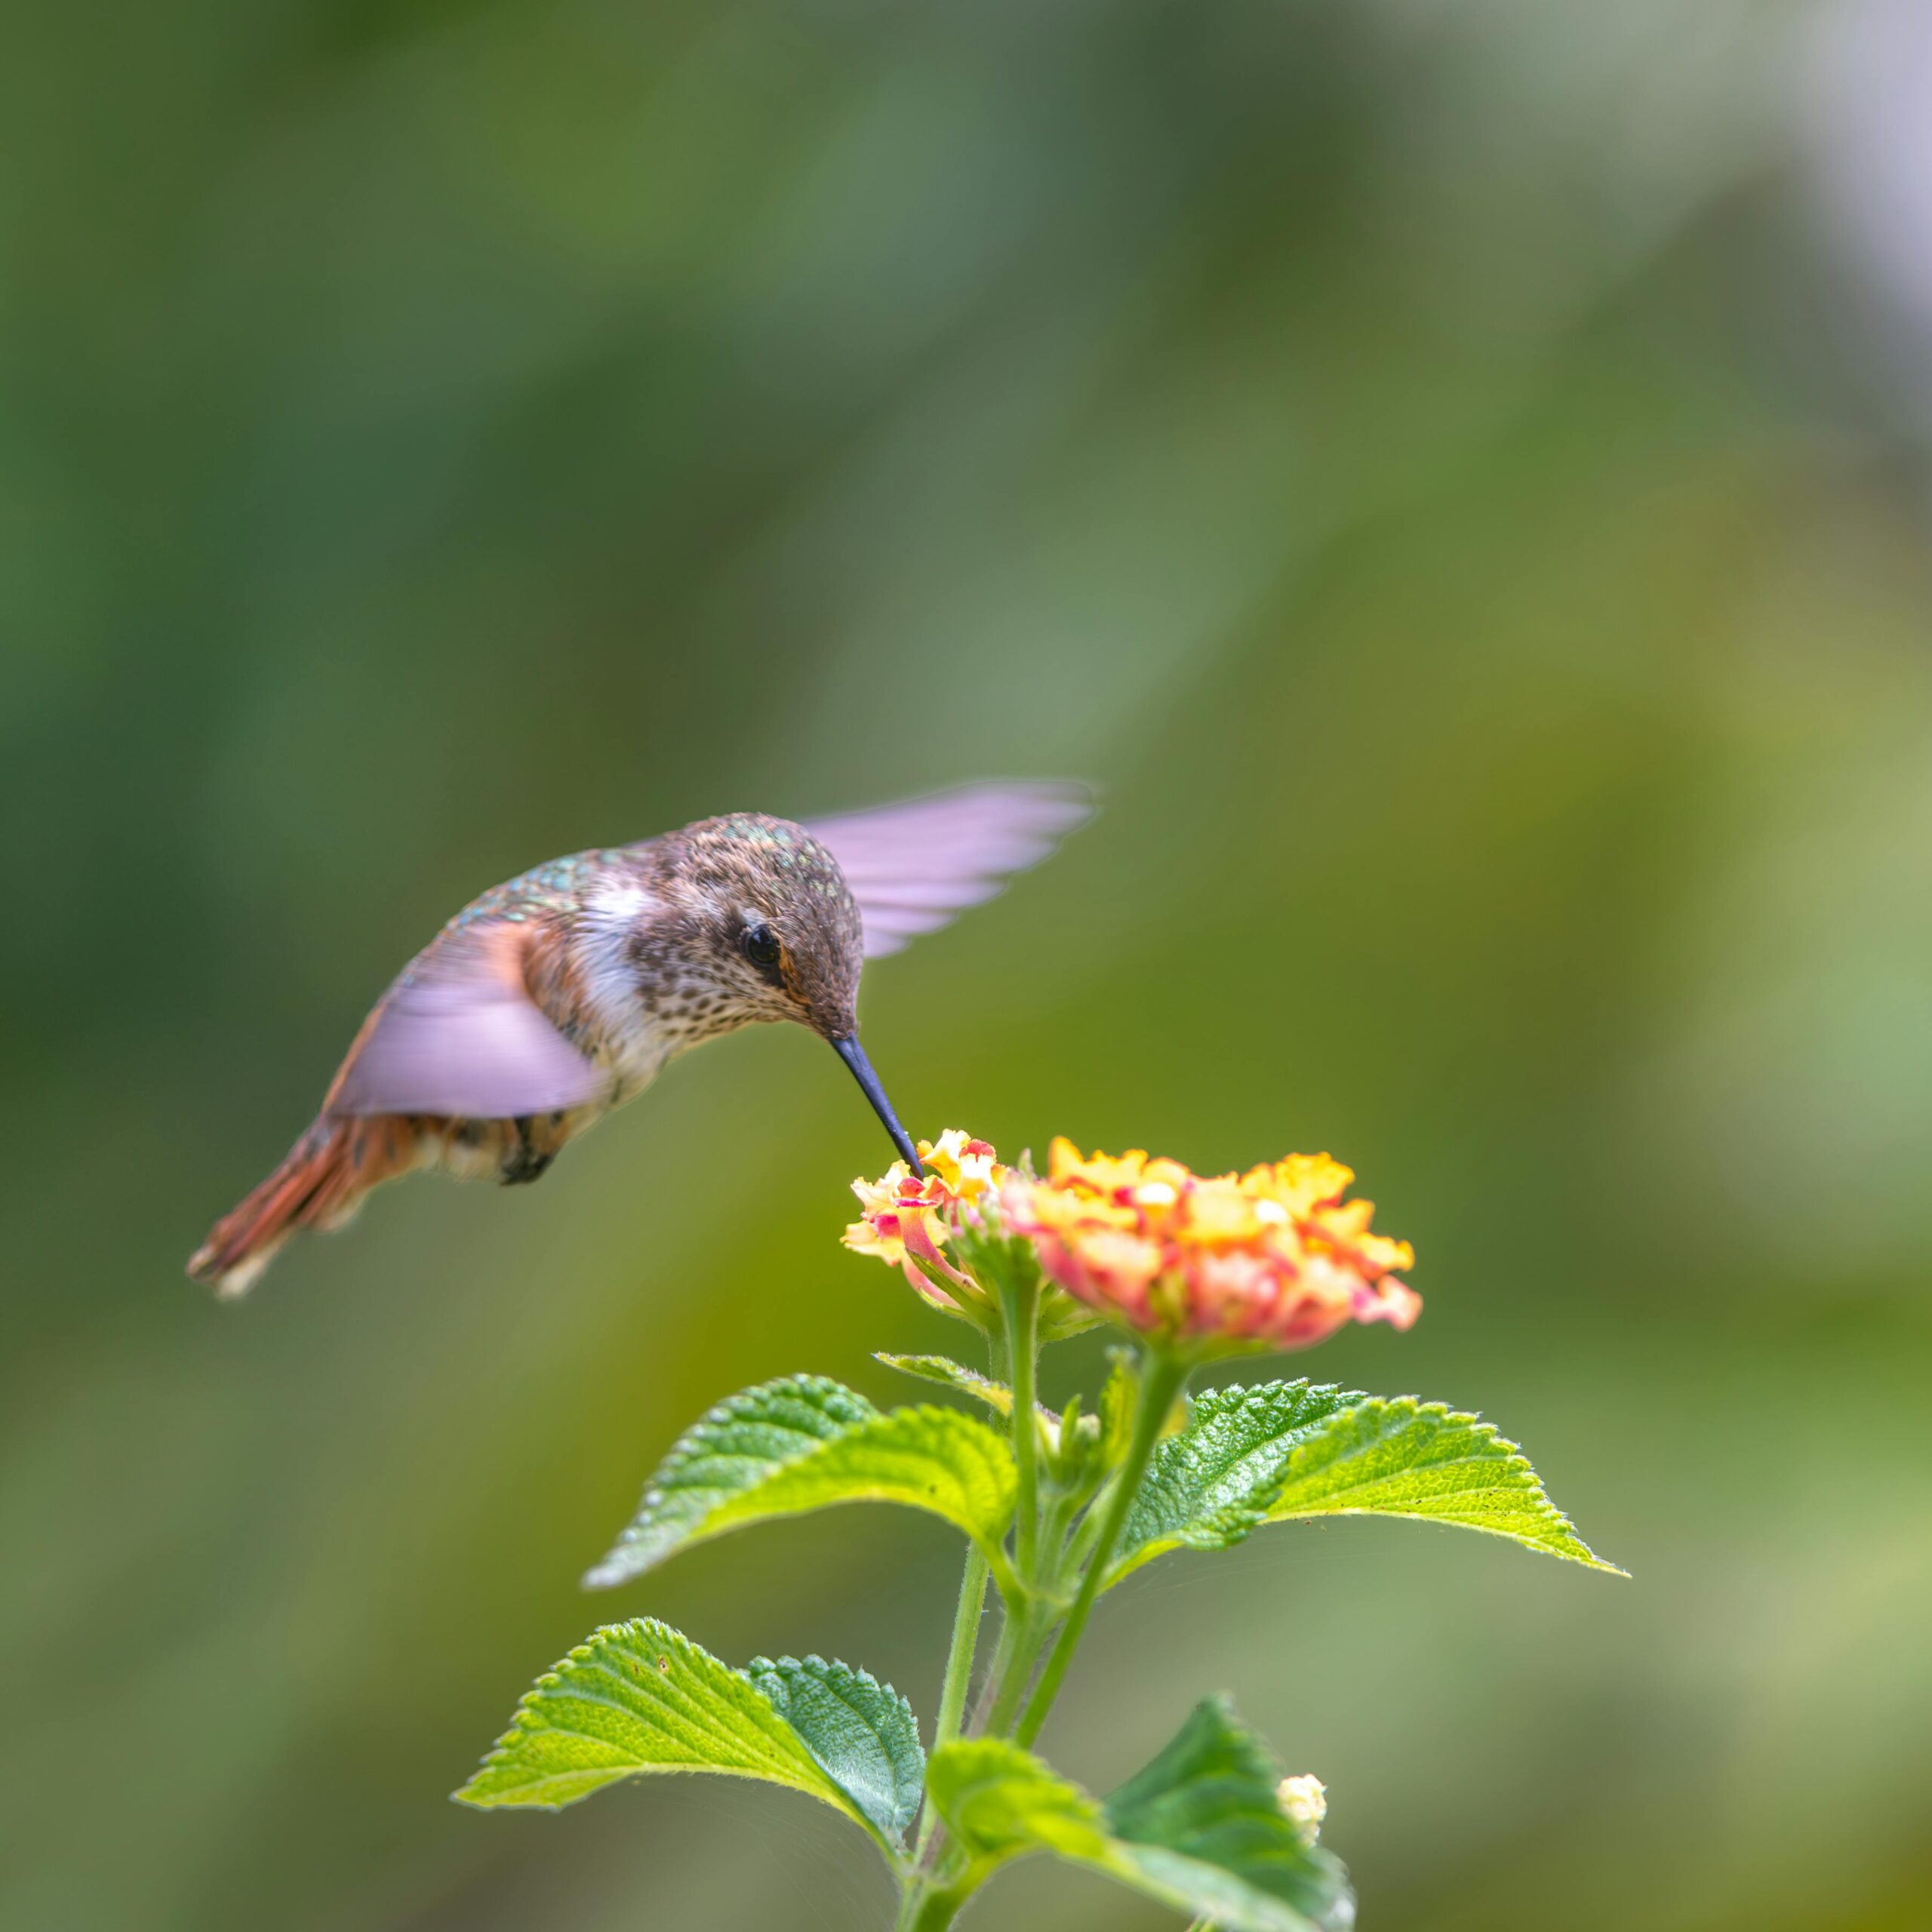
Canadian Example: When photographing wildlife in Algonquin Park at dawn, you might use f/2.8 to gather maximum light while blurring the background forest to isolate a moose.
Counterintuitively, a smaller f-number means a larger opening. Think of it like fraction: f/2 is a larger opening than f/16, just as 1/2 is larger than 1/16.
Shutter Speed: Freezing or Blurring Motion
Shutter speed determines how long your sensor is exposed to light, measured in fractions of a second (1/1000, 1/250, 1/60) or full seconds for longer exposures.
Fast shutter speeds (1/500 or faster):
- Freeze action and movement
- Reduce camera shake
- Require more light or wider apertures to compensate
Slow shutter speeds (1/60 or slower):
- Create motion blur
- Capture light trails
- Risk camera shake without stabilization
Canadian Scenario: Photographing hockey requires shutter speeds of 1/500 or faster to freeze the action on ice, while capturing the ethereal movement of Niagara Falls might use 1-2 seconds to create silky water effects.
ISO: Amplifying Light Sensitivity
ISO measures your sensor’s sensitivity to light. Lower ISOs (100-400) produce cleaner images but require more light. Higher ISOs (1600-12800+) allow shooting in darker conditions but introduce digital noise (grain).
Modern cameras handle high ISO remarkably well. Nikon’s technology guides note that today’s full-frame cameras can shoot at ISO 3200-6400 with minimal quality loss—perfect for capturing aurora borealis without excessive noise.
Canadian Winter Photography Tip: Cold weather can affect your camera’s sensor performance. Keep your ISO as low as possible in extreme cold (below -20°C) as sensor noise can increase in freezing conditions.

Step-by-Step: Shooting Your First Photo in Manual Mode
Let’s walk through the practical process of nailing your exposure in manual mode.
Step 1: Set Your ISO First
Start with the lowest ISO your lighting conditions allow:
- Bright sunlight: ISO 100-200
- Overcast/shade: ISO 400-800
- Indoor/evening: ISO 1600-3200
- Dark venues/night: ISO 3200-6400+
For most outdoor Canadian daylight shooting, ISO 400 is a versatile starting point.
Step 2: Choose Your Aperture Based on Creative Intent
Ask yourself: “Do I want a blurred background or everything sharp?”
For portraits (isolation): f/1.8 – f/2.8 For environmental portraits (context): f/4 – f/5.6 For landscapes (front-to-back sharpness): f/8 – f/11 For maximum depth: f/16 – f/22
Step 3: Adjust Shutter Speed for Proper Exposure
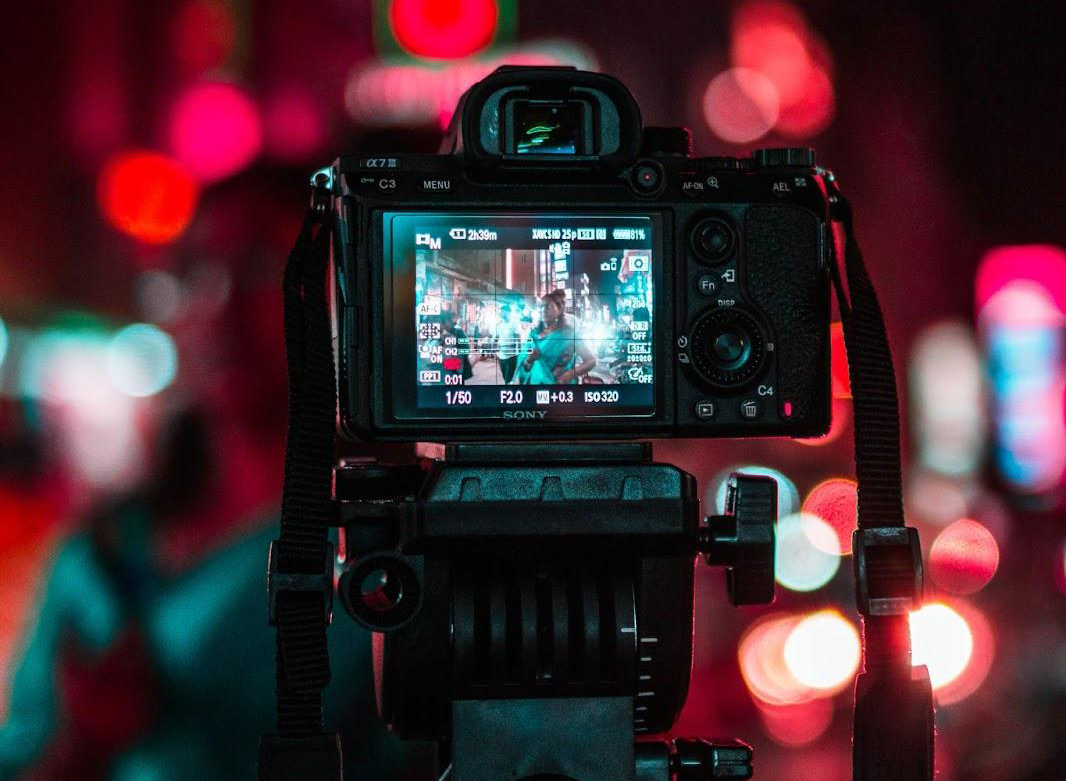
With ISO and aperture set, your shutter speed becomes the final variable. Look through your viewfinder or at your screen and find the exposure meter—usually a scale from -2 to +2 with a marker showing your current exposure.
Adjust your shutter speed until the marker centers at 0 (properly exposed). This is where understanding your camera’s light meter becomes essential.
The Hand-Holding Rule: Your shutter speed should be at least 1/focal length to avoid camera shake. If you’re shooting with a 50mm lens, use 1/60 or faster. For a 200mm lens, 1/250 or faster.
Step 4: Take a Test Shot and Review
After capturing your image, check:
- The histogram (not just the screen preview—it’s deceiving)
- Focus by zooming in on critical areas
- Highlights (are any blown out?)
- Shadows (are details lost?)
The histogram is your most reliable tool. A properly exposed image shows a bell curve somewhere in the middle. Pushed to the right means overexposed; left means underexposed.
Troubleshooting Common Manual Mode Problems
Problem: Images Are Too Dark
Solutions:
- Widen your aperture (lower f-number)
- Slow your shutter speed (if motion blur isn’t an issue)
- Increase ISO
- Add light (flash, reflector, move to brighter location)
Problem: Images Are Blurry
Solutions:
- Increase shutter speed
- Use a tripod for anything slower than 1/60
- Enable image stabilization if your lens has it
- Use proper hand-holding technique (elbows tucked, steady breathing)
Canadian winter photographers: Cold hands lead to camera shake. Wear thin liner gloves under mittens for better grip stability.
Problem: Background Too Blurry or Not Blurry Enough
Solution: Adjust aperture. This is the only setting that controls depth of field. No amount of shutter speed or ISO adjustment will change how blurry your background is.
Problem: Inconsistent Exposure Between Shots
This is where manual mode shines. Once you’ve set your exposure, it stays consistent—unlike auto modes that recalculate for each shot. This is critical for:
- Wedding ceremonies (lighting doesn’t change)
- Product photography (consistency across shots)
- Time-lapse photography
- Any situation requiring matching exposures
Real-World Canadian Scenarios
Scenario 1: Shooting the Rocky Mountains at Sunset
Settings: ISO 400, f/11 for front-to-back sharpness, 1/125 during golden hour, dropping to 1/30 as light fades (use tripod)
Why these settings: Landscapes demand sharpness throughout. F/11 provides optimal sharpness while the moderate ISO keeps noise low in excellent light.
Scenario 2: Indoor Hockey Game
Settings: ISO 3200, f/2.8, 1/500
Why these settings: Arena lighting is deceptive—it looks bright but isn’t photography-bright. High ISO compensates while fast shutter speed freezes the action. Wide aperture gathers maximum light.
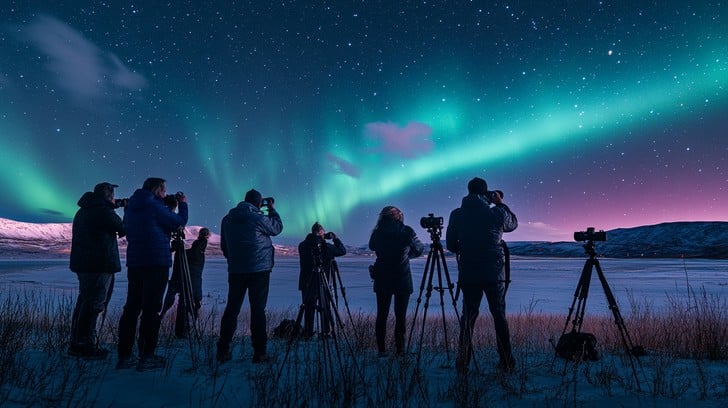
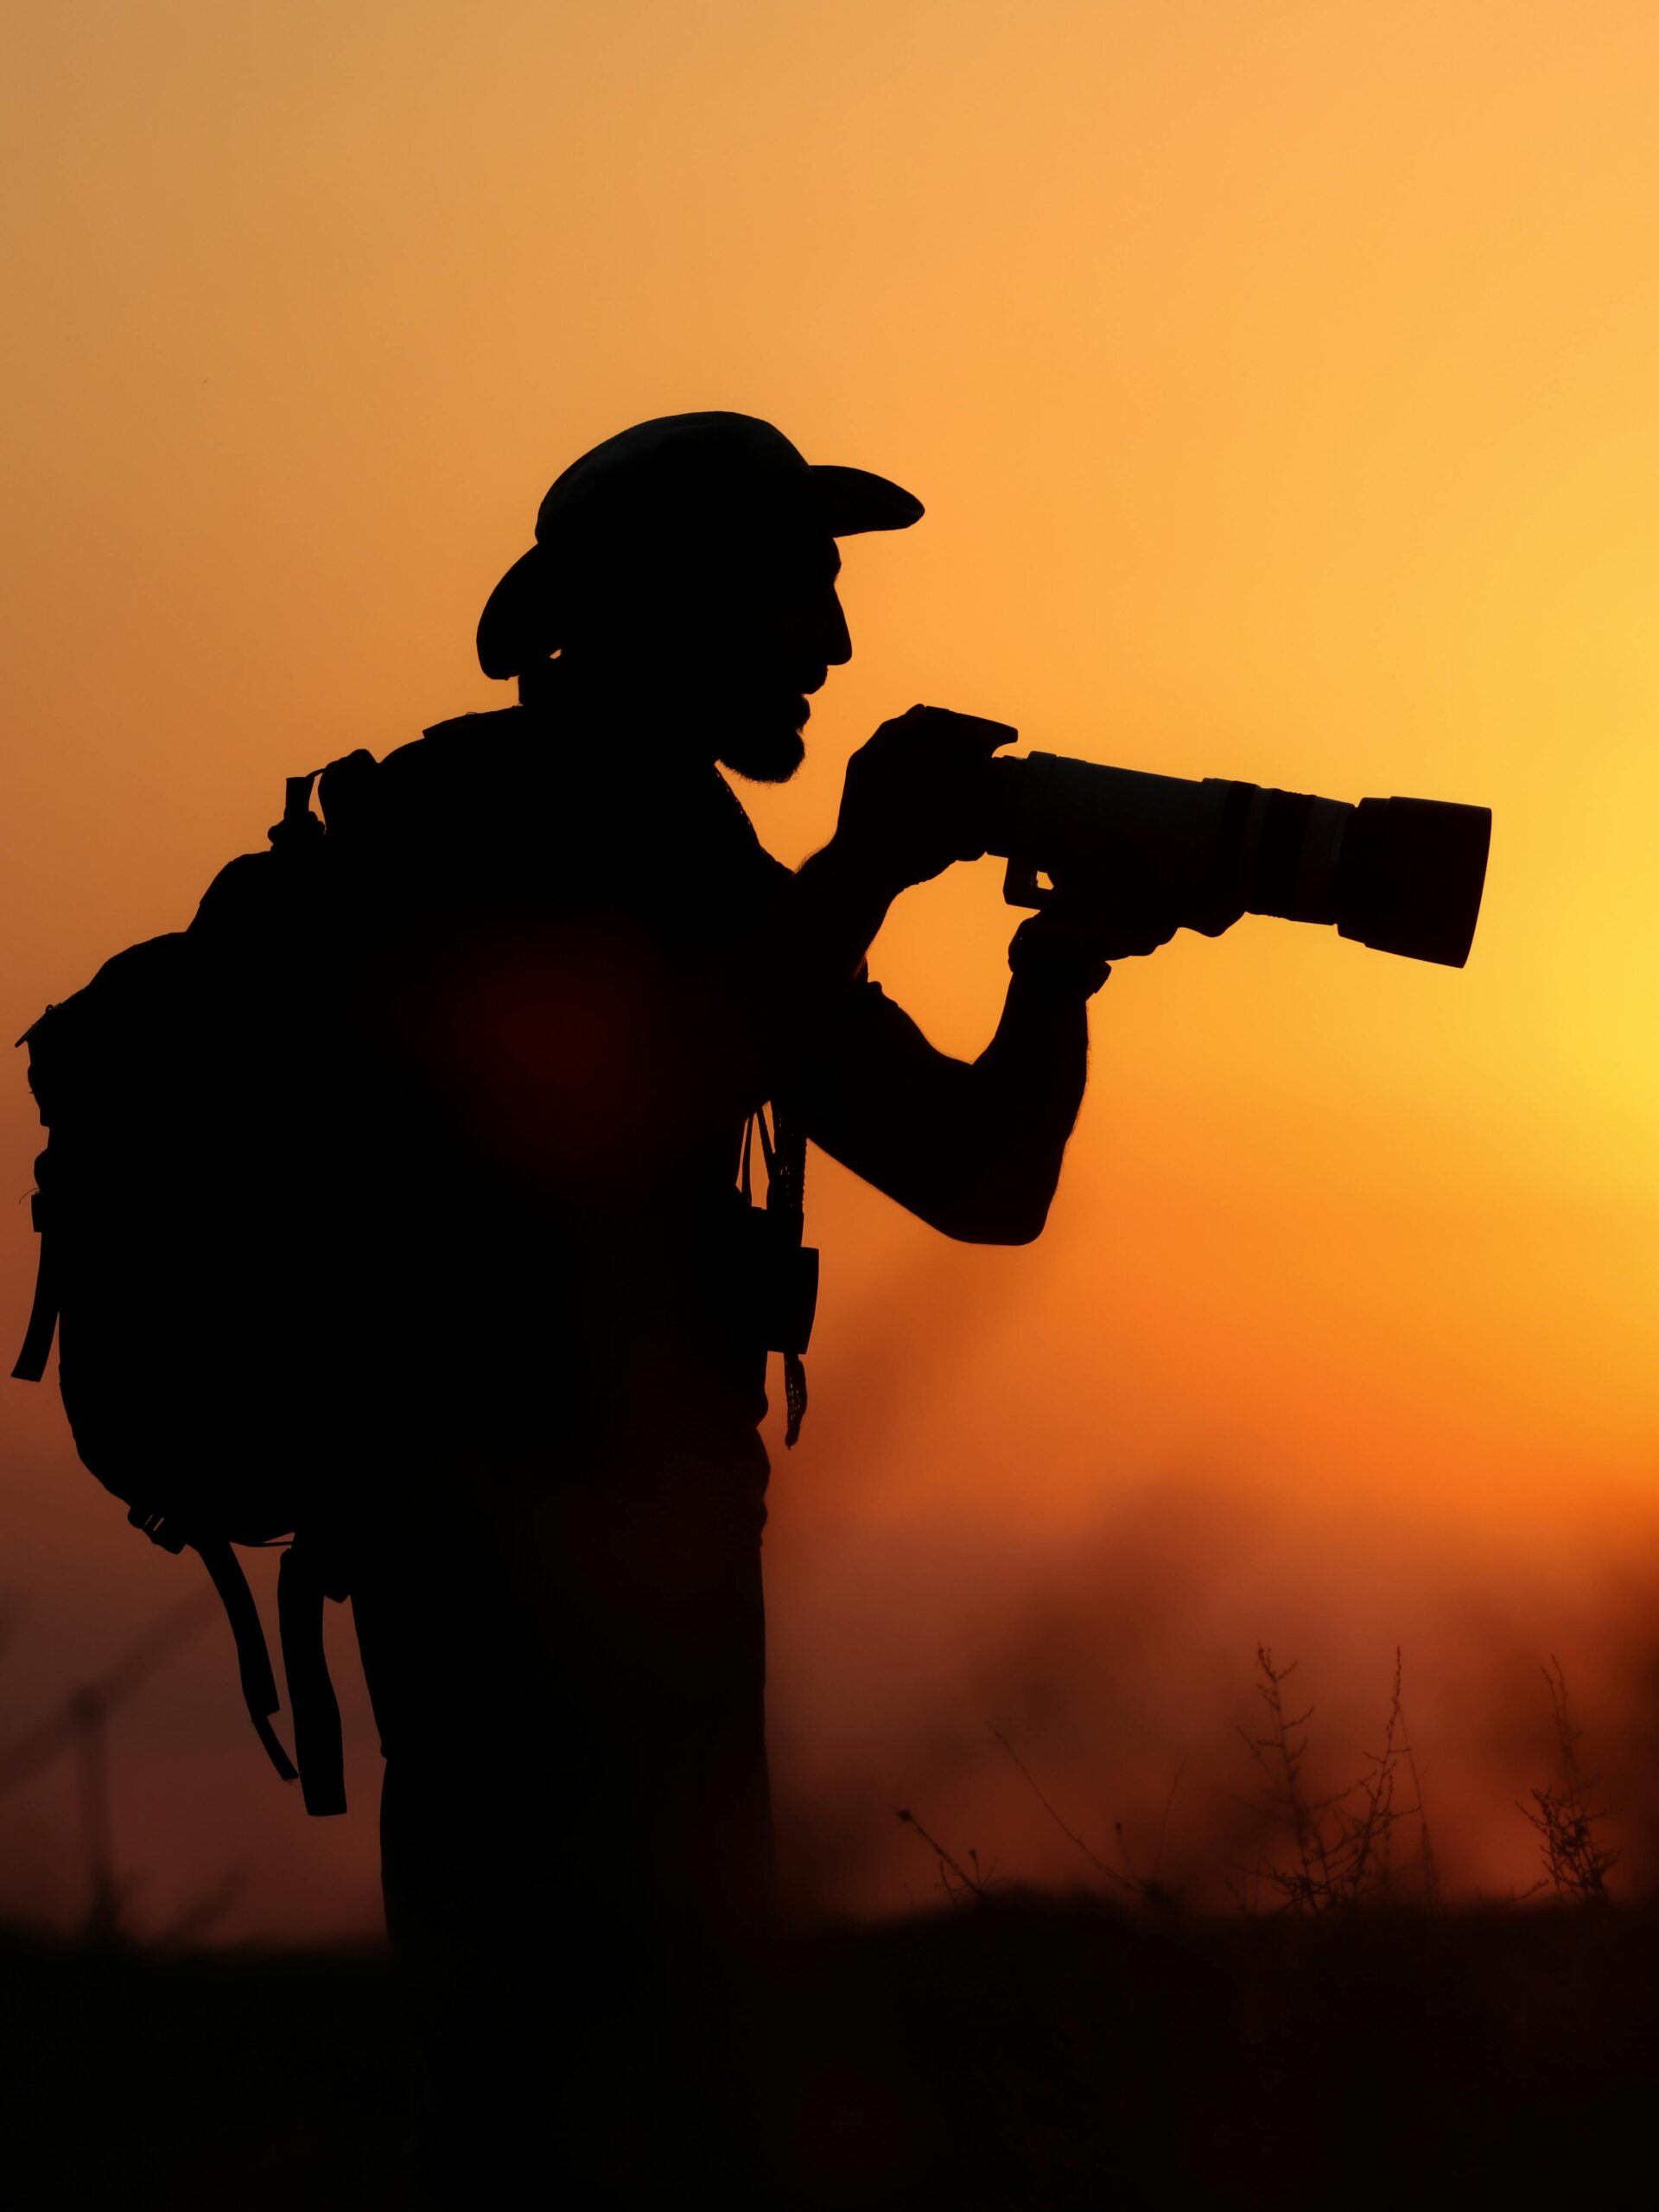
Scenario 3: Northern Lights in Yellowknife
Settings: ISO 3200-6400, f/2.8, 8-15 seconds
Why these settings: Aurora photography requires high ISO to capture the relatively dim light show. Wide aperture gathers light while long exposure captures movement. National Geographic’s aurora photography guide recommends these starting points and adjusting based on aurora intensity.
Practice Exercises to Build Muscle Memory
Exercise 1: The 10-Minute Challenge Set your camera to manual mode and don’t switch out for one week. Force yourself to think through every exposure decision. Within days, adjusting settings becomes intuitive.
Exercise 2: Fixed ISO Day Spend an entire day shooting at ISO 400. This removes one variable and forces you to balance only aperture and shutter speed—simplifying the learning process.
Exercise 3: Exposure Matching Take a photo in auto mode. Note the settings. Switch to manual and try to achieve the same exposure. Compare results. This builds understanding of how your camera’s meter thinks.
Ready to Take Your Photography Further?
Mastering manual mode is the foundation of professional photography, but it’s just the beginning. Understanding how to creatively use these technical skills—from composition to lighting to post-processing—separates good photographers from great ones.
If you’re serious about developing your photography skills beyond camera settings, our photography course for beginners provides comprehensive training that takes you from understanding manual mode to creating portfolio-quality images. You’ll learn not just the technical skills, but the creative vision and business knowledge to succeed as a photographer.
The Bottom Line
Shooting in manual mode feels overwhelming at first—like learning to drive a manual transmission car. But just like driving, it quickly becomes second nature. The exposure triangle becomes intuitive, your fingers adjust settings without conscious thought, and you’ll find yourself anticipating lighting challenges before they happen.
The photographers who consistently capture stunning images aren’t relying on auto mode magic. They’re using the same manual settings you now understand—they’ve just practiced enough to make split-second decisions. With this guide and dedicated practice, you’re well on your way to that level of mastery.
Now get out there and start shooting. Your camera’s manual mode is waiting to unlock your creative potential.