You have a camera — or at least a phone with a camera — and a feeling that you should be able to take better photos than you currently do. That feeling is right, and the gap between where you are now and where you want to be is smaller than you think.
An introduction to photography is not about memorising technical jargon or buying expensive equipment. It is about understanding a handful of fundamental concepts that change the way you see the world. Once those concepts click, every photograph you take improves. This guide covers what those fundamentals are, how they work together, and how to start practising them today — whether you want to pursue photography as a hobby or build it into a professional career.
What Photography Actually Is
Photography is the process of capturing light. A camera is essentially a light-tight box that controls how much light reaches a sensor or piece of film. Everything else — lenses, settings, composition — is about controlling that light to produce the image you see in your mind.
Understanding this single idea transforms your approach. You stop thinking about cameras and start thinking about light. Where is it coming from? How intense is it? What colour is it? What shadows is it creating? This is how professionals think, and it is the foundation of every great image ever made. The International Center of Photography has excellent resources on the history and theory of photography if you want to explore the art form more deeply.
The Exposure Triangle: Three Settings That Control Everything
Every photograph is controlled by three settings working together. This is called the exposure triangle, and it is the single most important concept in any introduction to photography.
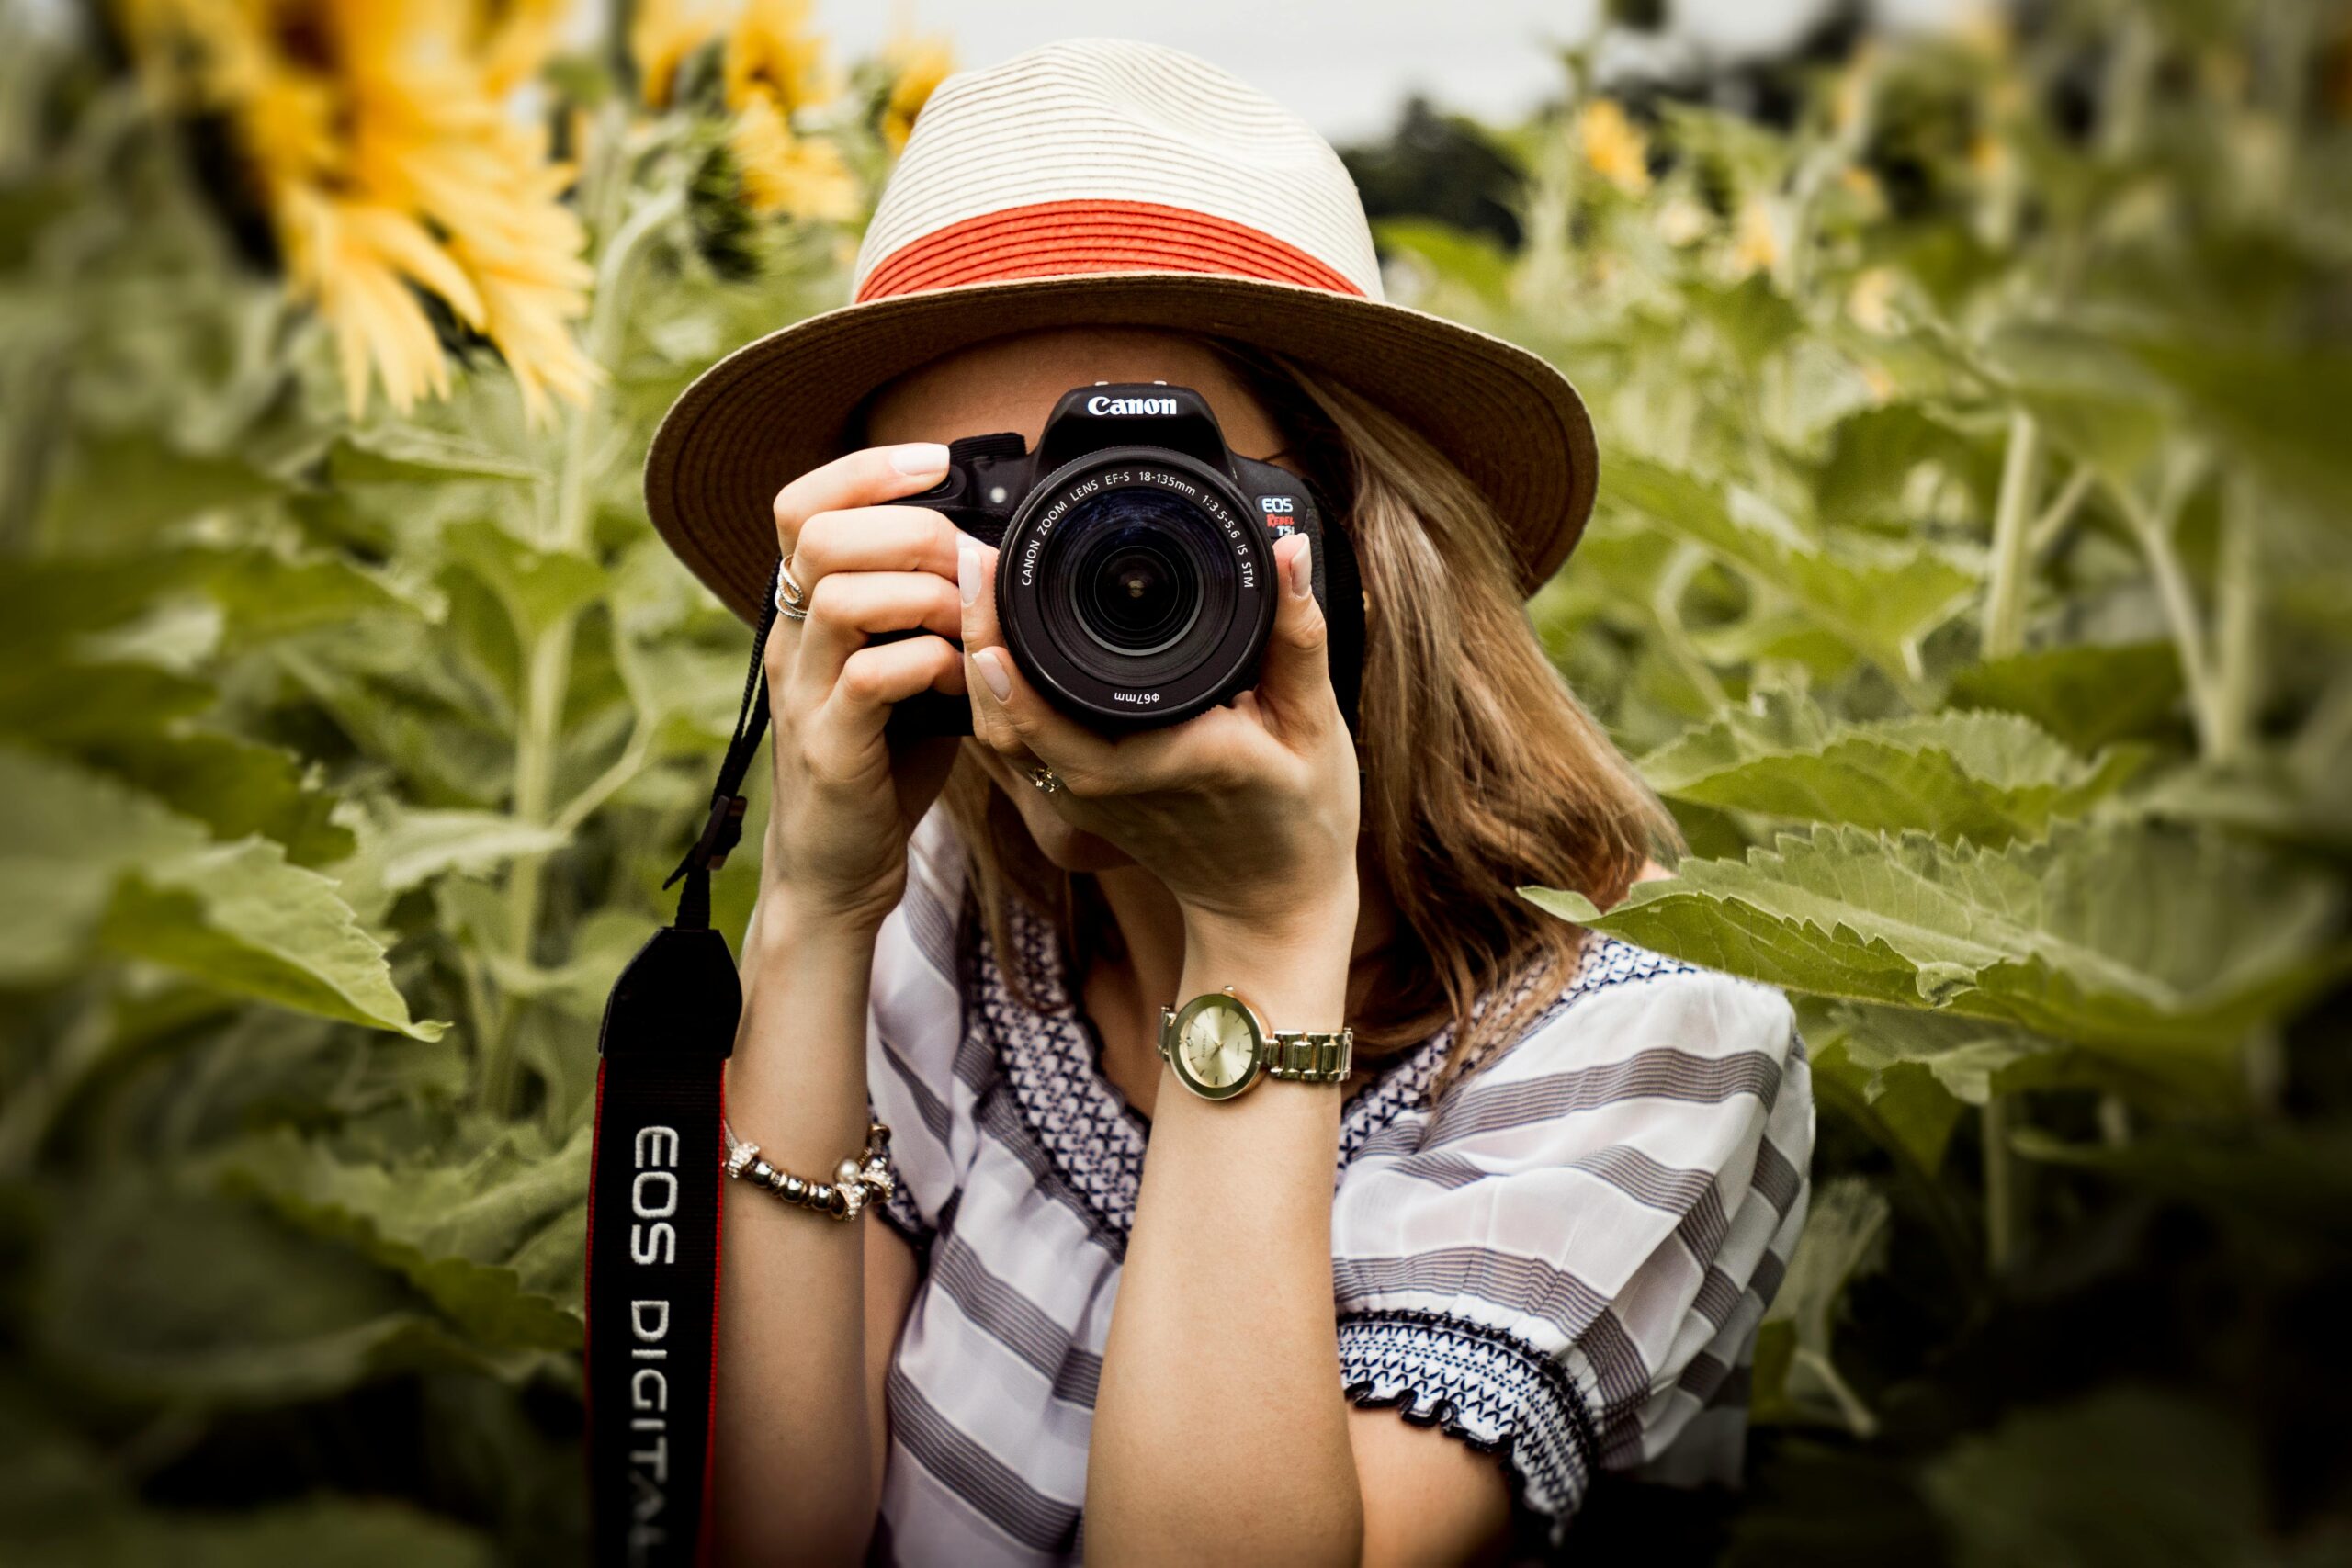
Aperture is the size of the opening inside your lens. It is measured in f-stops — f/1.8, f/5.6, f/11. A smaller f-number means a larger opening, more light, and a shallower depth of field (blurred backgrounds). A larger f-number means a smaller opening, less light, and more of the scene in focus. When you see a portrait with a beautifully blurred background, the photographer used a wide aperture like f/1.8 or f/2.8. When you see a landscape where everything is sharp from foreground to mountains, they used a narrow aperture like f/11 or f/16.
Shutter speed is how long the sensor is exposed to light. A fast shutter speed like 1/1000th of a second freezes motion — a bird in flight, water droplets suspended mid-air. A slow shutter speed like 1/30th or longer allows motion blur — silky waterfalls, light trails from passing cars.
ISO controls sensor sensitivity. A low ISO like 100 produces clean, noise-free images in bright conditions. A high ISO like 3200 allows shooting in darker environments but introduces grain or digital noise.
The skill of photography is balancing these three settings to get the exposure and creative effect you want. Our complete guide to shooting in manual mode walks you through this process step by step.
Composition: Why Some Photos Feel Better Than Others
Technical skill captures light correctly. Composition is what makes a photograph feel intentional, balanced, and compelling.
The rule of thirds is the most widely taught composition principle. Imagine dividing your frame into nine equal sections with two horizontal and two vertical lines. Placing your subject along these lines or at their intersections creates more dynamic images than centring everything. Most cameras and smartphones can display this grid — turn it on and start practising immediately.
Leading lines — roads, rivers, fences, tree lines — naturally guide the viewer’s eye through the frame toward your subject. Framing uses elements in the scene — archways, branches, windows — to create depth. Negative space gives your subject room to breathe and creates mood and visual impact.
Digital Photography School offers a wealth of composition tutorials that complement the fundamentals covered here.
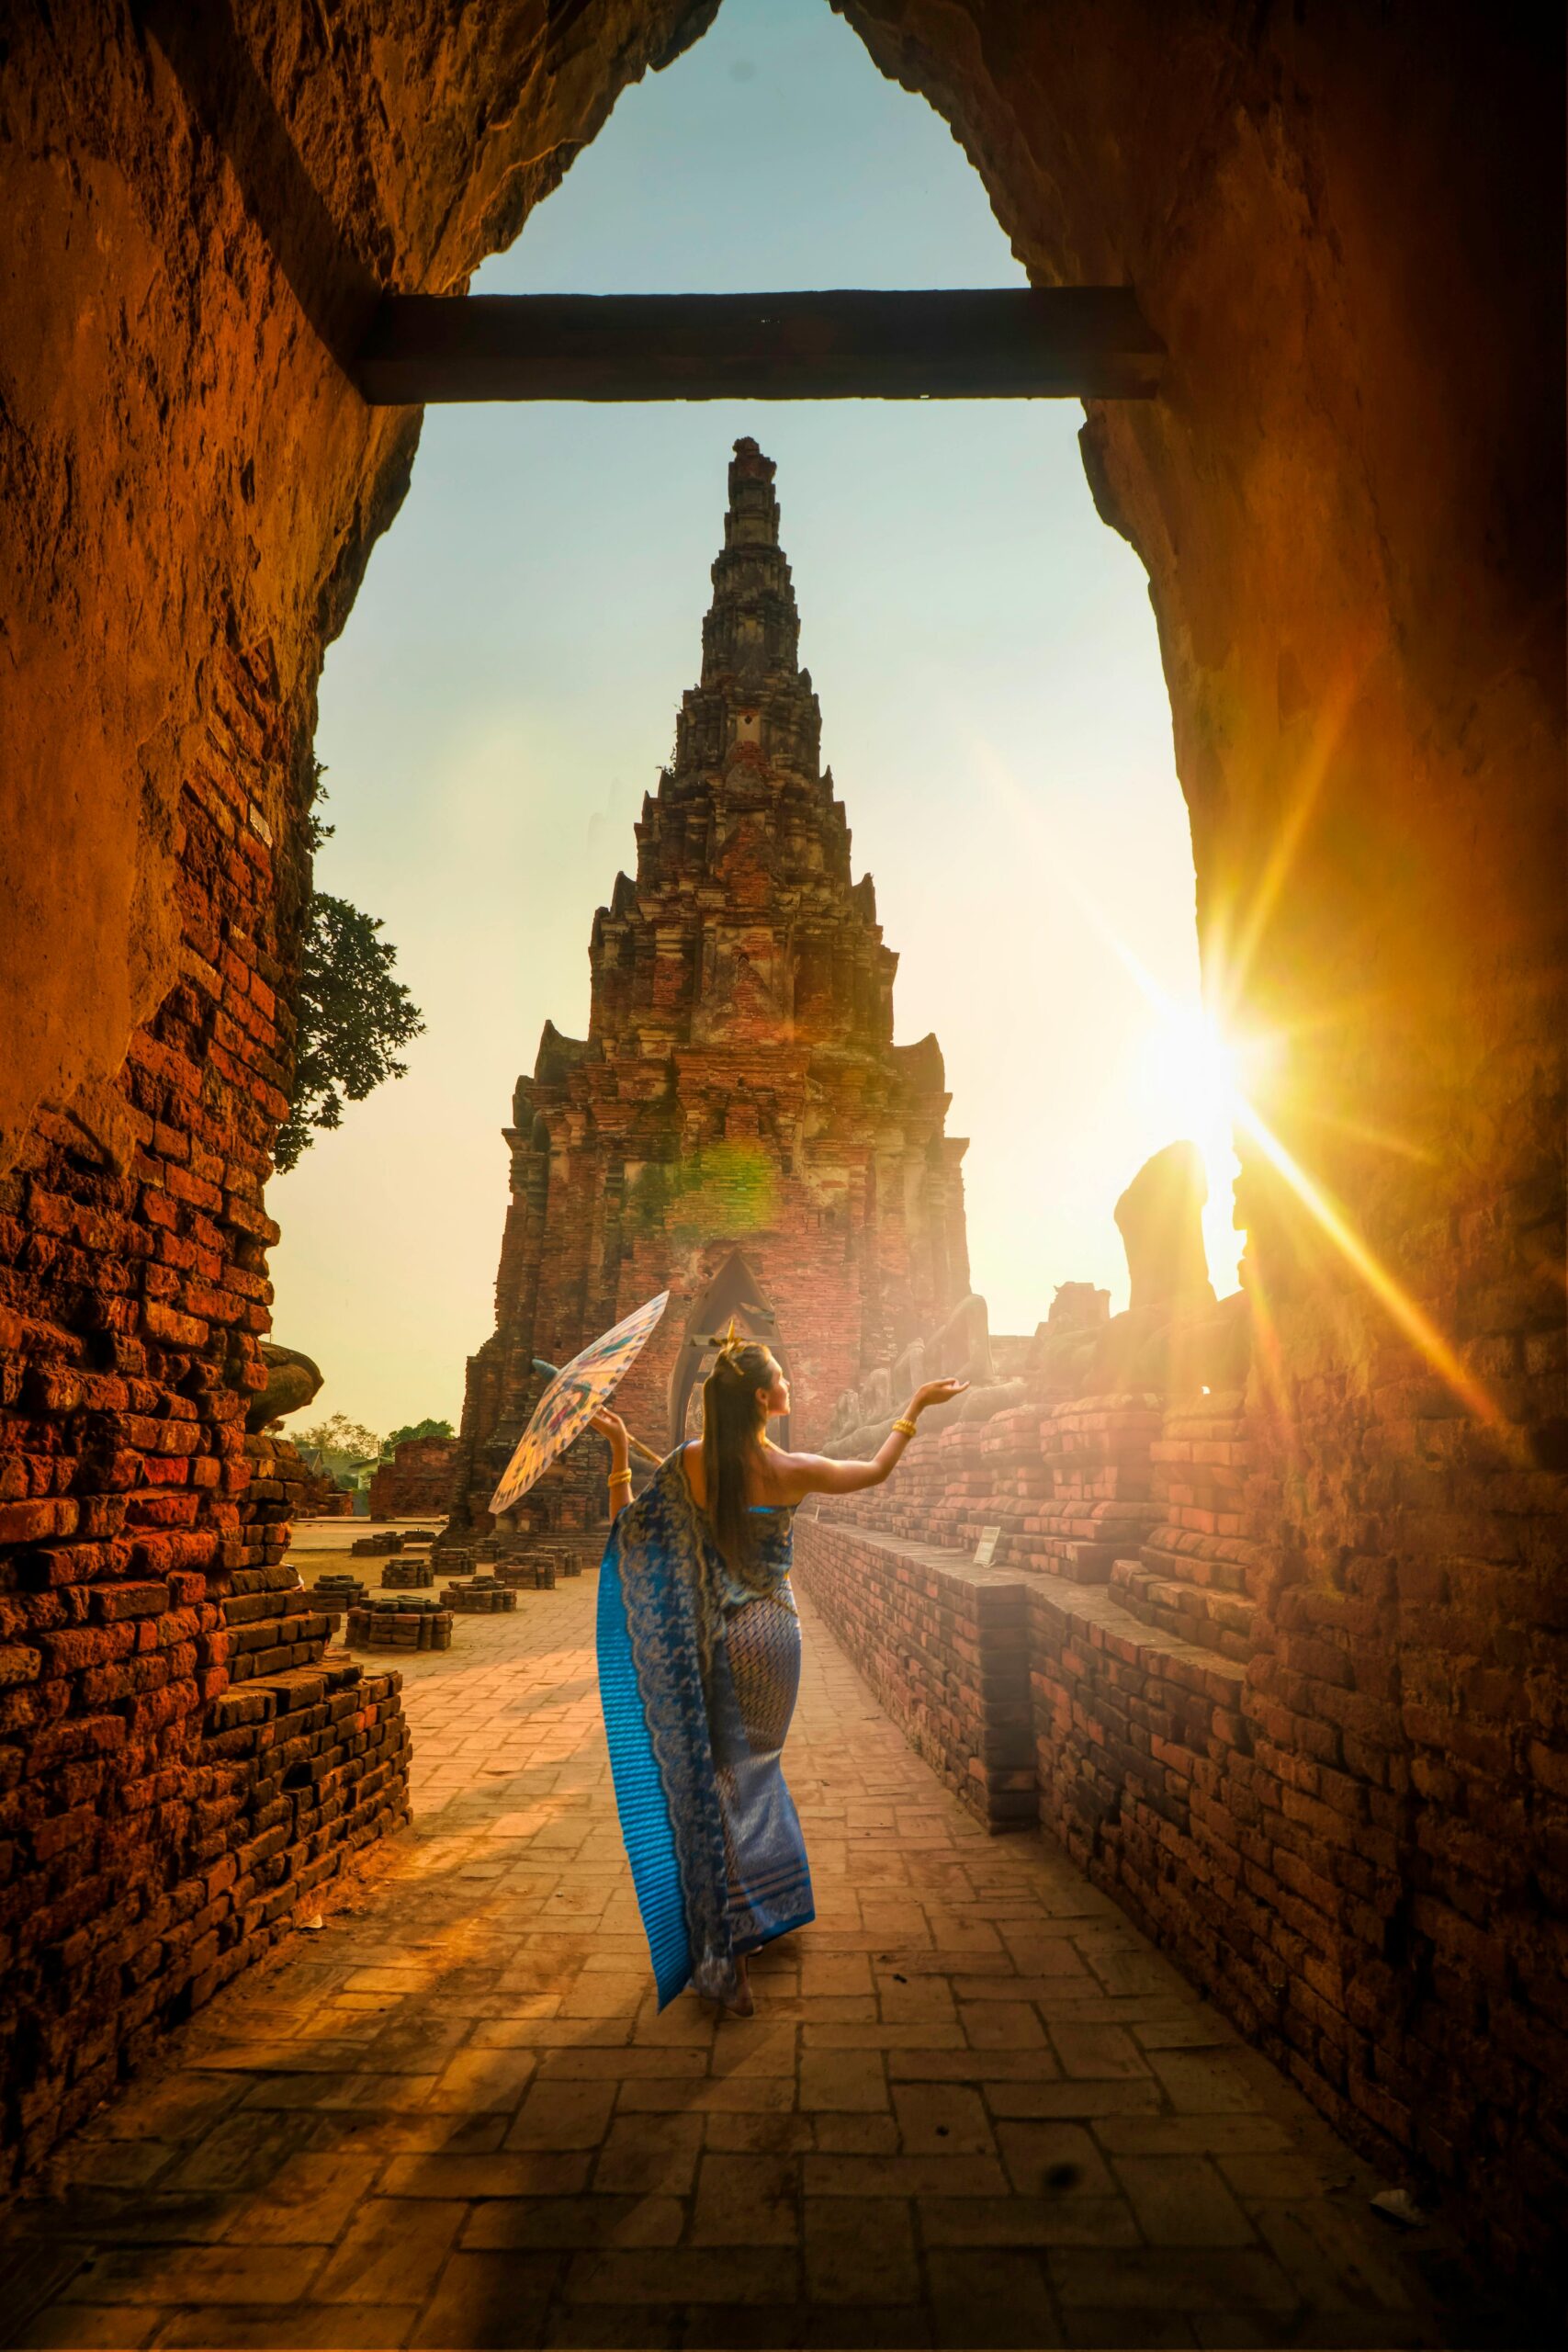
Understanding Light
Light is the raw material of photography. Learning to observe it and work with it is what separates a snapshot from a photograph.
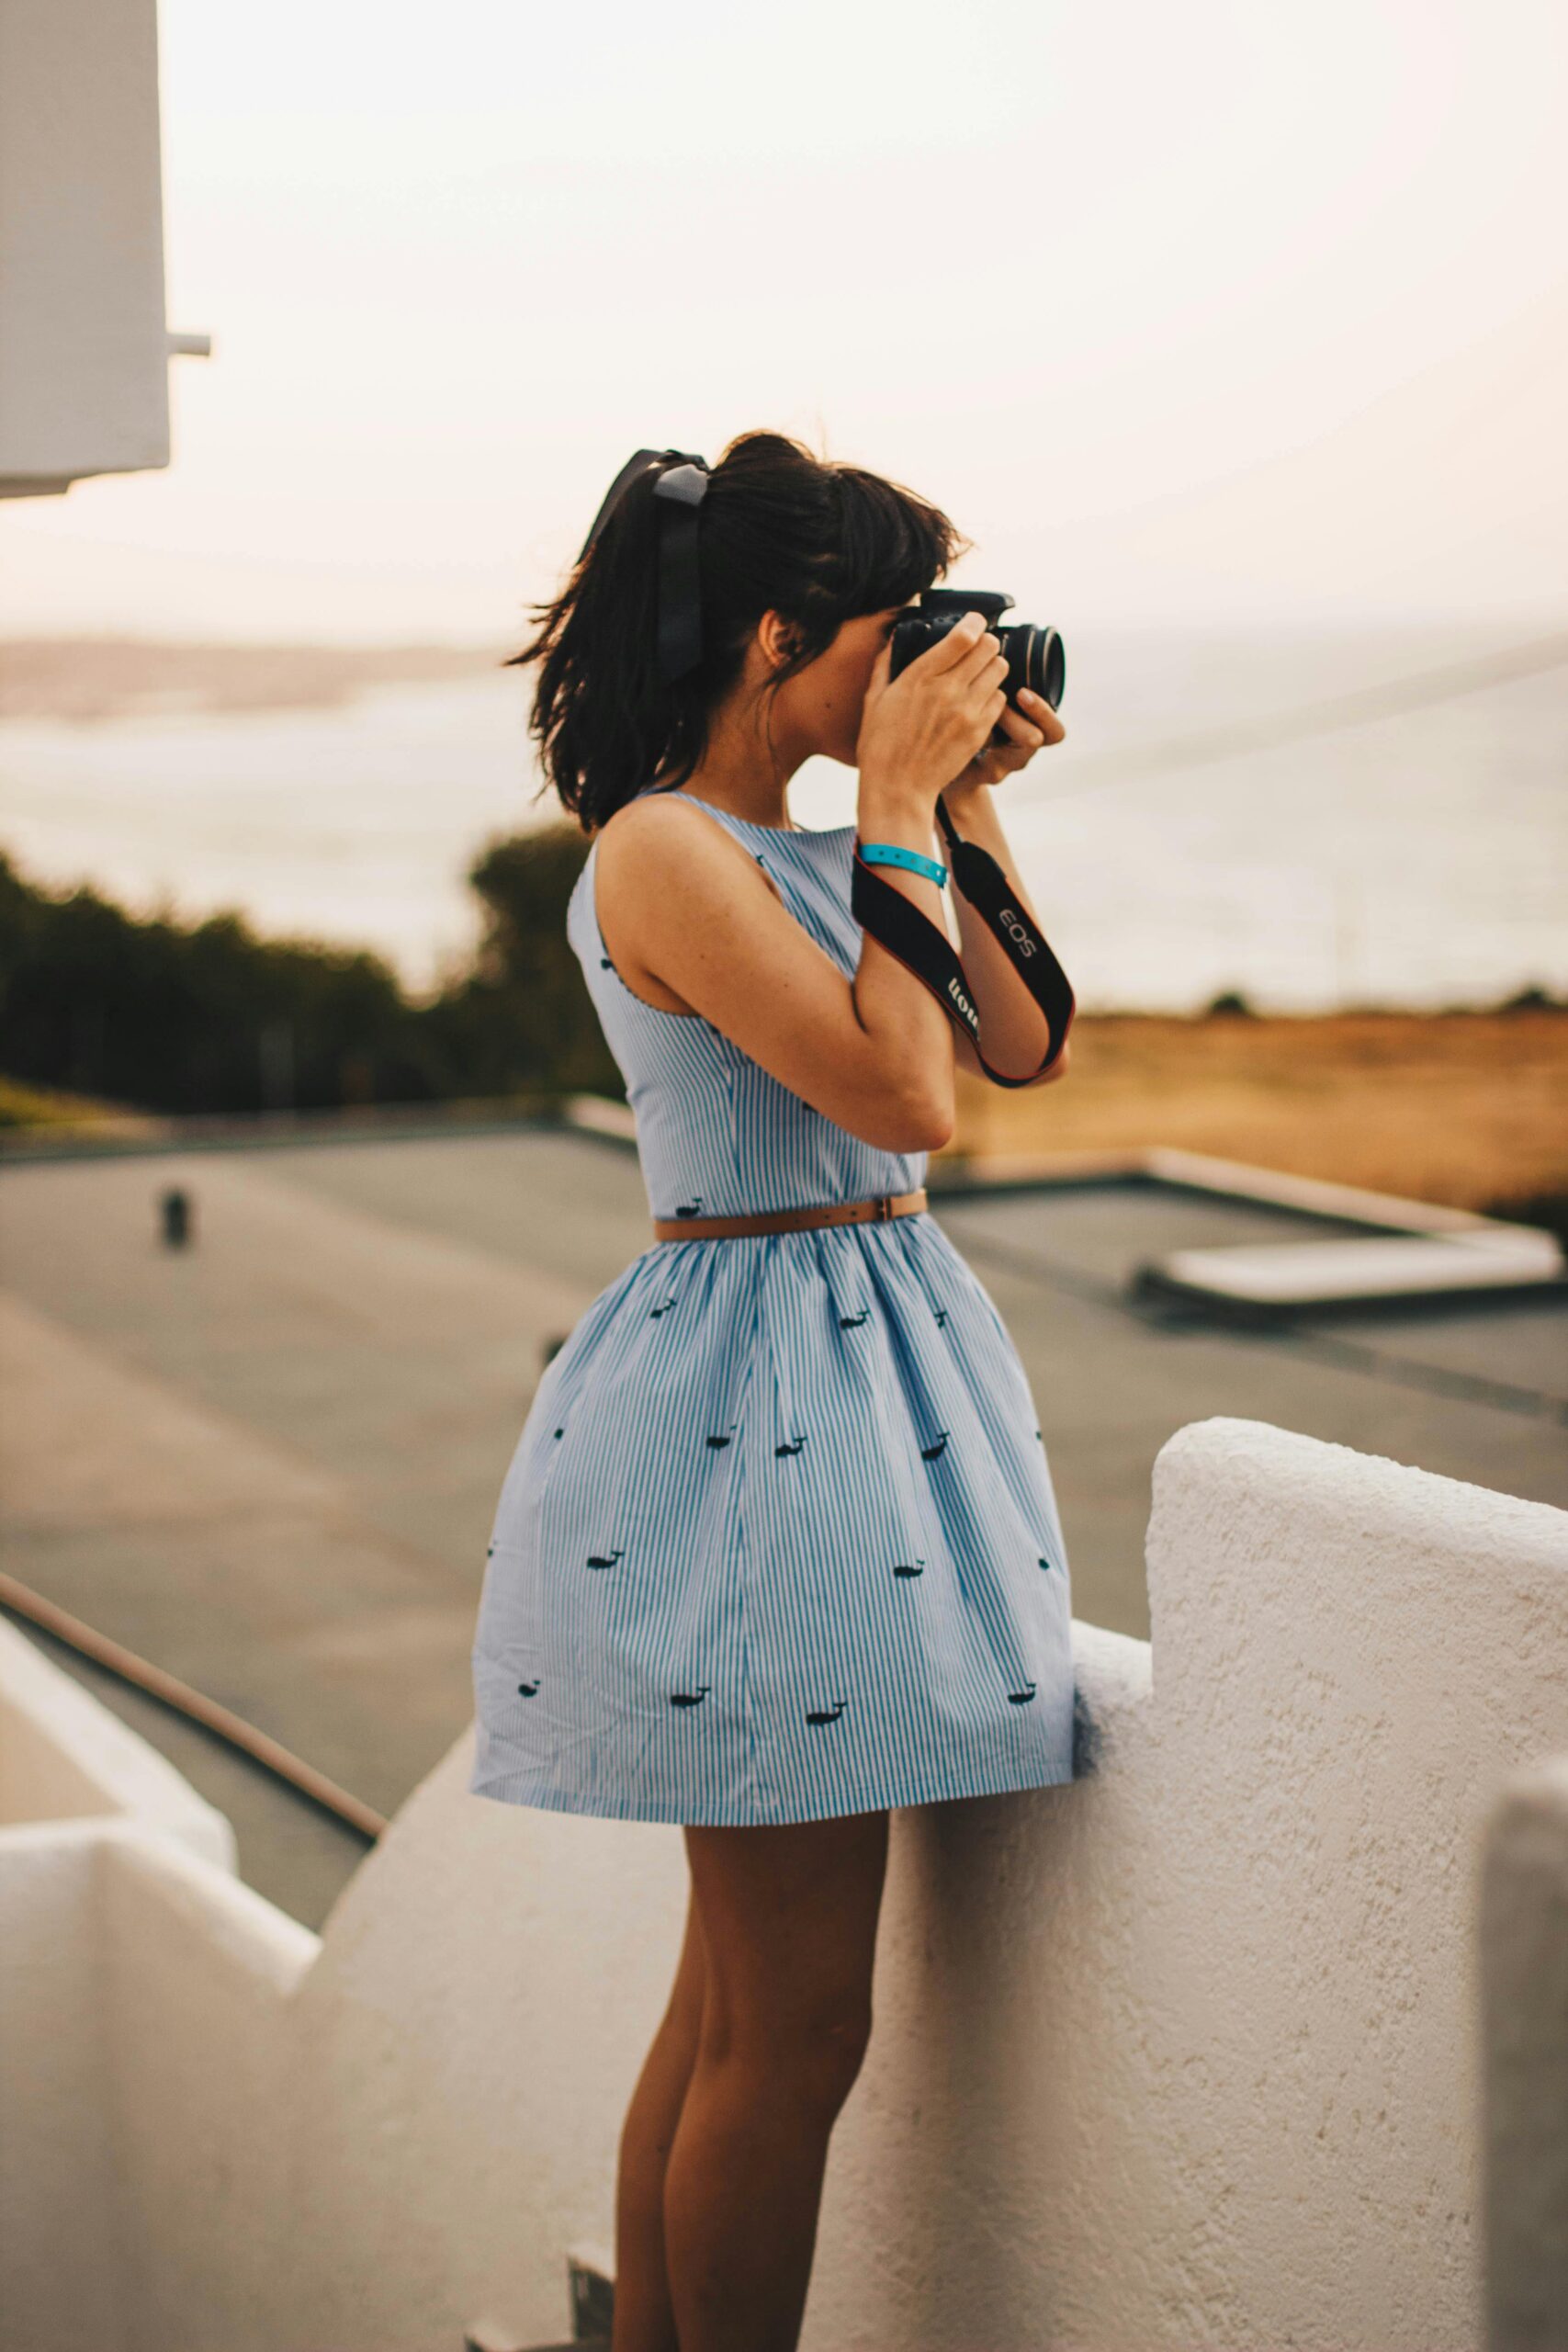
Golden hour — the hour after sunrise and before sunset — produces warm, directional light that flatters almost every subject. Shadows are long, contrast is manageable, and colours are rich. If you are just starting out, shoot during golden hour and watch your images improve immediately.
Overcast days act as a giant softbox, diffusing sunlight and eliminating harsh shadows. This light is excellent for portraits, macro work, and woodland scenes. Harsh midday sun creates hard shadows and high contrast — challenging but manageable if you find shade or use it creatively. Direction of light — front, side, or back — dramatically changes the mood and dimension of your subject.
Our portrait lighting guide explores these concepts in detail for photographers ready to specialise in people photography.
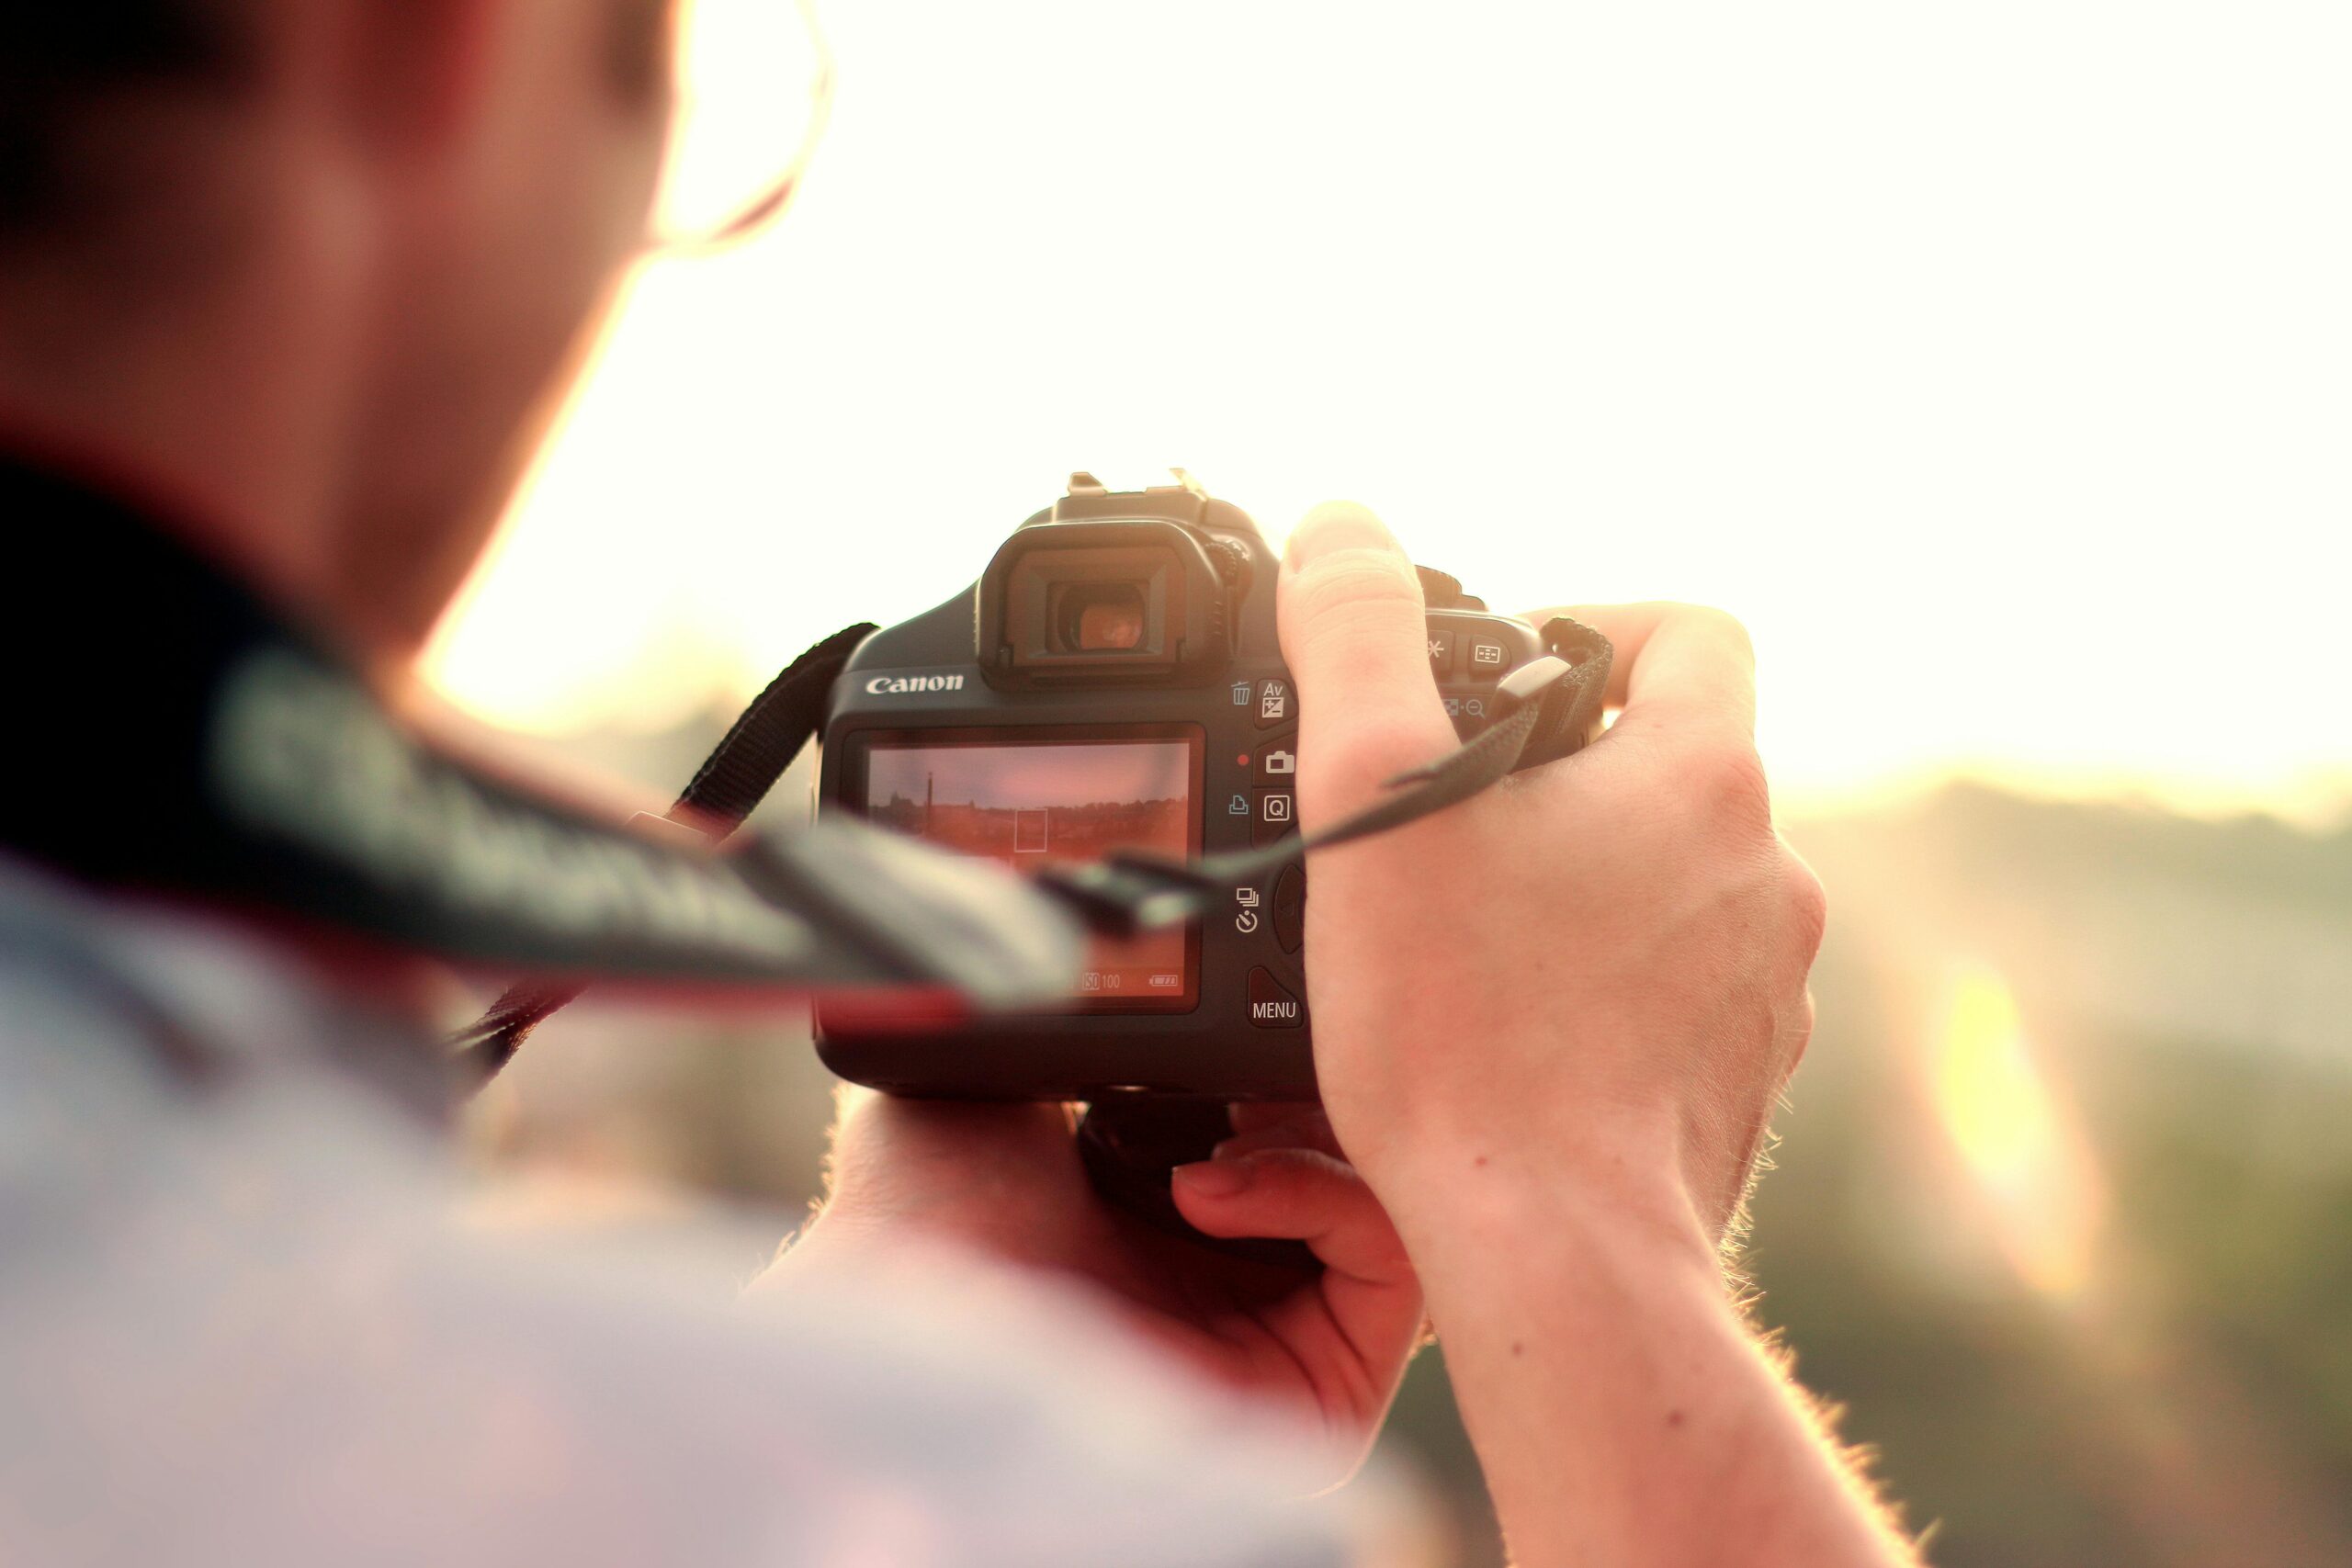
What Camera Do You Need?
The best camera is the one you have. A smartphone teaches you composition, light observation, and timing. The fundamentals do not change based on equipment.
If you want more creative control, entry-level mirrorless cameras from Canon, Sony, and Nikon start around $600–$900 CAD. Canon Canada has a helpful camera comparison tool for evaluating options.
Our Certificate in Photography includes a professional Canon mirrorless camera, so you can start learning immediately without a separate equipment investment.
Five Exercises for Your First Week
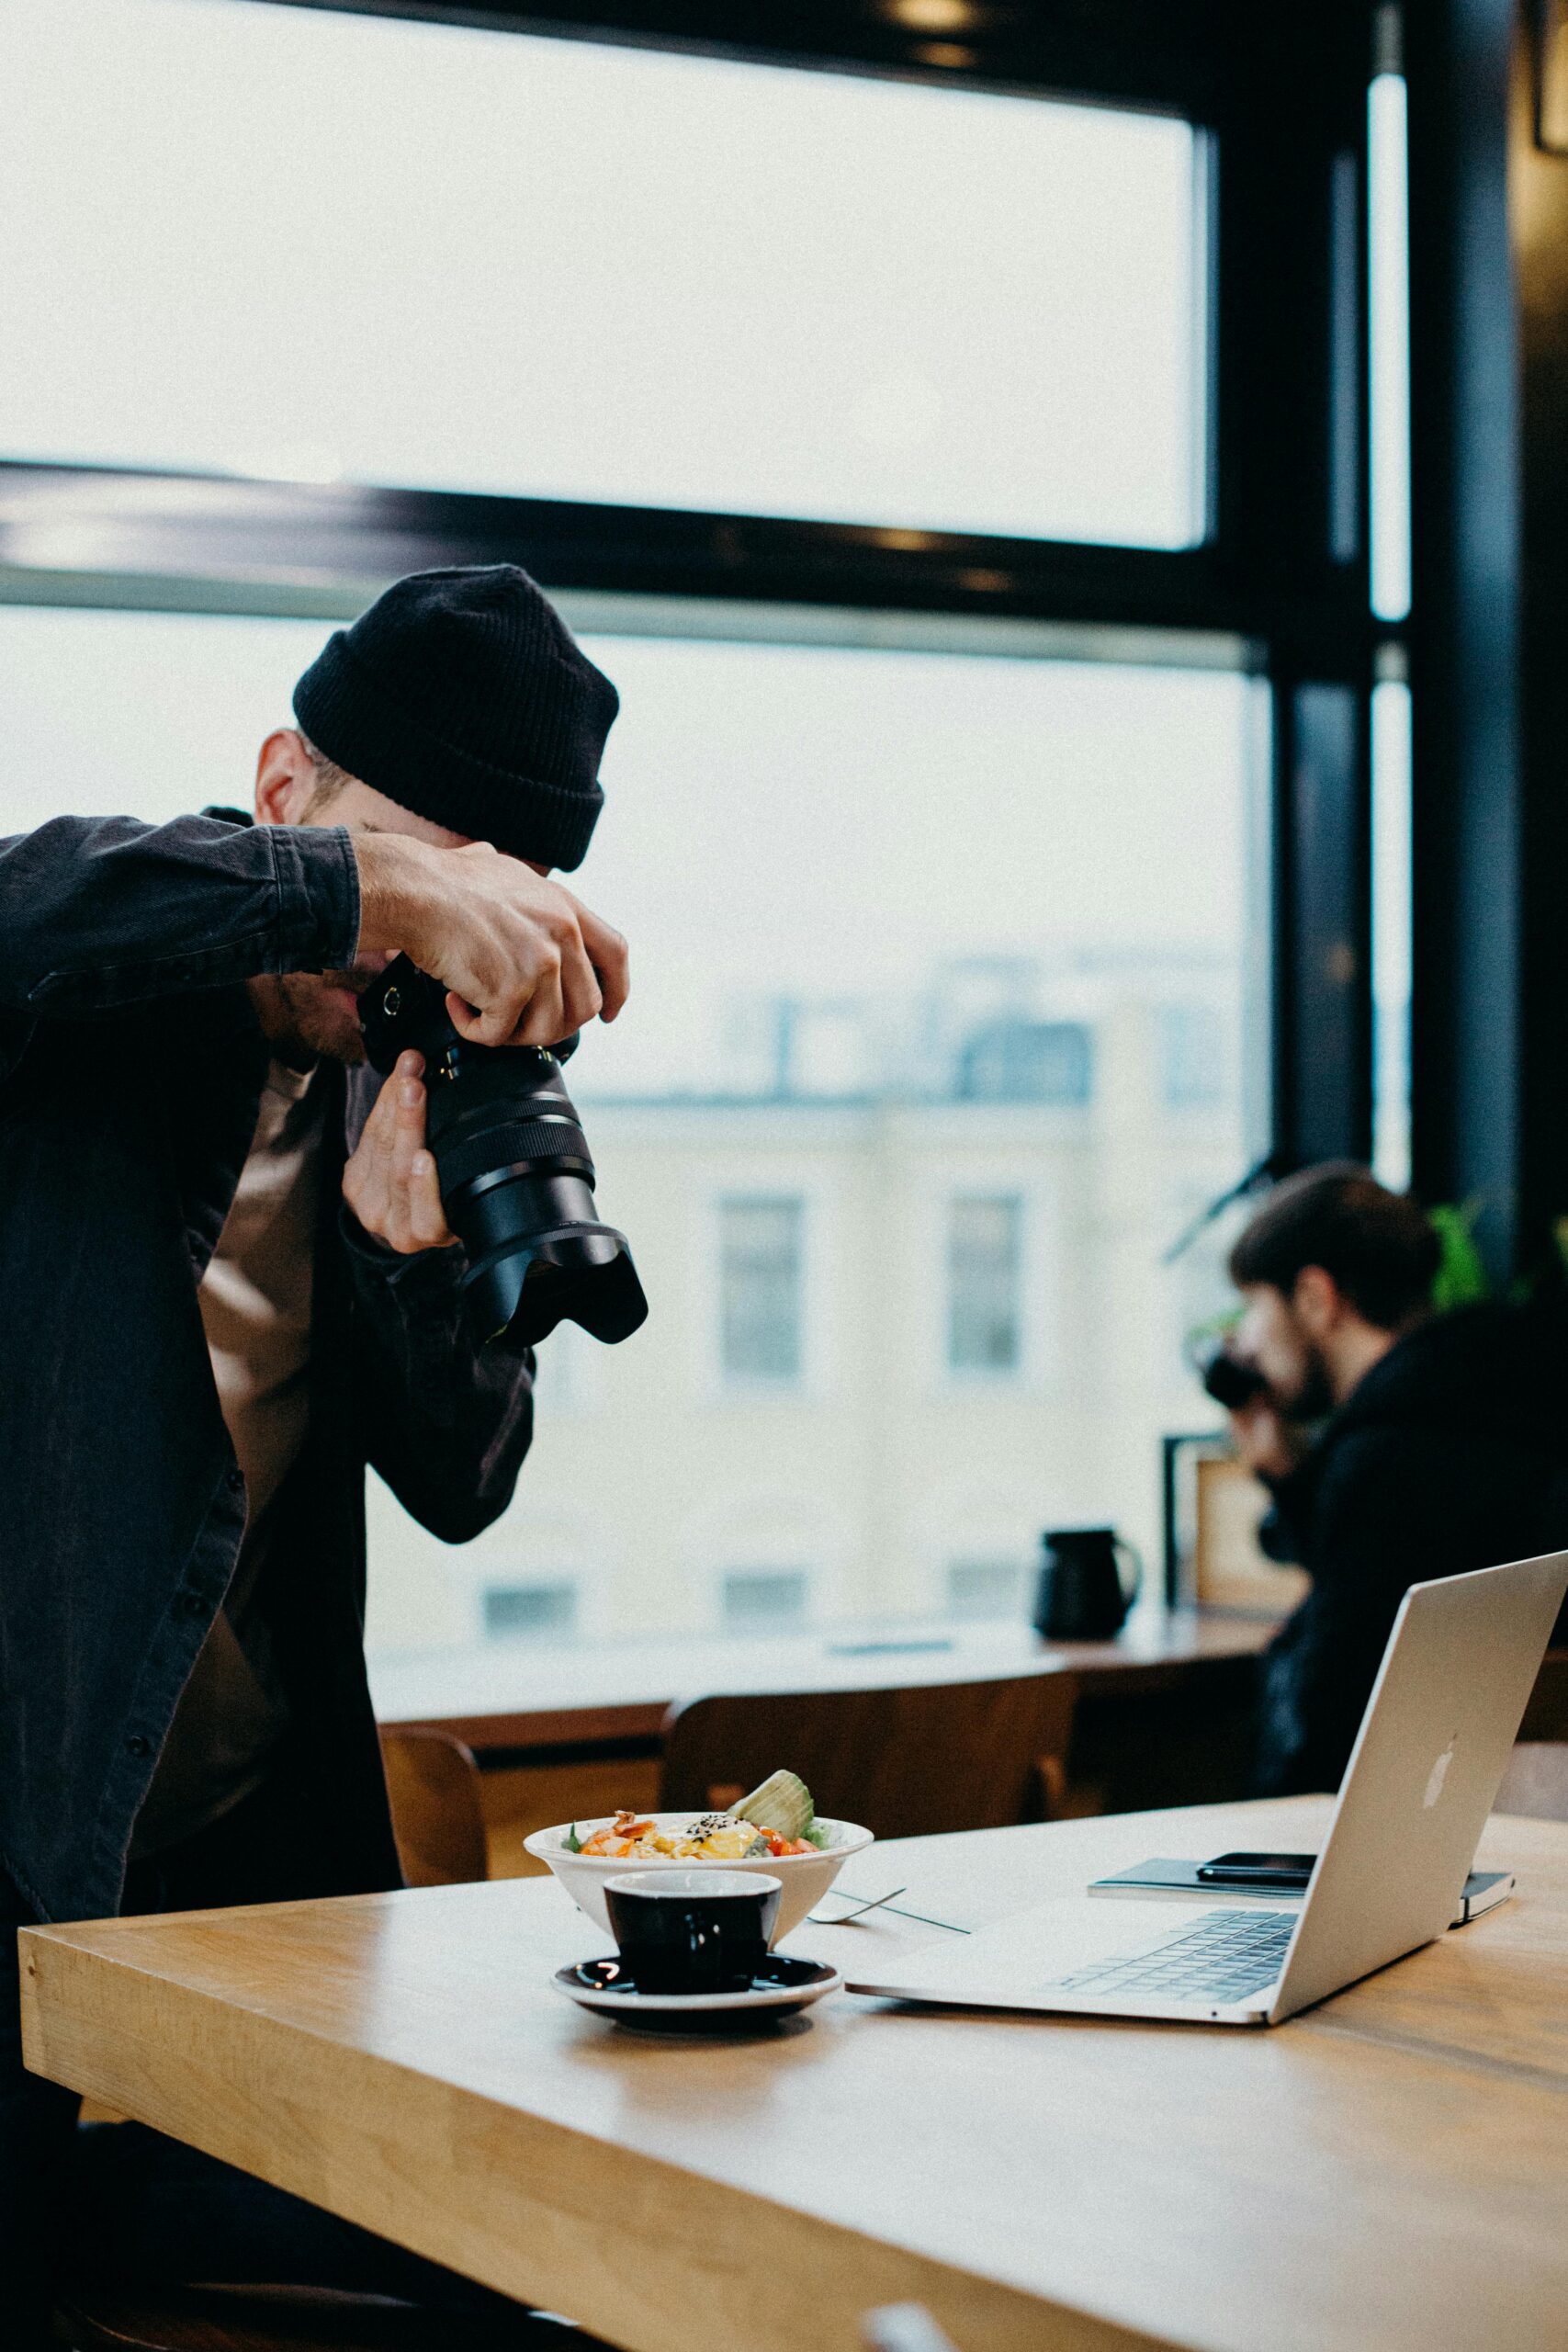
One: Shoot the same subject in three lights. Photograph a coffee mug or houseplant in morning light, midday light, and evening light. Compare the results and notice how light transforms mood.
Two: Rule of thirds walk. Spend 30 minutes with the grid overlay enabled. Place every subject along a grid line or intersection. Do not centre anything.
Three: Aperture priority experiment. Switch to Aperture Priority mode. Photograph the same scene at f/2.8, f/8, and f/16. Observe how depth of field changes.
Four: Freeze and blur. Find running water. Shoot at 1/1000th of a second, then at 1/4 second. See how shutter speed transforms motion.
Five: Light direction portraits. Ask someone to stand near a window. Photograph them facing it, perpendicular to it, and with their back to it. This single exercise teaches more about light than hours of reading.
Where to Go from Here
An introduction to photography gives you the foundation. From here, the path depends on your interests — portrait photography, landscape, wildlife, videography, or building a photography business. Each builds on the fundamentals covered in this guide.
Our photography course for beginners takes everything above and expands it into a structured, tutor-supported program with practical assignments and personalised feedback. Browse our full range of courses to find the direction that excites you most.