Manual mode represents the pinnacle of photographic control, allowing photographers to make precise exposure decisions regardless of challenging conditions. For Canadian photographers facing diverse environments from Arctic conditions to coastal fog, mastering manual mode is essential for consistent, professional results.
This comprehensive guide demystifies manual mode, providing practical techniques specifically tailored for Canadian photography conditions. You’ll learn when to use manual mode, how to set exposures accurately, and develop the confidence to handle any shooting situation manually.
Understanding Manual Mode Fundamentals
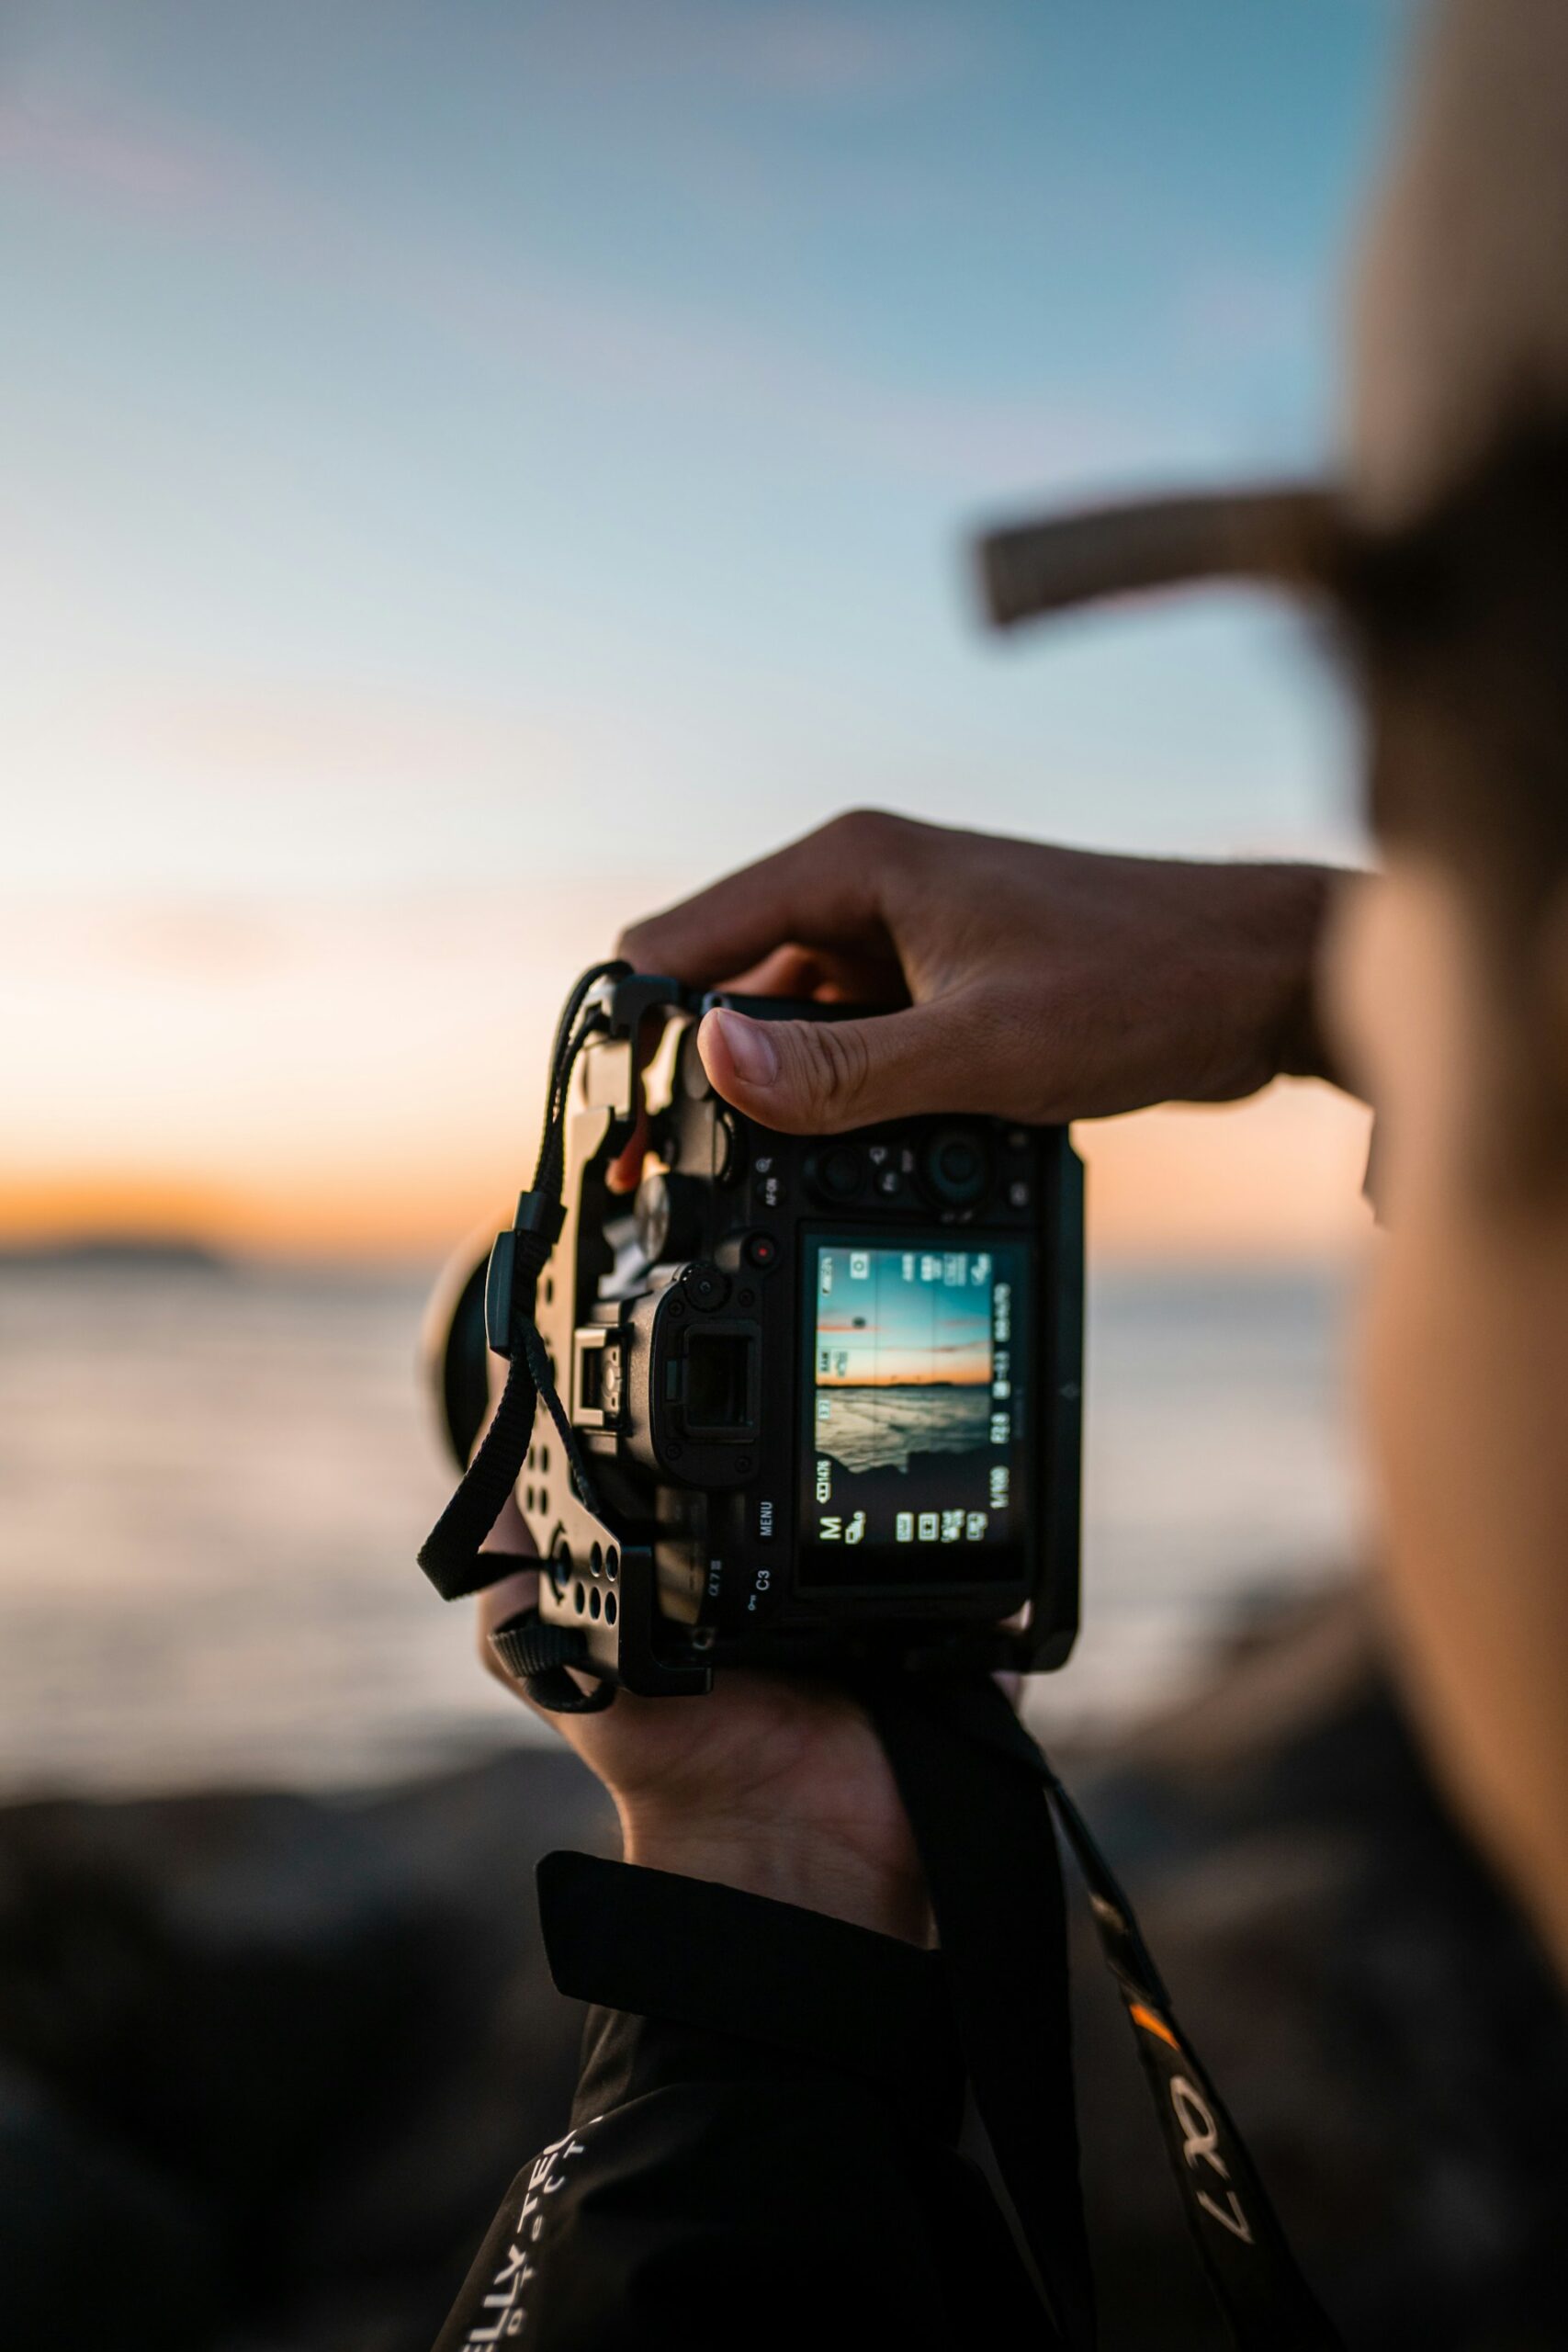
What is Manual Mode? Manual mode (M on your camera dial) gives you complete control over aperture, shutter speed, and ISO. Unlike automatic modes where the camera makes exposure decisions, manual mode requires you to set all parameters based on your creative vision and technical requirements.
When to Use Manual Mode
- Consistent lighting conditions: Studio work, landscape photography during stable light
- Challenging metering situations: Snow scenes, backlit subjects, high contrast scenarios
- Creative control requirements: Long exposures, multiple exposures, precise depth of field control
- Professional consistency: When you need identical exposures across multiple shots
Canadian-Specific Manual Mode Applications
- Snow photography: Prevents underexposure from camera’s tendency to darken bright scenes
- Northern Lights: Requires precise long exposure settings
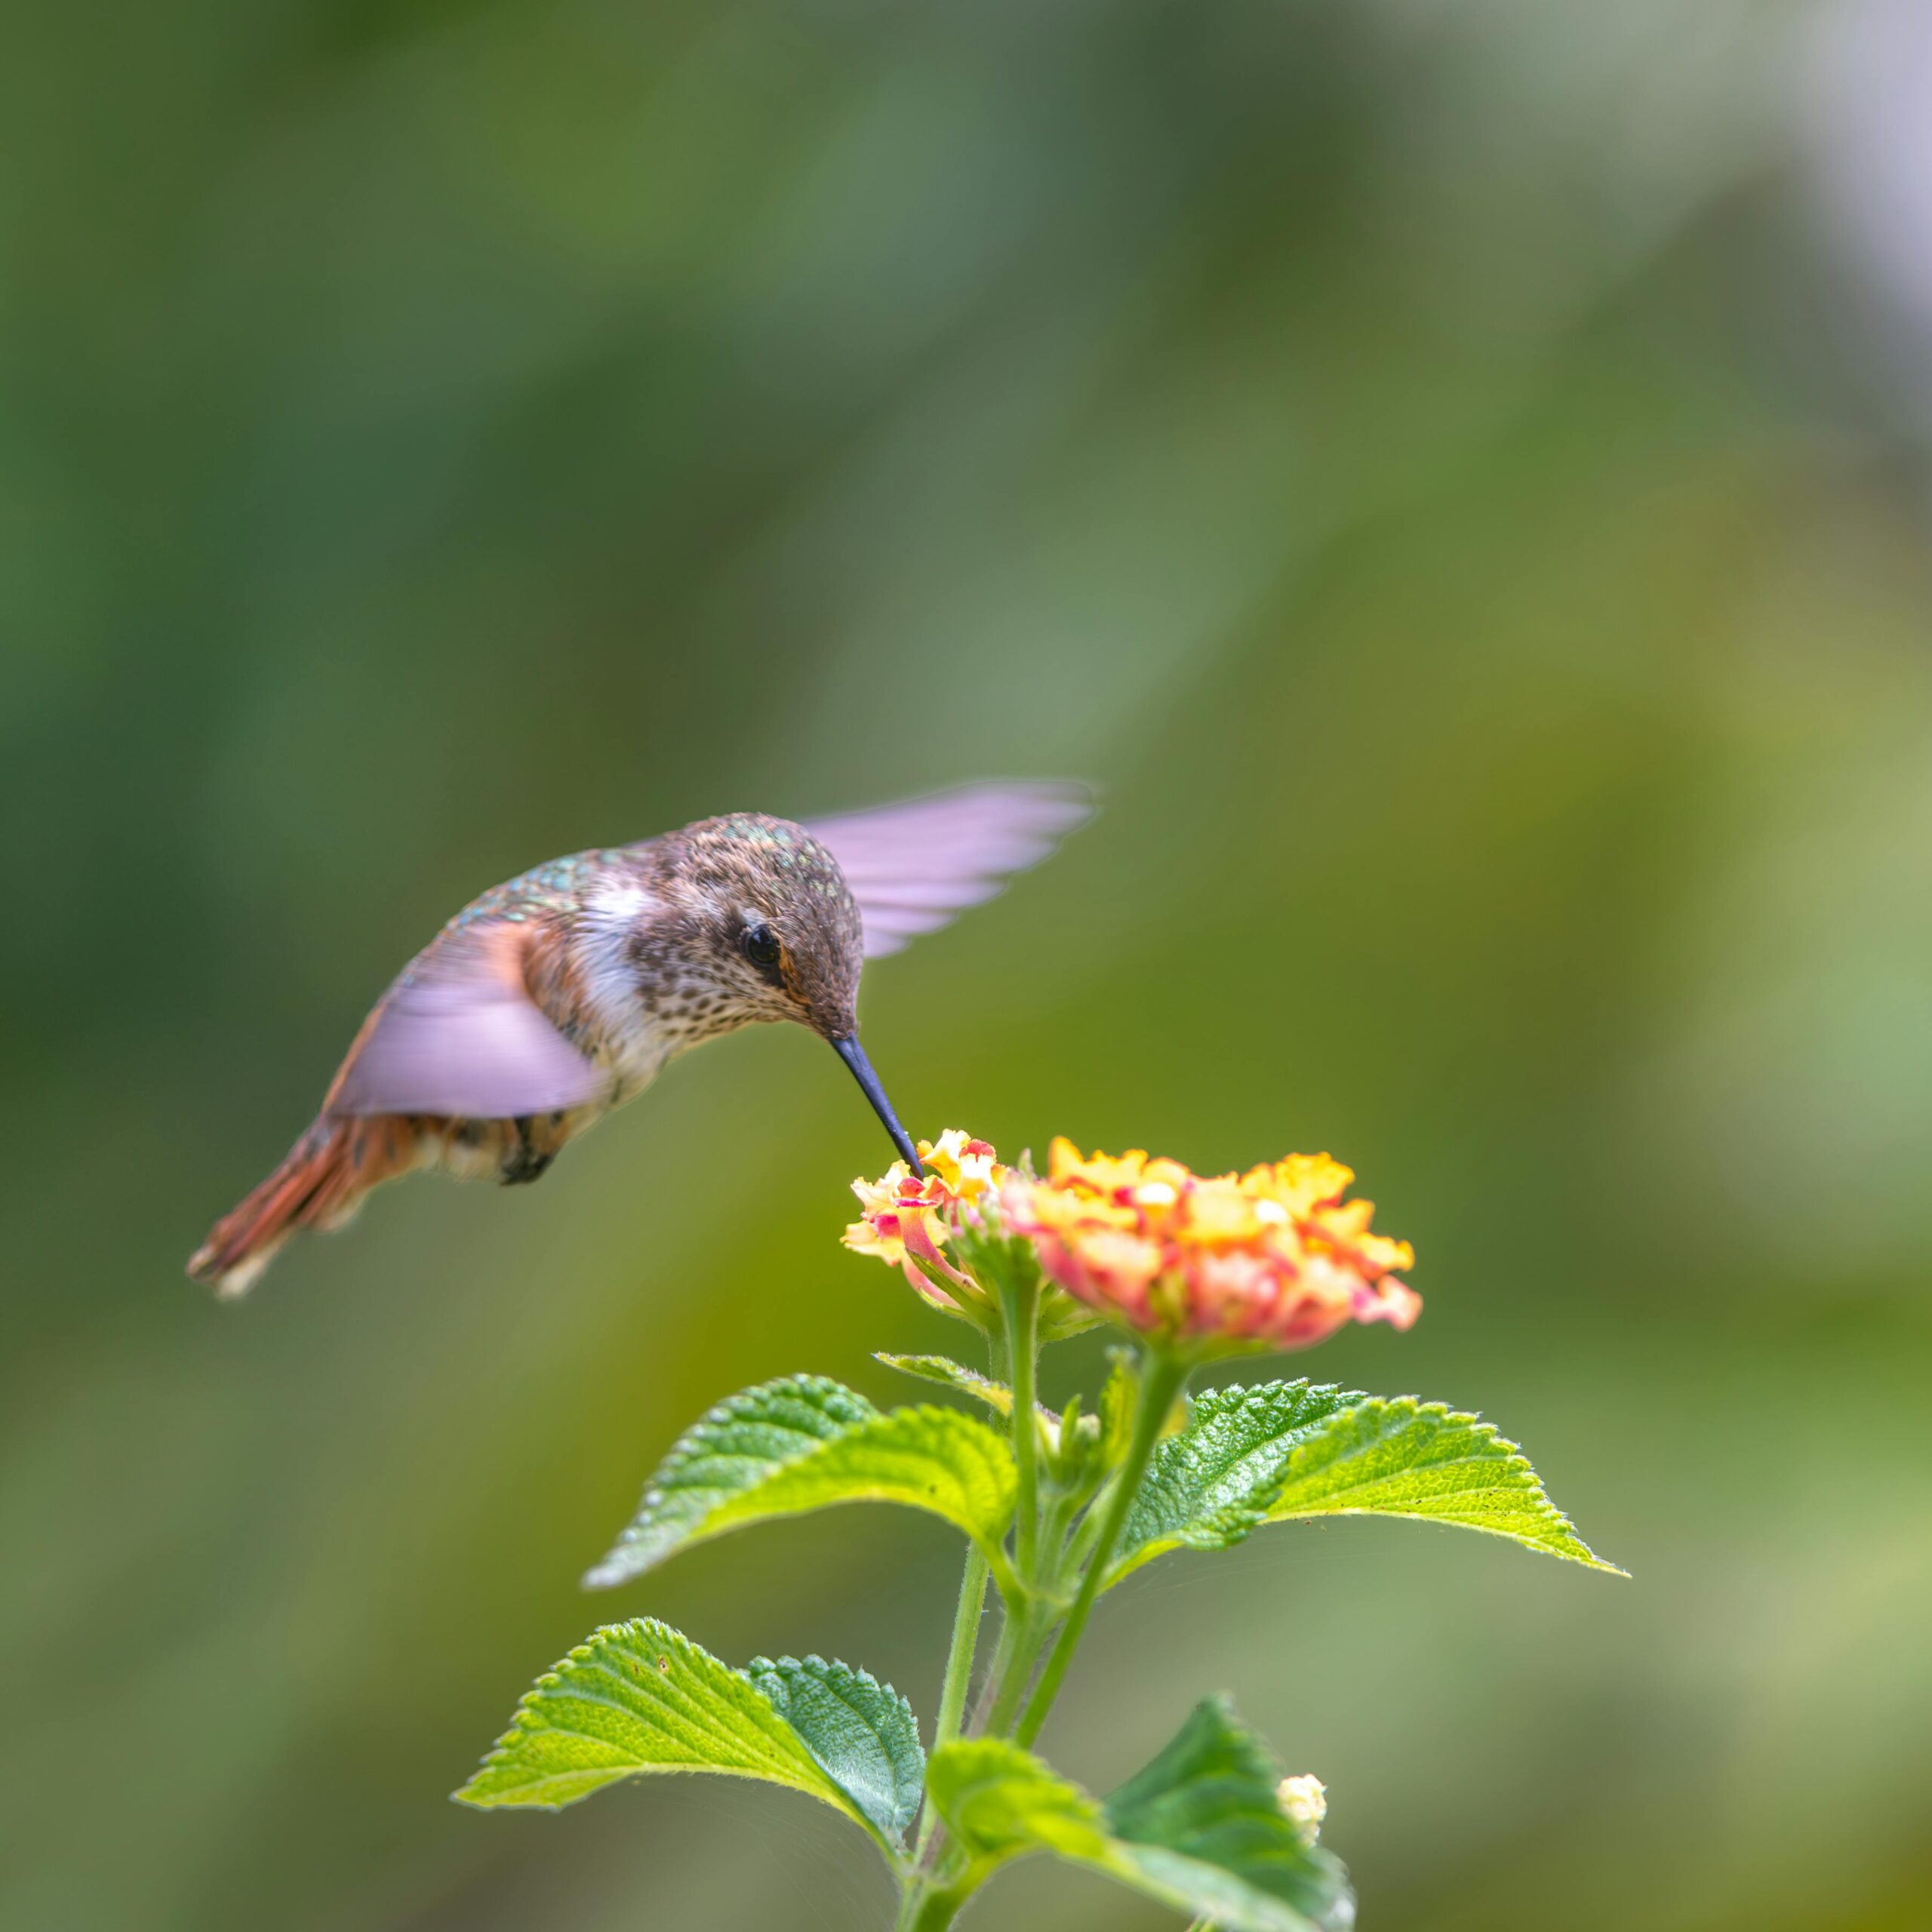
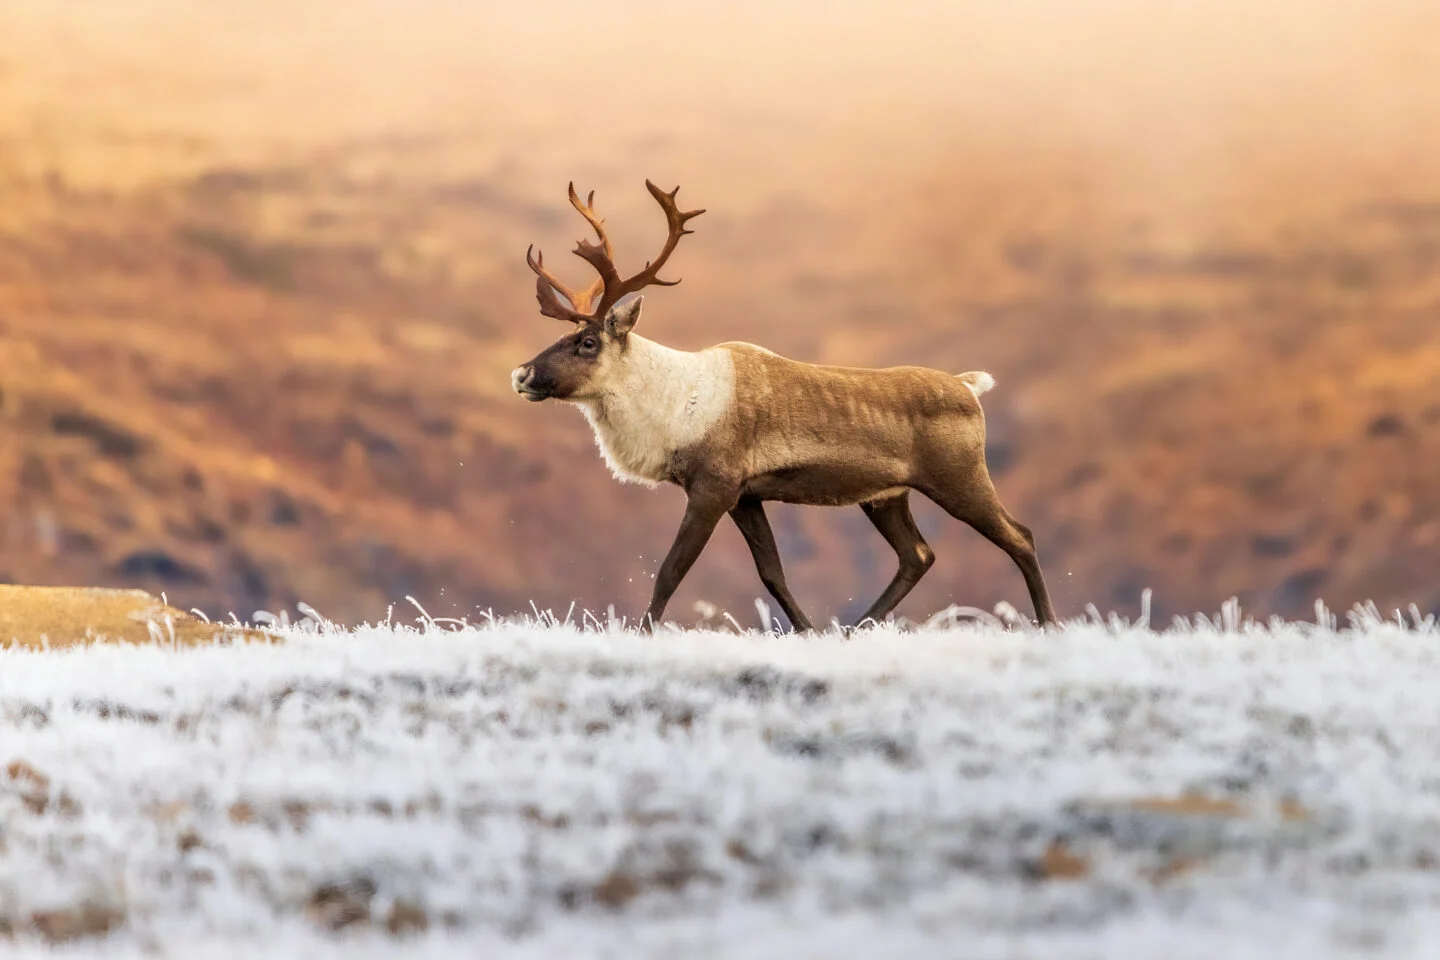
- Wildlife photography: Maintains consistent exposure when animals move between light and shadow
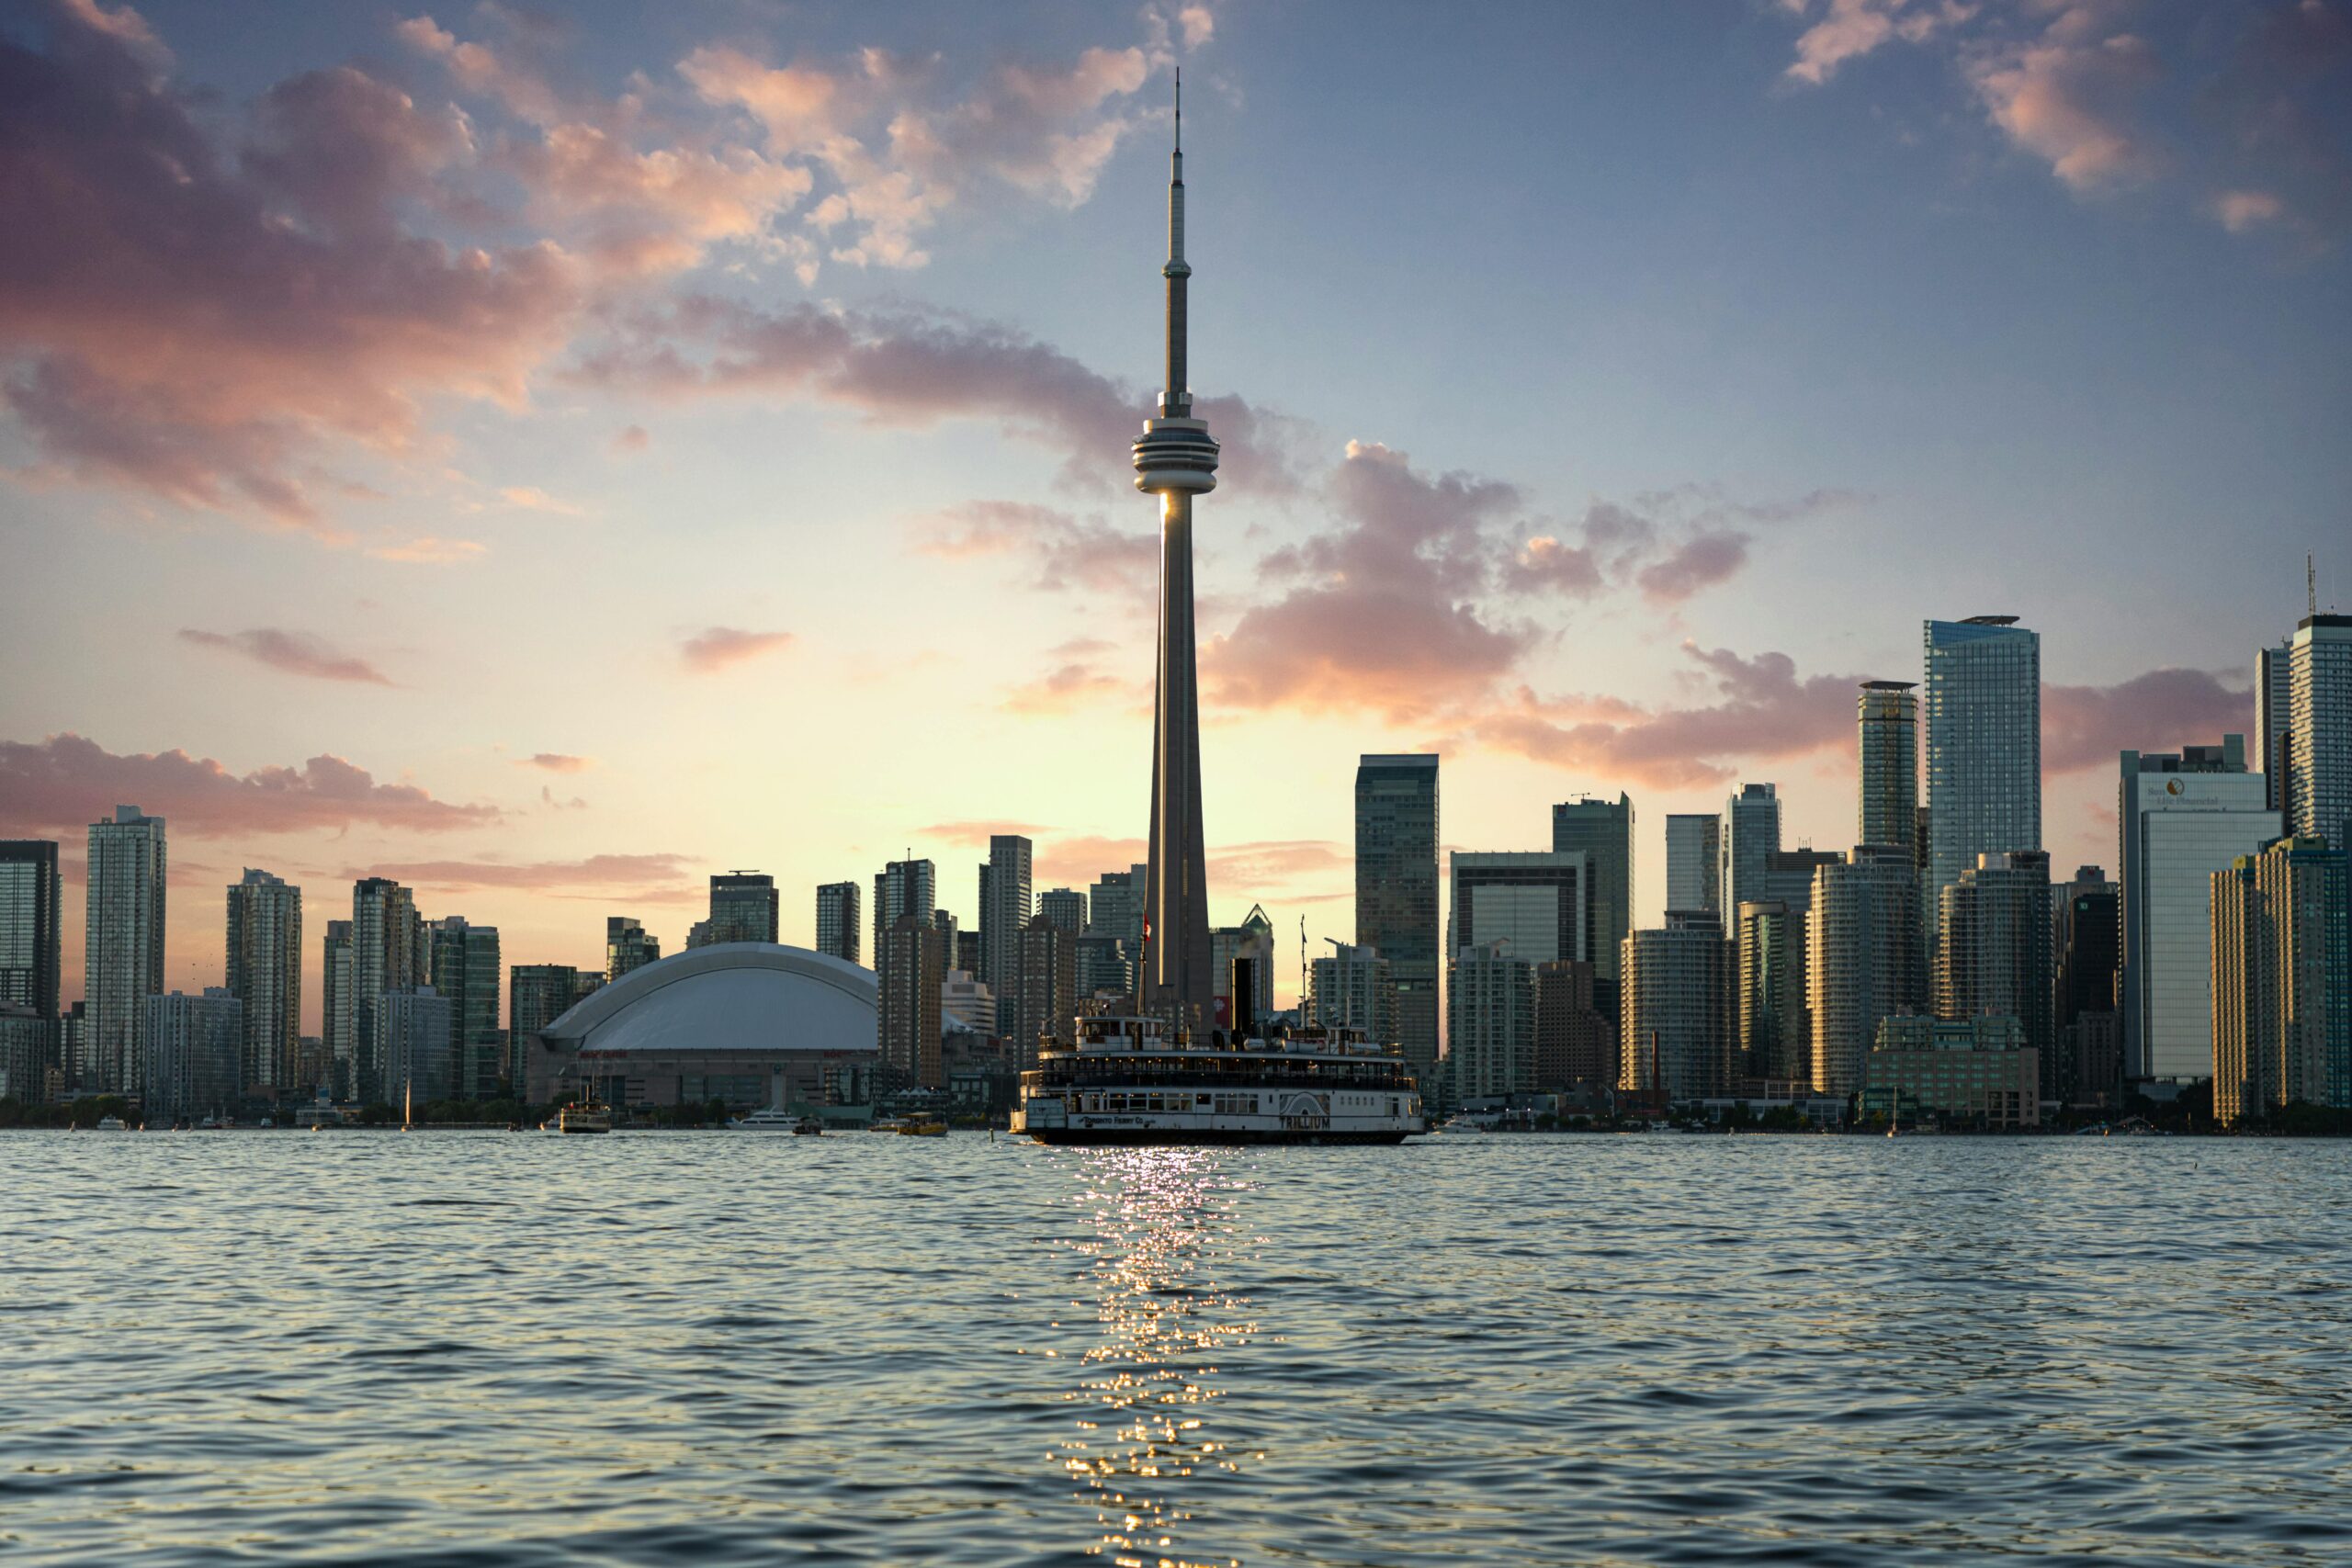
- Architectural photography: Ensures consistent exposure across multiple frames for HDR or panoramic work
The Exposure Triangle in Manual Mode
Aperture Control Aperture affects both depth of field and the amount of light entering your camera. In manual mode, you select aperture based on your creative vision:
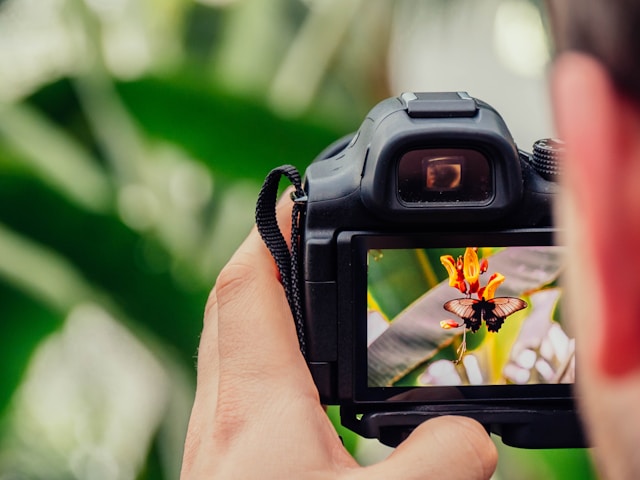
- Wide apertures (f/1.4-f/2.8): Shallow depth of field, good for portraits and wildlife isolation
- Medium apertures (f/4-f/8): Balanced depth of field, optimal lens sharpness
- Narrow apertures (f/11-f/16): Maximum depth of field for landscapes
Shutter Speed Considerations Shutter speed controls motion blur and contributes to exposure:
- Fast speeds (1/500s+): Freeze action, wildlife, sports
- Medium speeds (1/60s-1/250s): General photography, handheld limits
- Slow speeds (1/30s and slower): Creative motion blur, tripod required
ISO Management In manual mode, ISO becomes your exposure fine-tuning tool:
- Base ISO (100-200): Maximum image quality when light permits
- Moderate ISO (400-1600): Balancing quality with shooting flexibility
- High ISO (3200+): When maintaining aperture and shutter speed are critical
Manual Mode Metering Techniques
Using Your Camera’s Light Meter Every camera has a built-in light meter visible in manual mode. The meter shows whether your current settings will result in proper exposure:
- Centered meter: Indicates proper exposure according to camera’s metering system
- Positive (+) readings: Indicates overexposure
- Negative (-) readings: Indicates underexposure
Understanding Metering Patterns
- Matrix/Evaluative: Analyzes entire scene, good for general use
- Center-weighted: Emphasizes center of frame, useful for portraits
- Spot metering: Measures small area, precise control for difficult lighting
Exposure Compensation in Manual Mode Unlike other modes, exposure compensation doesn’t work in manual mode. Instead, you adjust aperture, shutter speed, or ISO directly to achieve desired exposure.
Canadian Weather Considerations
Cold Weather Manual Mode Techniques Canadian winters present unique challenges for manual mode shooting:
Battery Performance
- Cold weather reduces battery life significantly
- Keep spare batteries warm in inside pockets
- Consider battery grips for extended shooting sessions
- Use manual mode efficiently to minimize LCD screen time
Condensation Prevention
- Allow cameras to acclimate gradually when moving between temperatures
- Use sealed bags when bringing equipment from cold to warm environments
- Be patient – rushing the warming process can damage equipment
Snow Scene Exposure Snow scenes often fool camera meters, leading to gray, underexposed images:
- Meter on a neutral tone (18% gray card if available)
- Overexpose by 1-2 stops from what the meter suggests
- Use histogram to verify exposure, ensuring highlights don’t clip
- Shoot in RAW format for maximum post-processing flexibility
Practical Manual Mode Workflows
Landscape Photography Workflow
- Setup: Mount camera on tripod, compose scene
- Base settings: Start with f/8-f/11 for optimal sharpness
- Shutter speed: Adjust for proper exposure based on meter reading
- ISO: Keep at base ISO (100-200) unless necessary to increase
- Focus: Use manual focus or single-point autofocus
- Test shot: Review histogram and adjust if necessary
Wildlife Photography Workflow
- Priority settings: Choose shutter speed first (based on subject movement)
- Aperture: Select for desired depth of field (usually f/2.8-f/5.6)
- ISO: Adjust to achieve proper exposure
- Focus mode: Continuous AF for moving subjects
- Drive mode: High-speed continuous for action sequences
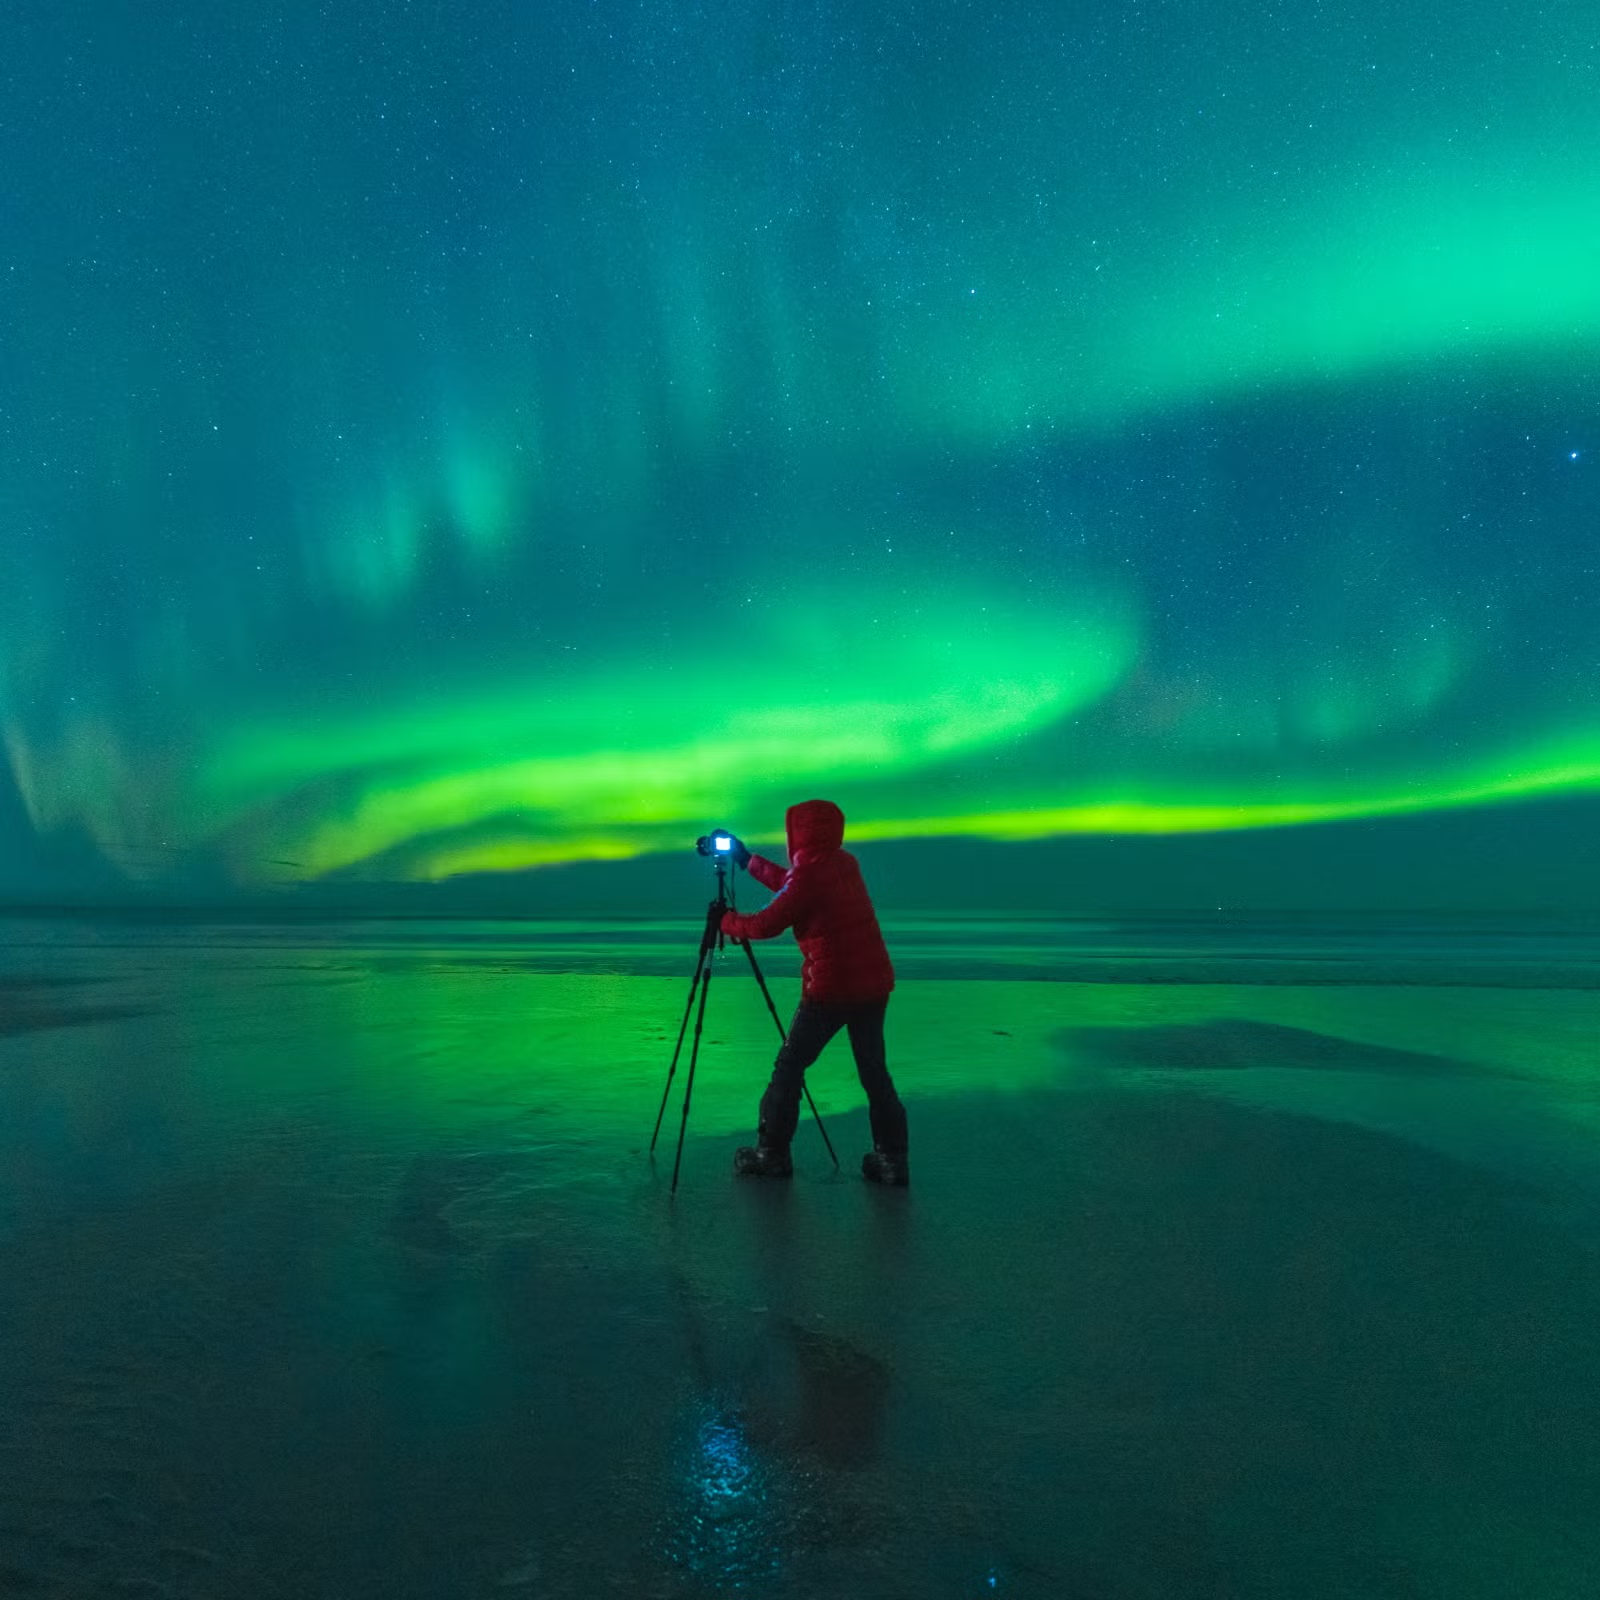
Aurora Photography Workflow Manual mode is essential for northern lights photography:
- Aperture: Wide open (f/1.4-f/2.8) for maximum light gathering
- Shutter speed: 15-25 seconds (longer causes star trails)
- ISO: 1600-6400 depending on aurora intensity
- Focus: Manual focus set to infinity
- Composition: Use live view for accurate framing in darkness
Advanced Manual Mode Techniques
Zone System Application Adapted from Ansel Adams’ zone system for digital photography:
- Zone 0: Pure black, no detail
- Zone V: Middle gray, what your meter aims for
- Zone X: Pure white, no detail
Use spot metering to place important tones in appropriate zones, then set manual exposure accordingly.
Histogram Reading The histogram is crucial in manual mode for accurate exposure assessment:
- Left side: Shadows and blacks
- Right side: Highlights and whites
- Peak positions: Show tonal distribution
- Clipping warnings: Indicate lost detail in highlights or shadows
Manual Mode for HDR Photography High Dynamic Range photography requires consistent exposures:
- Set camera on tripod for stability
- Use manual focus to maintain sharpness across brackets
- Determine base exposure for middle tone
- Create bracket sequence by adjusting shutter speed only
- Maintain constant aperture and ISO for consistent depth of field
Troubleshooting Common Manual Mode Issues
Exposure Problems
- Consistently dark images: Increase ISO, open aperture, or slow shutter speed
- Consistently bright images: Decrease ISO, close aperture, or increase shutter speed
- Inconsistent exposure: Check that you’re adjusting settings between shots
Focus Issues
- Soft images: Check shutter speed (camera shake), aperture (depth of field), or focus accuracy
- Focus hunting: Switch to manual focus in low light or low contrast situations
- Back/front focus: Use micro-focus adjustment if available
Technical Difficulties
- Camera settings reset: Check if you accidentally changed modes or custom settings
- Unexpected results: Verify ISO, white balance, and file format settings
- Battery drain: Manual mode requires more photographer input, potentially increasing shooting time
Practice Exercises for Manual Mode Mastery
Exercise 1: Fixed Lighting Practice Choose a stationary subject in consistent lighting:
- Set camera to manual mode
- Use light meter to achieve proper exposure
- Take shot and review histogram
- Adjust settings and shoot again until comfortable with the process
Exercise 2: Changing Light Conditions Practice adapting to changing light:
- Start shooting during golden hour
- Continue as light changes toward blue hour
- Adjust settings as needed to maintain proper exposure
- Note how each setting change affects the image
Exercise 3: Challenging Conditions Practice in difficult lighting:
- Shoot in bright snow conditions
- Practice backlit subject photography
- Work in low light without flash
- Each scenario teaches different manual mode applications
Building Manual Mode Confidence
Start Gradually
- Begin with stationary subjects in good light
- Practice one setting change at a time
- Use camera’s light meter as your guide initially
- Graduate to more challenging conditions as comfort increases
Understand Your Equipment
- Learn your camera’s ISO performance limits
- Understand your lenses’ optimal aperture ranges
- Know your camera’s autofocus capabilities in various conditions
- Practice changing settings quickly and efficiently
Develop Visual Skills
- Learn to assess lighting conditions visually
- Understand how different light qualities affect exposure needs
- Develop ability to predict exposure settings before metering
- Train your eye to spot potential exposure challenges

Manual Mode in Different Canadian Seasons
Spring Photography
- Rapidly changing weather requires quick manual adjustments
- Wildflower photography benefits from precise depth of field control
- Bird migration photography demands consistent exposure settings
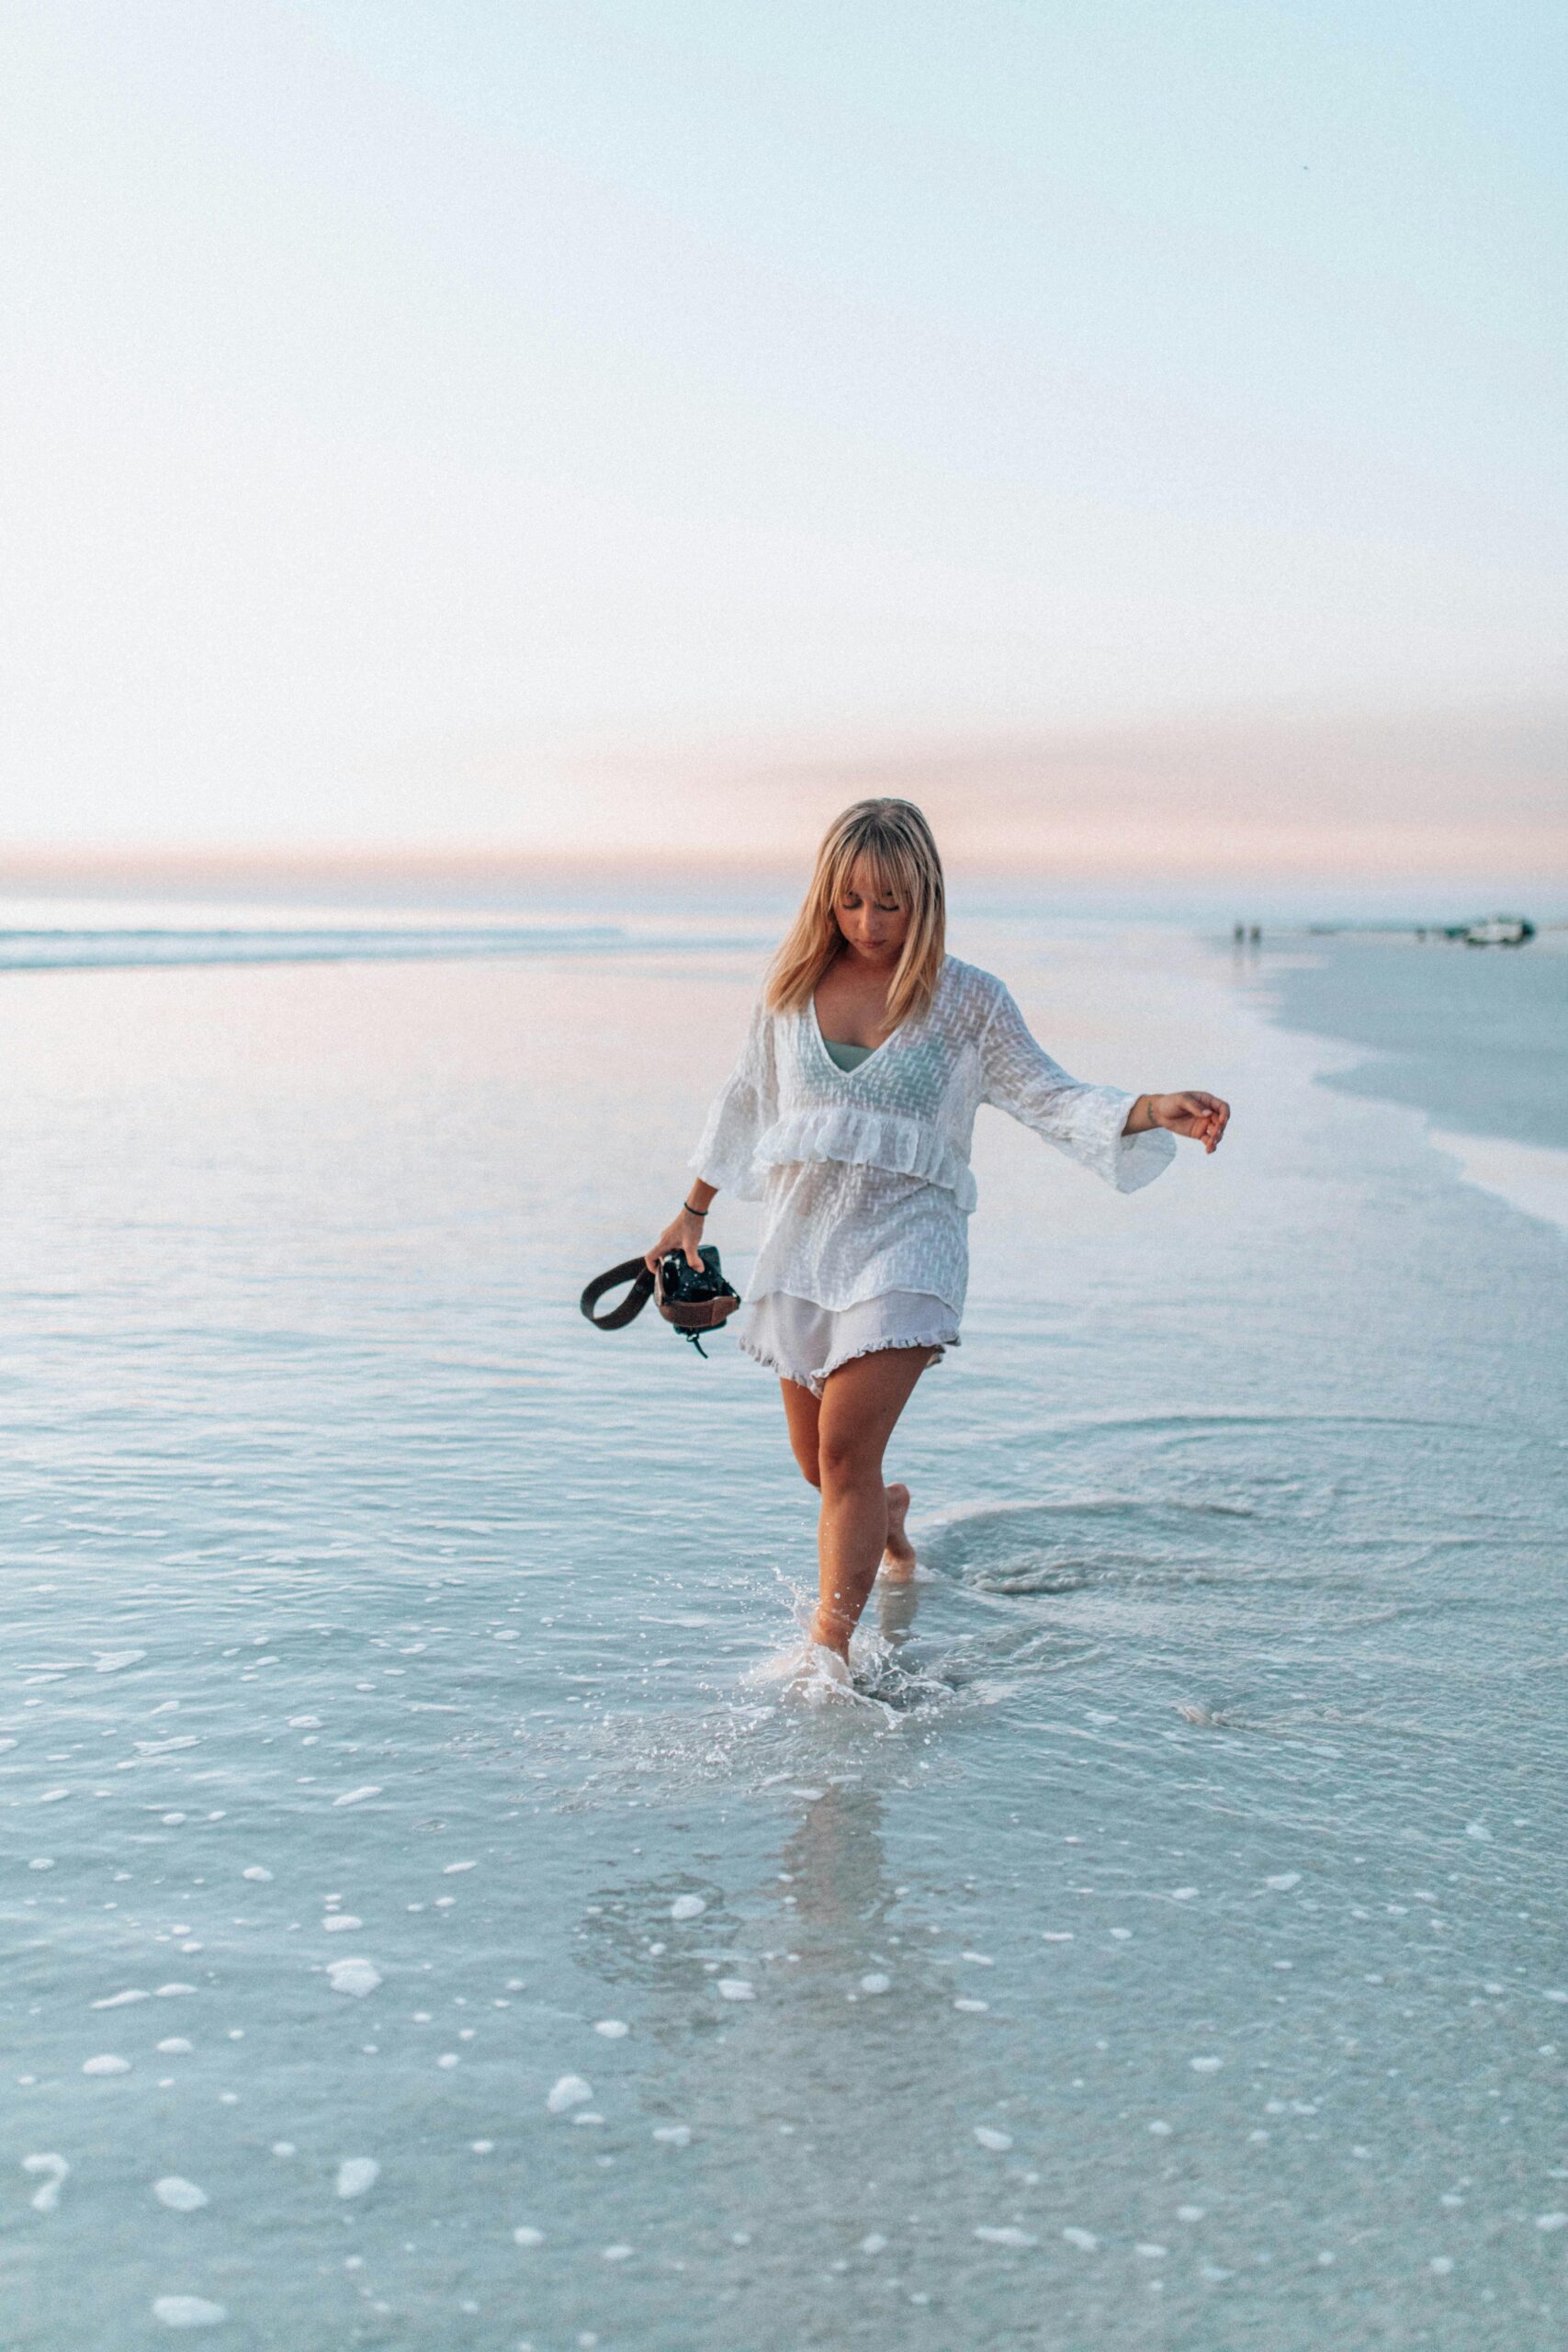
Summer Photography
- Bright conditions may require neutral density filters
- Long daylight hours provide extended shooting opportunities
- Festival and event photography benefits from manual consistency
Fall Photography
- High contrast between bright foliage and darker backgrounds
- Changing light quality throughout the season
- Landscape photography peak season demands technical precision
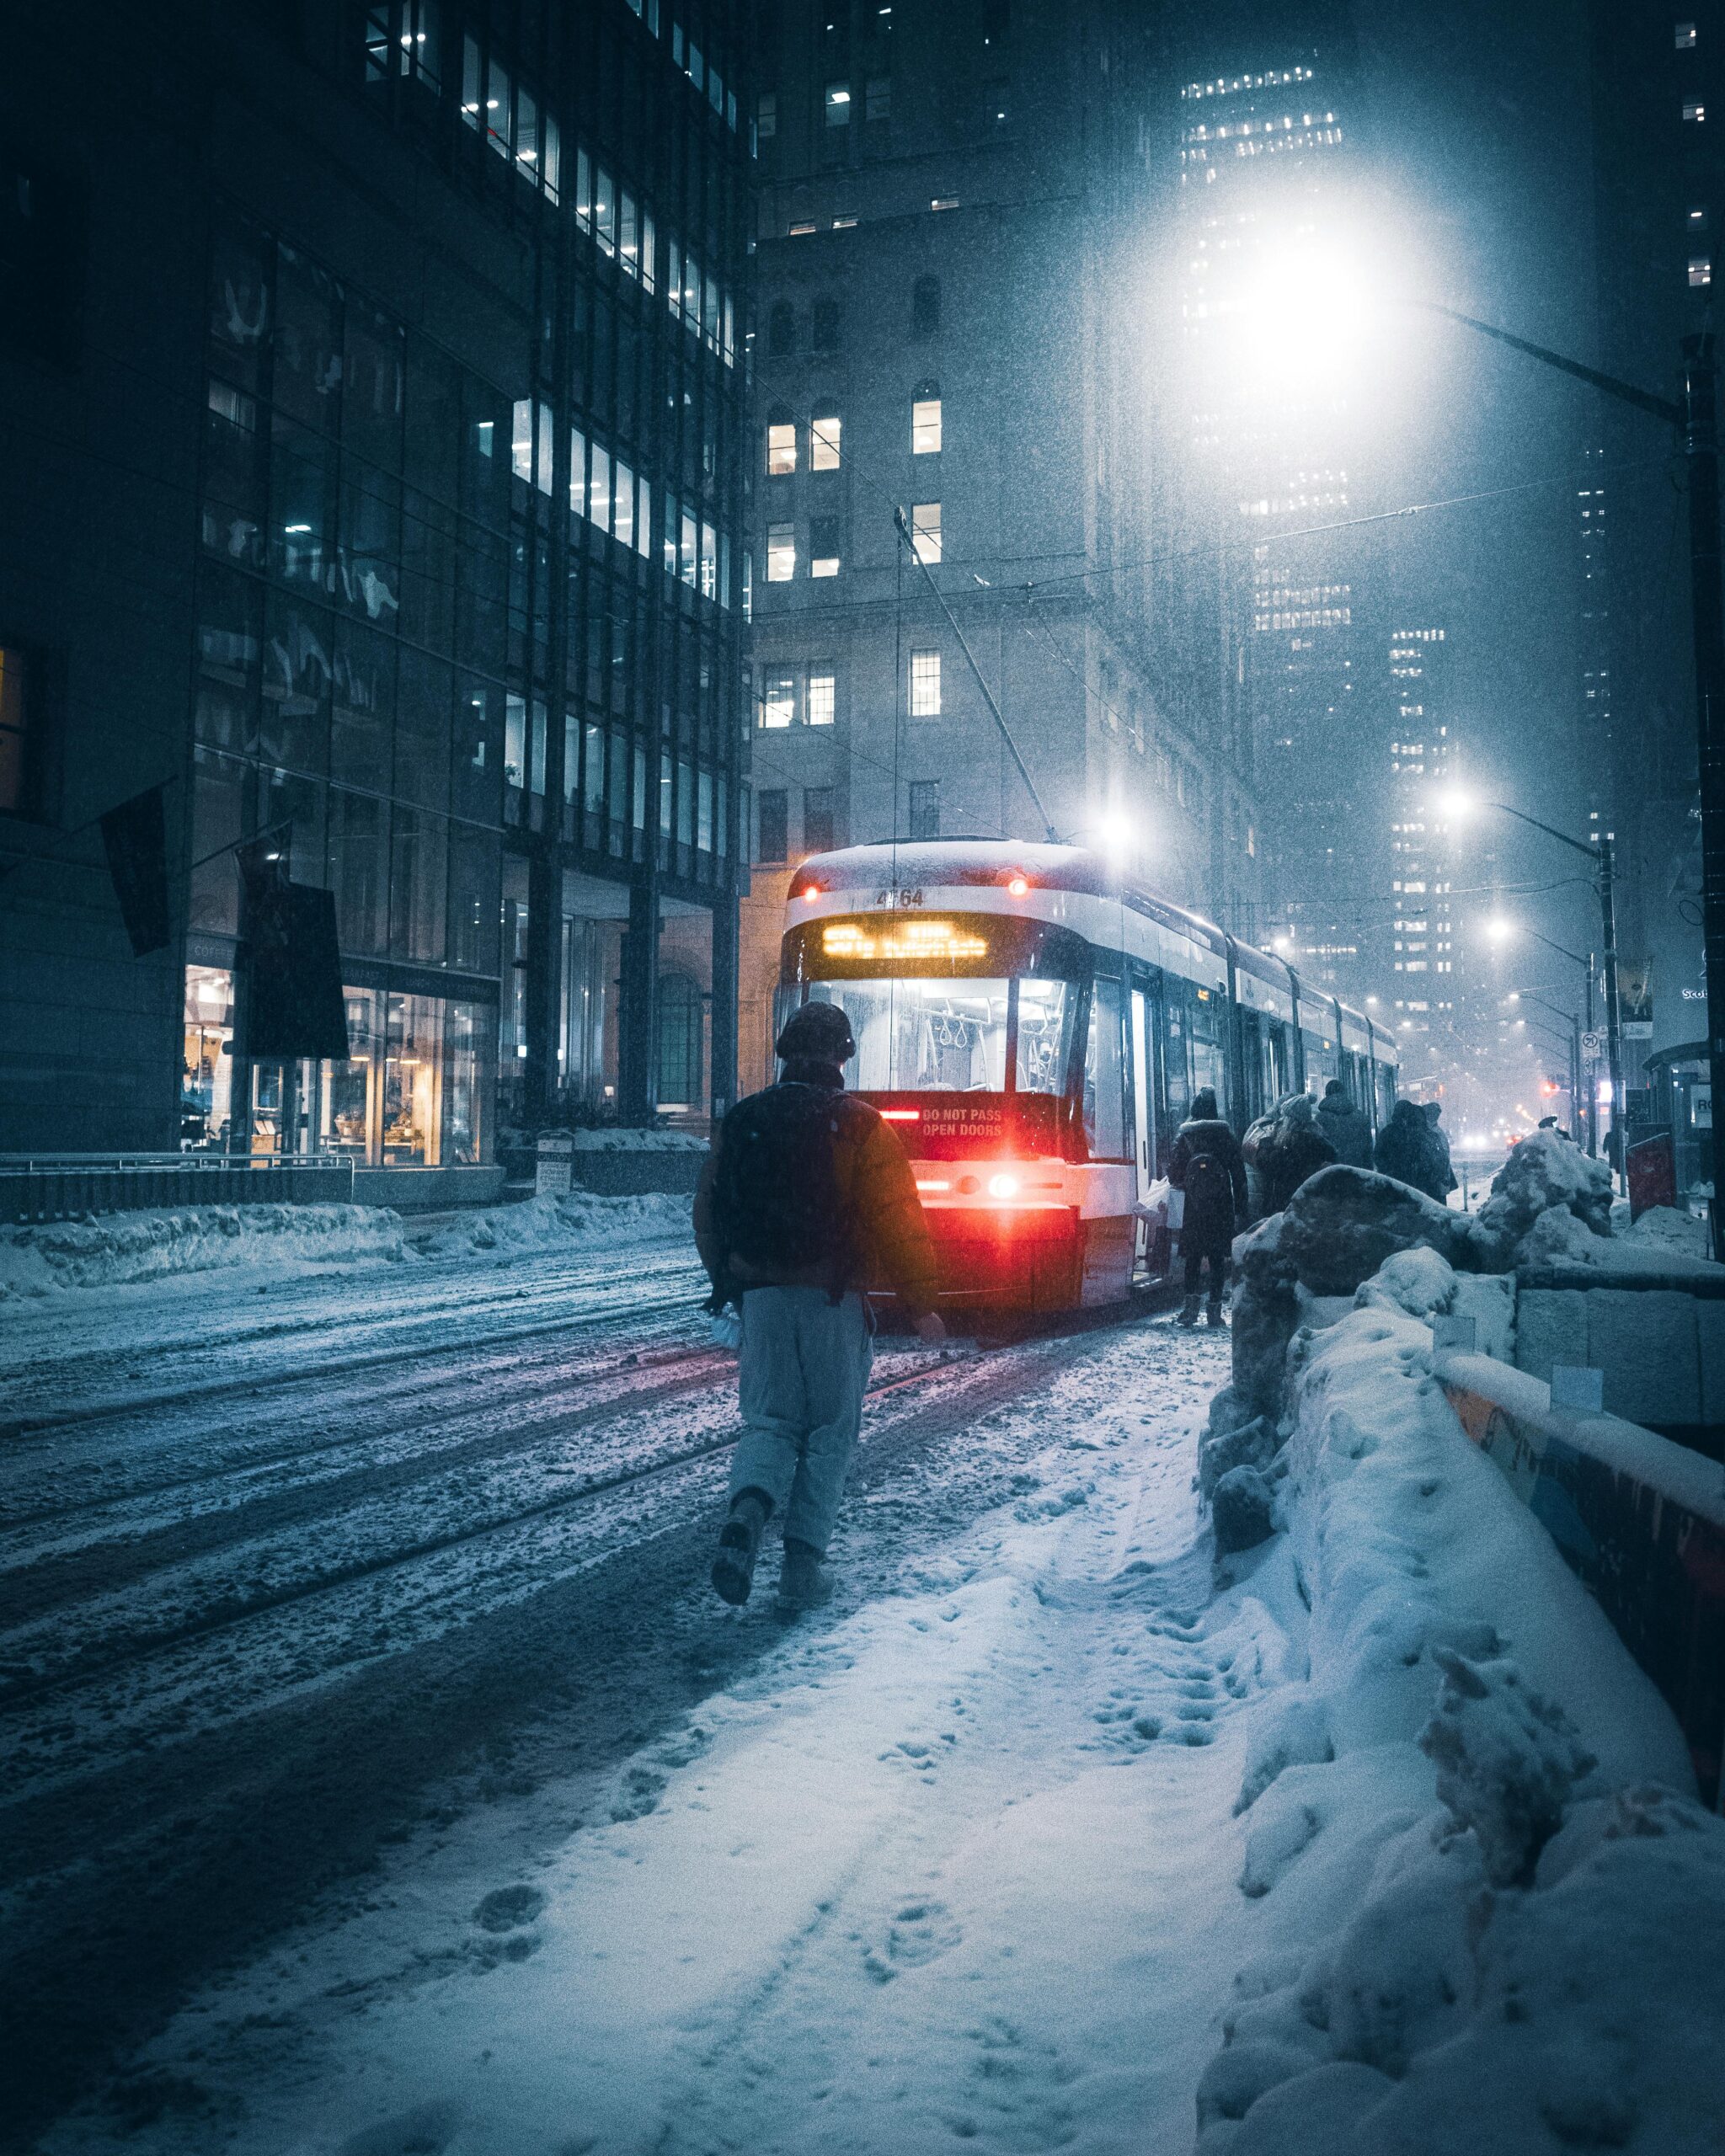
Winter Photography
- Snow scenes require exposure compensation
- Limited daylight hours demand efficient shooting techniques
- Cold weather affects equipment performance and battery life
Final Thoughts
Manual mode mastery transforms photographers from reactive to proactive creators, providing complete control over their artistic vision. For Canadian photographers facing diverse and challenging conditions, manual mode skills are essential for consistent, professional results.
Remember that manual mode is a tool to serve your creative vision, not an end in itself. Use it when it provides advantages over other modes, and don’t hesitate to switch to other modes when they better serve your needs.
Practice regularly in various conditions, study the relationship between settings and results, and gradually build your confidence. With time and experience, manual mode will become second nature, allowing you to focus on composition and creativity rather than technical concerns.
The journey to manual mode mastery requires patience and practice, but the reward is complete creative control over your photography. Embrace the learning process, and soon you’ll wonder how you ever photographed without this powerful tool.