Lighting is the single most important variable in portrait photography. The same subject in the same location with the same camera can look completely different depending on how the light falls on their face. A portrait lighting course teaches you to control this variable with intention — creating specific moods, flattering specific face shapes, and producing consistent, professional results regardless of the environment you are working in.
This guide covers seven essential portrait lighting setups that every photographer needs in their toolkit — from natural light techniques you can use anywhere to studio setups that give you complete creative control.
Why Lighting Matters More Than Any Other Skill
You can have the sharpest lens, the highest-resolution camera, and flawless composition — and still produce a mediocre portrait if the lighting is wrong. Flat, even light strips a face of dimension and character. Harsh, uncontrolled light creates unflattering shadows under eyes, emphasises skin texture, and makes subjects squint. The right light sculpts the face, creates depth, draws attention to the eyes, and communicates the mood of the image.
Professional portrait photographers do not find good light — they create it or recognise and position their subject within it. This is the core skill a portrait lighting course develops.
Setup One: Window Light with Reflector
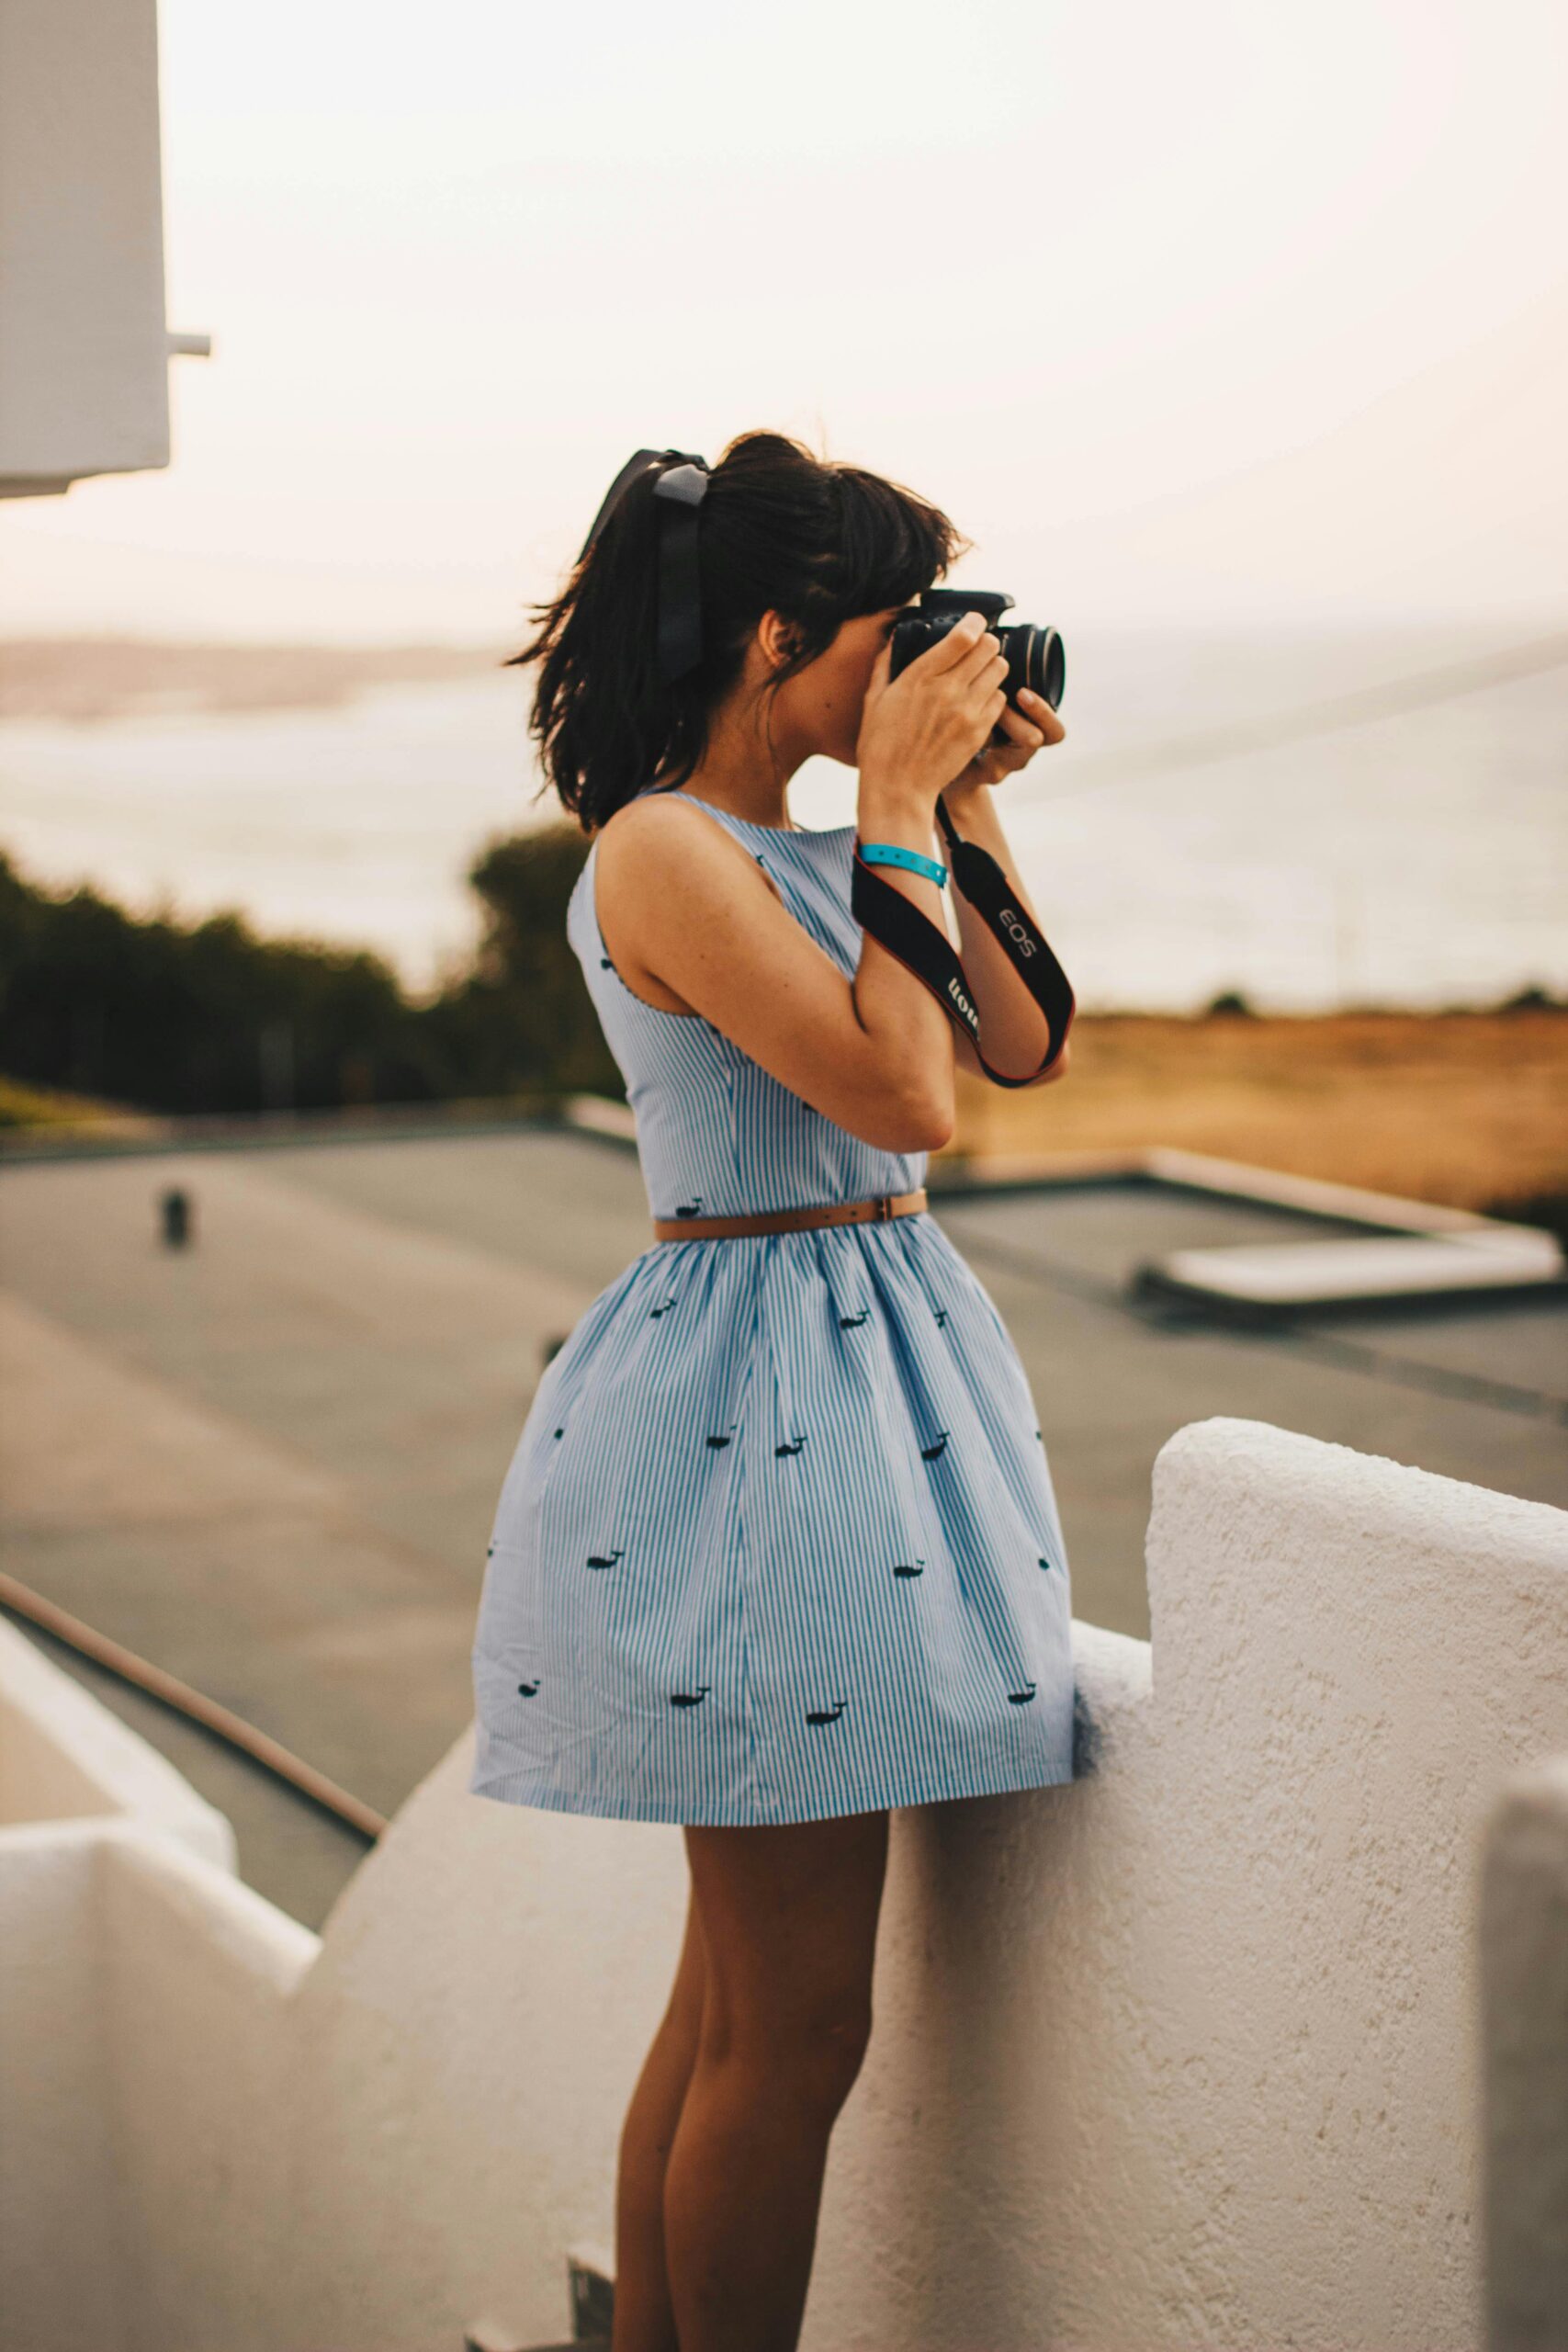
This is the most accessible portrait lighting setup in existence and produces results that rival expensive studio equipment. Position your subject beside a large window with indirect light — north-facing windows are ideal because they never receive direct sunlight. Place the subject at a 45-degree angle to the window so that light falls across their face, creating gentle shadows on the far side.
Add a white reflector — or even a large piece of white cardboard — on the shadow side to bounce light back into the shadows and reduce contrast. The result is soft, dimensional, naturally beautiful light that works for headshots, family portraits, and personal branding sessions.
This setup costs nothing, requires no electricity, and can be replicated in virtually any room with a decent-sized window. According to The Portrait Masters, one of the most respected portrait photography education organisations globally, window light remains the most popular lighting approach among professional portrait photographers worldwide — even those with full studio setups at their disposal.
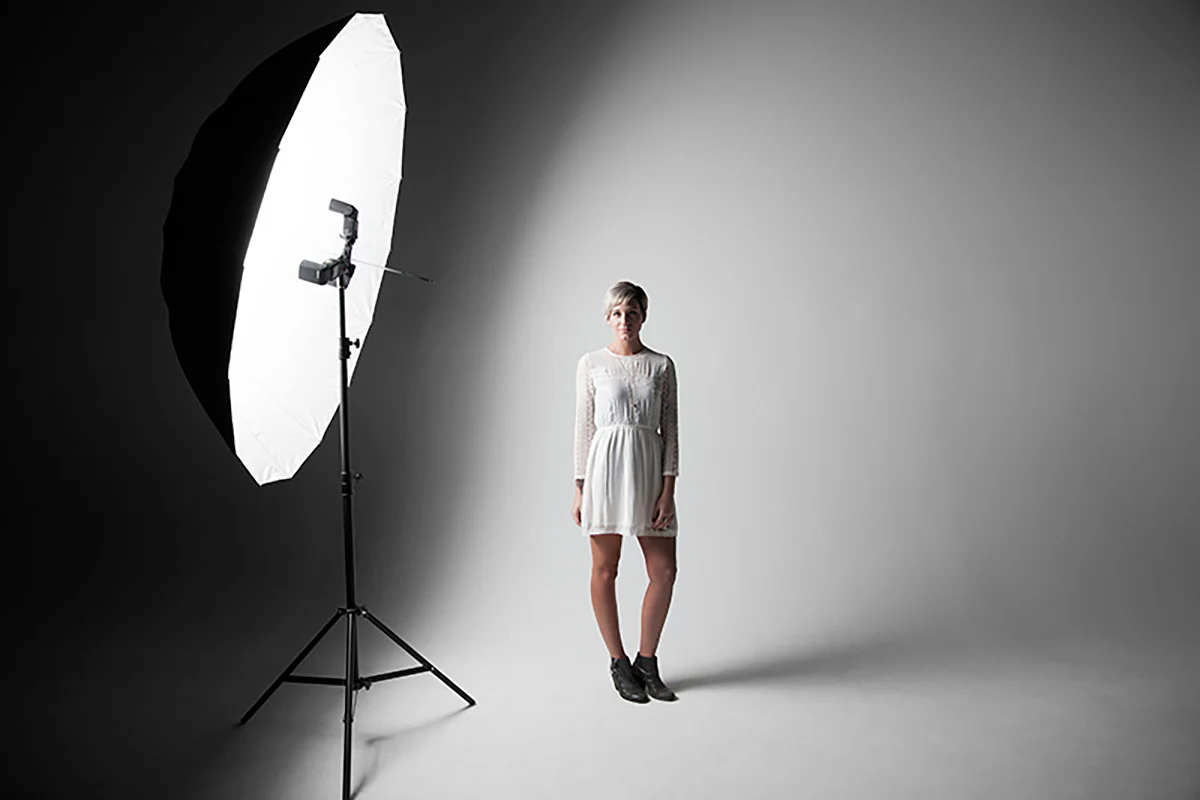
Setup Two: Butterfly Lighting
Butterfly lighting — also called Paramount lighting because it was the standard for Hollywood glamour portraits — positions the key light directly above and in front of the subject, aimed slightly downward. It creates a small, symmetrical butterfly-shaped shadow beneath the nose and gentle shadows under the cheekbones.
This setup is universally flattering because it is symmetrical — it does not emphasise asymmetries in the face the way side-lit patterns can. It is a staple of headshot photography and beauty work. Use a large softbox or beauty dish positioned directly above your camera and angled down at approximately 25–30 degrees for the classic butterfly pattern.
Setup Three: Loop Lighting
Loop lighting moves the key light approximately 30–45 degrees to one side and slightly above eye level. It creates a small, rounded shadow on the opposite side of the nose — the “loop” — while keeping both eyes well lit. The shadow does not extend down to touch the shadow on the cheek, which distinguishes it from the more dramatic Rembrandt pattern.
Loop lighting adds more dimension than butterfly lighting while remaining broadly flattering. It is the most versatile single-light portrait setup and the one you will use most frequently in real client work. Our portrait lighting guide covers the technical details of positioning and modifier selection for loop lighting in depth.
Setup Four: Rembrandt Lighting
Named after the Dutch painter who used this light quality throughout his work, Rembrandt lighting positions the key light further to the side — roughly 45 degrees — and higher than loop lighting. The defining characteristic is a small triangle of light on the shadow side of the face, formed where the nose shadow meets the cheek shadow while light still reaches the eye socket.
Rembrandt lighting is more dramatic than loop or butterfly setups. It works beautifully for editorial portraits, actor headshots, artistic work, and subjects with strong bone structure. It creates a sense of depth and gravitas that flatter setups cannot achieve. However, it may be too dramatic for conservative corporate headshots or family portraits where a lighter, more approachable feel is expected.
Setup Five: Split Lighting
Split lighting positions the key light at 90 degrees to the subject — directly to one side — so that exactly half the face is lit and half is in shadow. It is the most dramatic single-light portrait setup and creates an intense, edgy mood.
Split lighting works for artistic and editorial portraits, musicians, athletes, and subjects where mood and drama take priority over universal flattery. It is not appropriate for most commercial headshot work because half the face is lost in shadow.
Setup Six: Broad and Short Lighting Variations
Broad lighting and short lighting are not setups themselves but modifications of any of the patterns above. They refer to which side of the face — relative to the camera — receives the most light.
Broad lighting means the side of the face closest to the camera (the broader, more visible side) is lit, while the far side falls into shadow. This makes the face appear wider and is used to add fullness to narrow faces.
Short lighting means the side of the face farthest from the camera (the narrower, less visible side) is lit, while the broad side closest to camera falls into shadow. This creates a slimming effect and adds more depth and dimension. Short lighting is the more commonly used approach in professional portraiture because it is more universally flattering.
Understanding when to use broad versus short lighting based on your subject’s face shape is a key skill that separates trained portrait photographers from amateurs. According to the Royal Photographic Society, one of the oldest and most respected photography organisations in the world, mastering the relationship between light direction and facial structure is fundamental to professional portrait practice.
Setup Seven: Two-Light Setup with Rim or Hair Light
Adding a second light behind or to the side of your subject creates a rim light — a thin edge of brightness along the subject’s shoulder, hair, or jawline that separates them from the background. This adds depth and a polished, professional quality that single-light setups cannot achieve.
Position the second light behind the subject at roughly 45 degrees, aimed back toward the camera position. Use a grid or snoot modifier to control the spread so the light only hits the subject’s edge without flaring into your lens. The rim light should be subtle — just enough to create separation, not so bright that it draws attention away from the face.
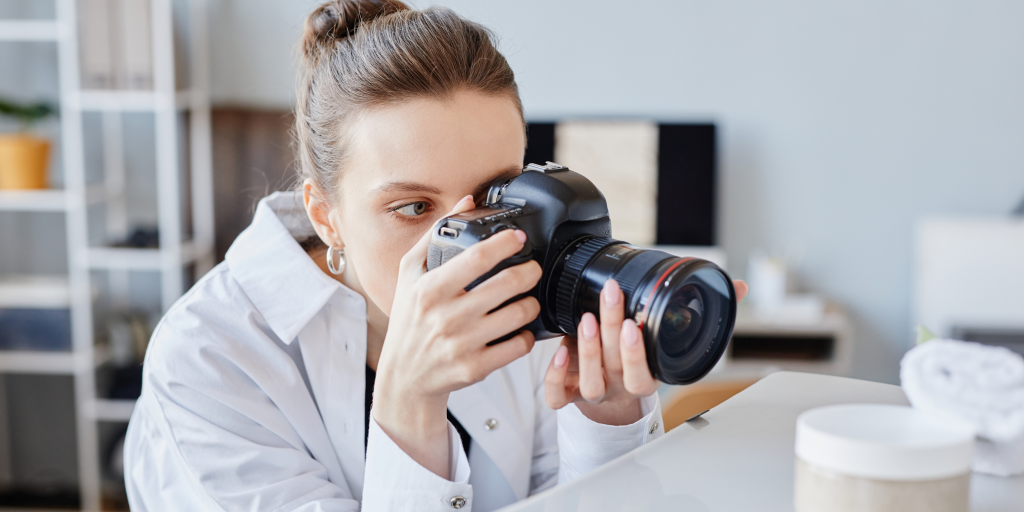
This two-light setup — a key light with modifier in front and a rim light behind — is the workhorse configuration used by professional portrait and headshot photographers for the majority of their client work. Our autofocus techniques guide ensures you nail focus consistently when working in studio environments where depth of field is shallow at wide apertures.
Practising Lighting at Home
You do not need professional equipment to start practising these setups. A window provides your key light. A desk lamp provides a practise studio light. White cardboard or a bedsheet acts as a reflector. A second desk lamp behind your subject simulates a rim light.
Photograph a willing friend or family member using each of the setups described above. Compare the results side by side and observe how each pattern changes the mood, dimension, and flattery of the exact same face. This exercise — which costs nothing — will teach you more about portrait lighting than reading ever will.
Adorama provides extensive free lighting tutorials and equipment guides for photographers building their lighting knowledge and equipment collection.
Master Portrait Lighting
A portrait lighting course transforms your understanding of the single most important element in portrait photography. Our Portrait Photography Course covers all seven of these setups alongside posing, retouching, and business skills in a comprehensive program with professional tutor support. Explore our full range of courses to build your complete portrait photography skill set.