
Creating a professional video is not about pressing record and hoping for the best. It is a multi-stage process that starts long before the camera rolls and continues well after the last shot is captured. Understanding this complete workflow — from initial concept through final delivery — is what a video production course teaches, and it is what separates professional video work from amateur content.
This guide walks you through every stage of the video production process so you understand exactly what skills are involved and how they fit together.
The Three Phases of Video Production
Every professional video project follows three phases: pre-production (planning), production (shooting), and post-production (editing and finishing). Skipping or rushing any phase compromises the final result. The most common mistake beginners make is underinvesting in pre-production — showing up to shoot without a clear plan and then spending excessive time in post-production trying to fix problems that planning would have prevented.
Pre-Production: Planning Your Video
Pre-production is where the creative and logistical foundation of your video is built. Time invested here saves exponentially more time during shooting and editing.
The brief or concept defines what the video needs to accomplish. Who is the audience? What is the message? Where will the video be published? How long should it be? What action should the viewer take after watching? These questions must be answered before any creative work begins. A corporate client commissioning a brand video has very different objectives from a YouTuber creating a tutorial — and the entire production process differs accordingly.
The script or outline structures the content. For talking-head videos and tutorials, this might be a detailed script with exact wording. For documentary-style or narrative content, it might be an outline with key beats and talking points. For event or behind-the-scenes content, it might be a list of key moments and shots to capture. Having structure — at any level — prevents aimless shooting and creates a roadmap for editing.
The shot list translates the script or outline into specific camera shots needed to tell the story. It lists every shot — wide establishing shot, medium interview angle, close-up detail shots, B-roll cutaways — so that during production, you can work systematically through the list and ensure nothing is missed. A shot list is the single most practical planning document in video production.
Location scouting assesses where you will shoot. Visit locations in advance to evaluate lighting conditions at different times of day, identify potential audio problems like traffic noise or air conditioning hum, check for power access, and plan camera positions. This advance work prevents surprises on shoot day.
Scheduling and logistics cover everything from talent availability and equipment needs to travel time and meal breaks. Professional productions create detailed call sheets — documents listing everything that needs to happen on shoot day and when. Even for small projects, a simple timeline prevents disorganisation.
According to No Film School, one of the most respected online resources for filmmakers and video producers, the ratio of pre-production planning time to production shooting time should be at least 3:1 for professional results — three hours of planning for every one hour of shooting.
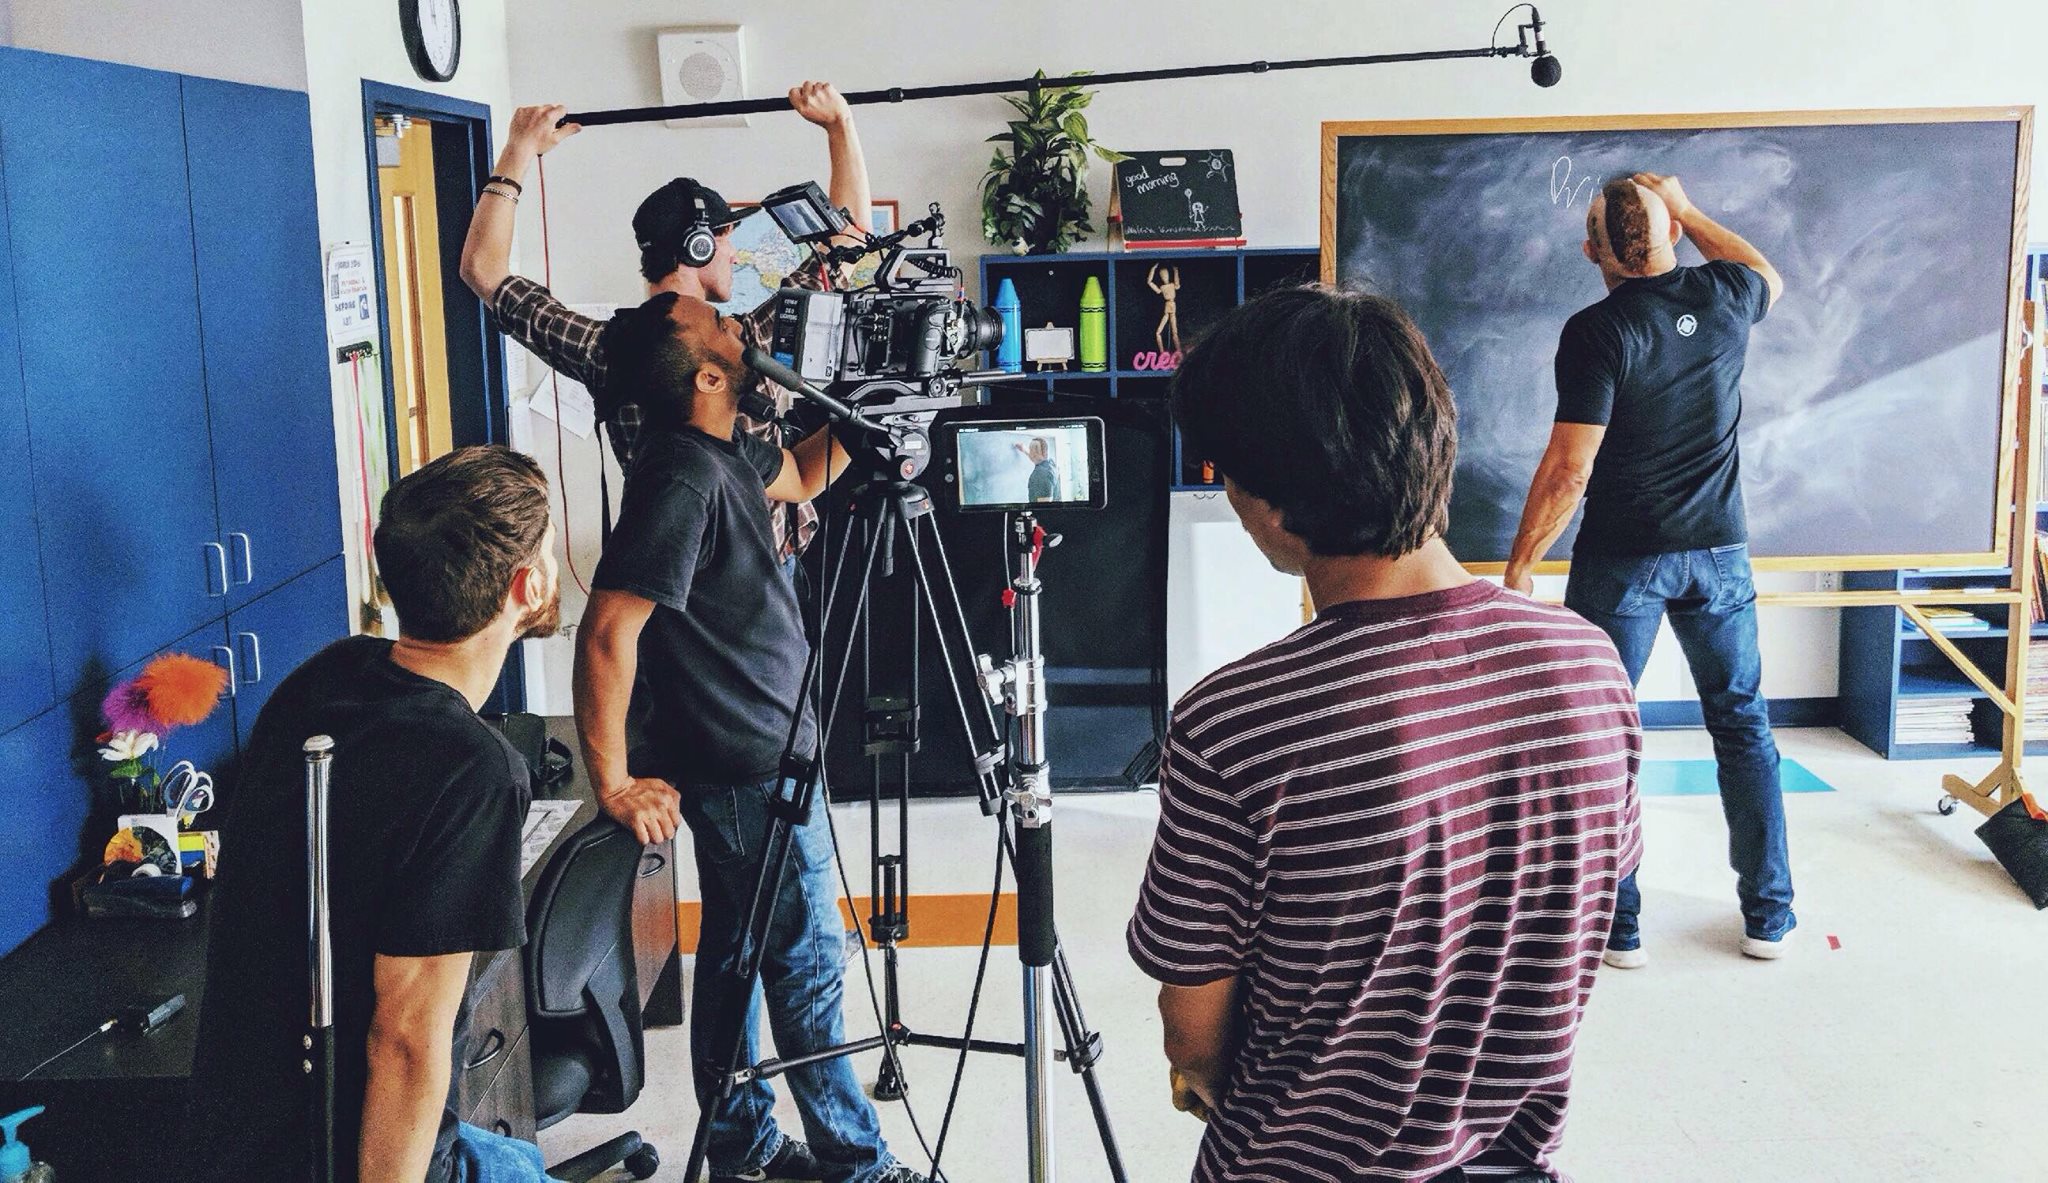
Production: Shooting Your Video
Production is the phase most people think of when they picture video work — cameras rolling, lights set up, talent performing. It is the most exciting phase but also the most unforgiving. Reshooting is expensive, time-consuming, and sometimes impossible. Getting it right during production is essential.
Camera setup and exposure must be consistent across all shots that will be edited together. Set your white balance manually rather than using auto — this ensures consistent colour from shot to shot. Expose carefully and check your histogram or waveform monitor to avoid clipped highlights that cannot be recovered in editing.
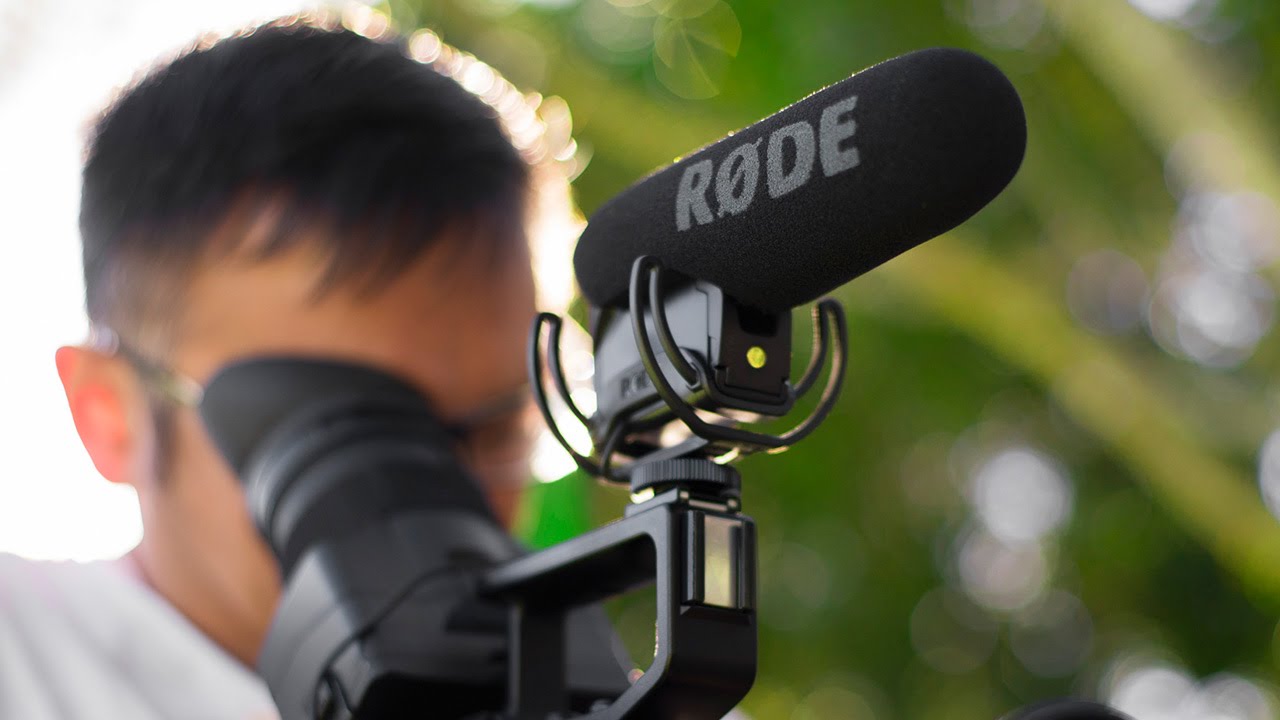
Audio recording requires separate attention from video. Set your microphone levels before talent arrives and monitor audio through headphones throughout every take. If you cannot hear a problem through headphones on location, you will definitely hear it in the edit — and bad audio is much harder to fix than bad video. Our audio for video guide covers recording techniques and common problems in detail.
Shooting to edit means capturing footage with your edit in mind. Get wide establishing shots, multiple angles of important moments, plenty of B-roll cutaway footage, and hold every shot for at least 10 seconds before cutting — this gives your editor options and flexibility. The biggest frustration in post-production is not having enough coverage to work with.
Directing talent — whether professional actors, interview subjects, or business owners appearing in their own marketing videos — requires clear communication, patience, and the ability to make non-performers feel comfortable on camera. Give specific direction rather than vague encouragement. Instead of “be more natural,” try “forget the camera is here and tell me about this like you are explaining it to a friend over coffee.”
Our videography course guide covers camera operation and shooting techniques specific to different types of video production work.
Post-Production: Editing and Finishing
Post-production is where raw footage is transformed into a finished video. This phase typically takes two to five times longer than the production phase — a one-hour shoot may require three to five hours of editing, or more depending on complexity.
Importing and organising footage is the critical first step that beginners often skip. Create a clear folder structure before importing anything. Organise footage by scene, camera angle, or chronological order. Rename files with descriptive names. Review all footage and mark the best takes. This organisational discipline saves enormous time during editing and prevents the panic of searching through hundreds of disorganised clips.
Assembly editing creates the first rough cut by arranging your selected clips in sequence according to your script or outline. Do not worry about perfection at this stage — focus on getting the structure and story order right. The rough cut will be significantly longer than the final product, and that is fine.
Refining the edit tightens pacing, removes unnecessary content, adjusts clip timing, adds transitions where appropriate, and shapes the video into a compelling narrative with good rhythm and flow. Watch your edit repeatedly — each pass reveals moments that drag, cuts that feel awkward, or sections where viewer attention would wane.
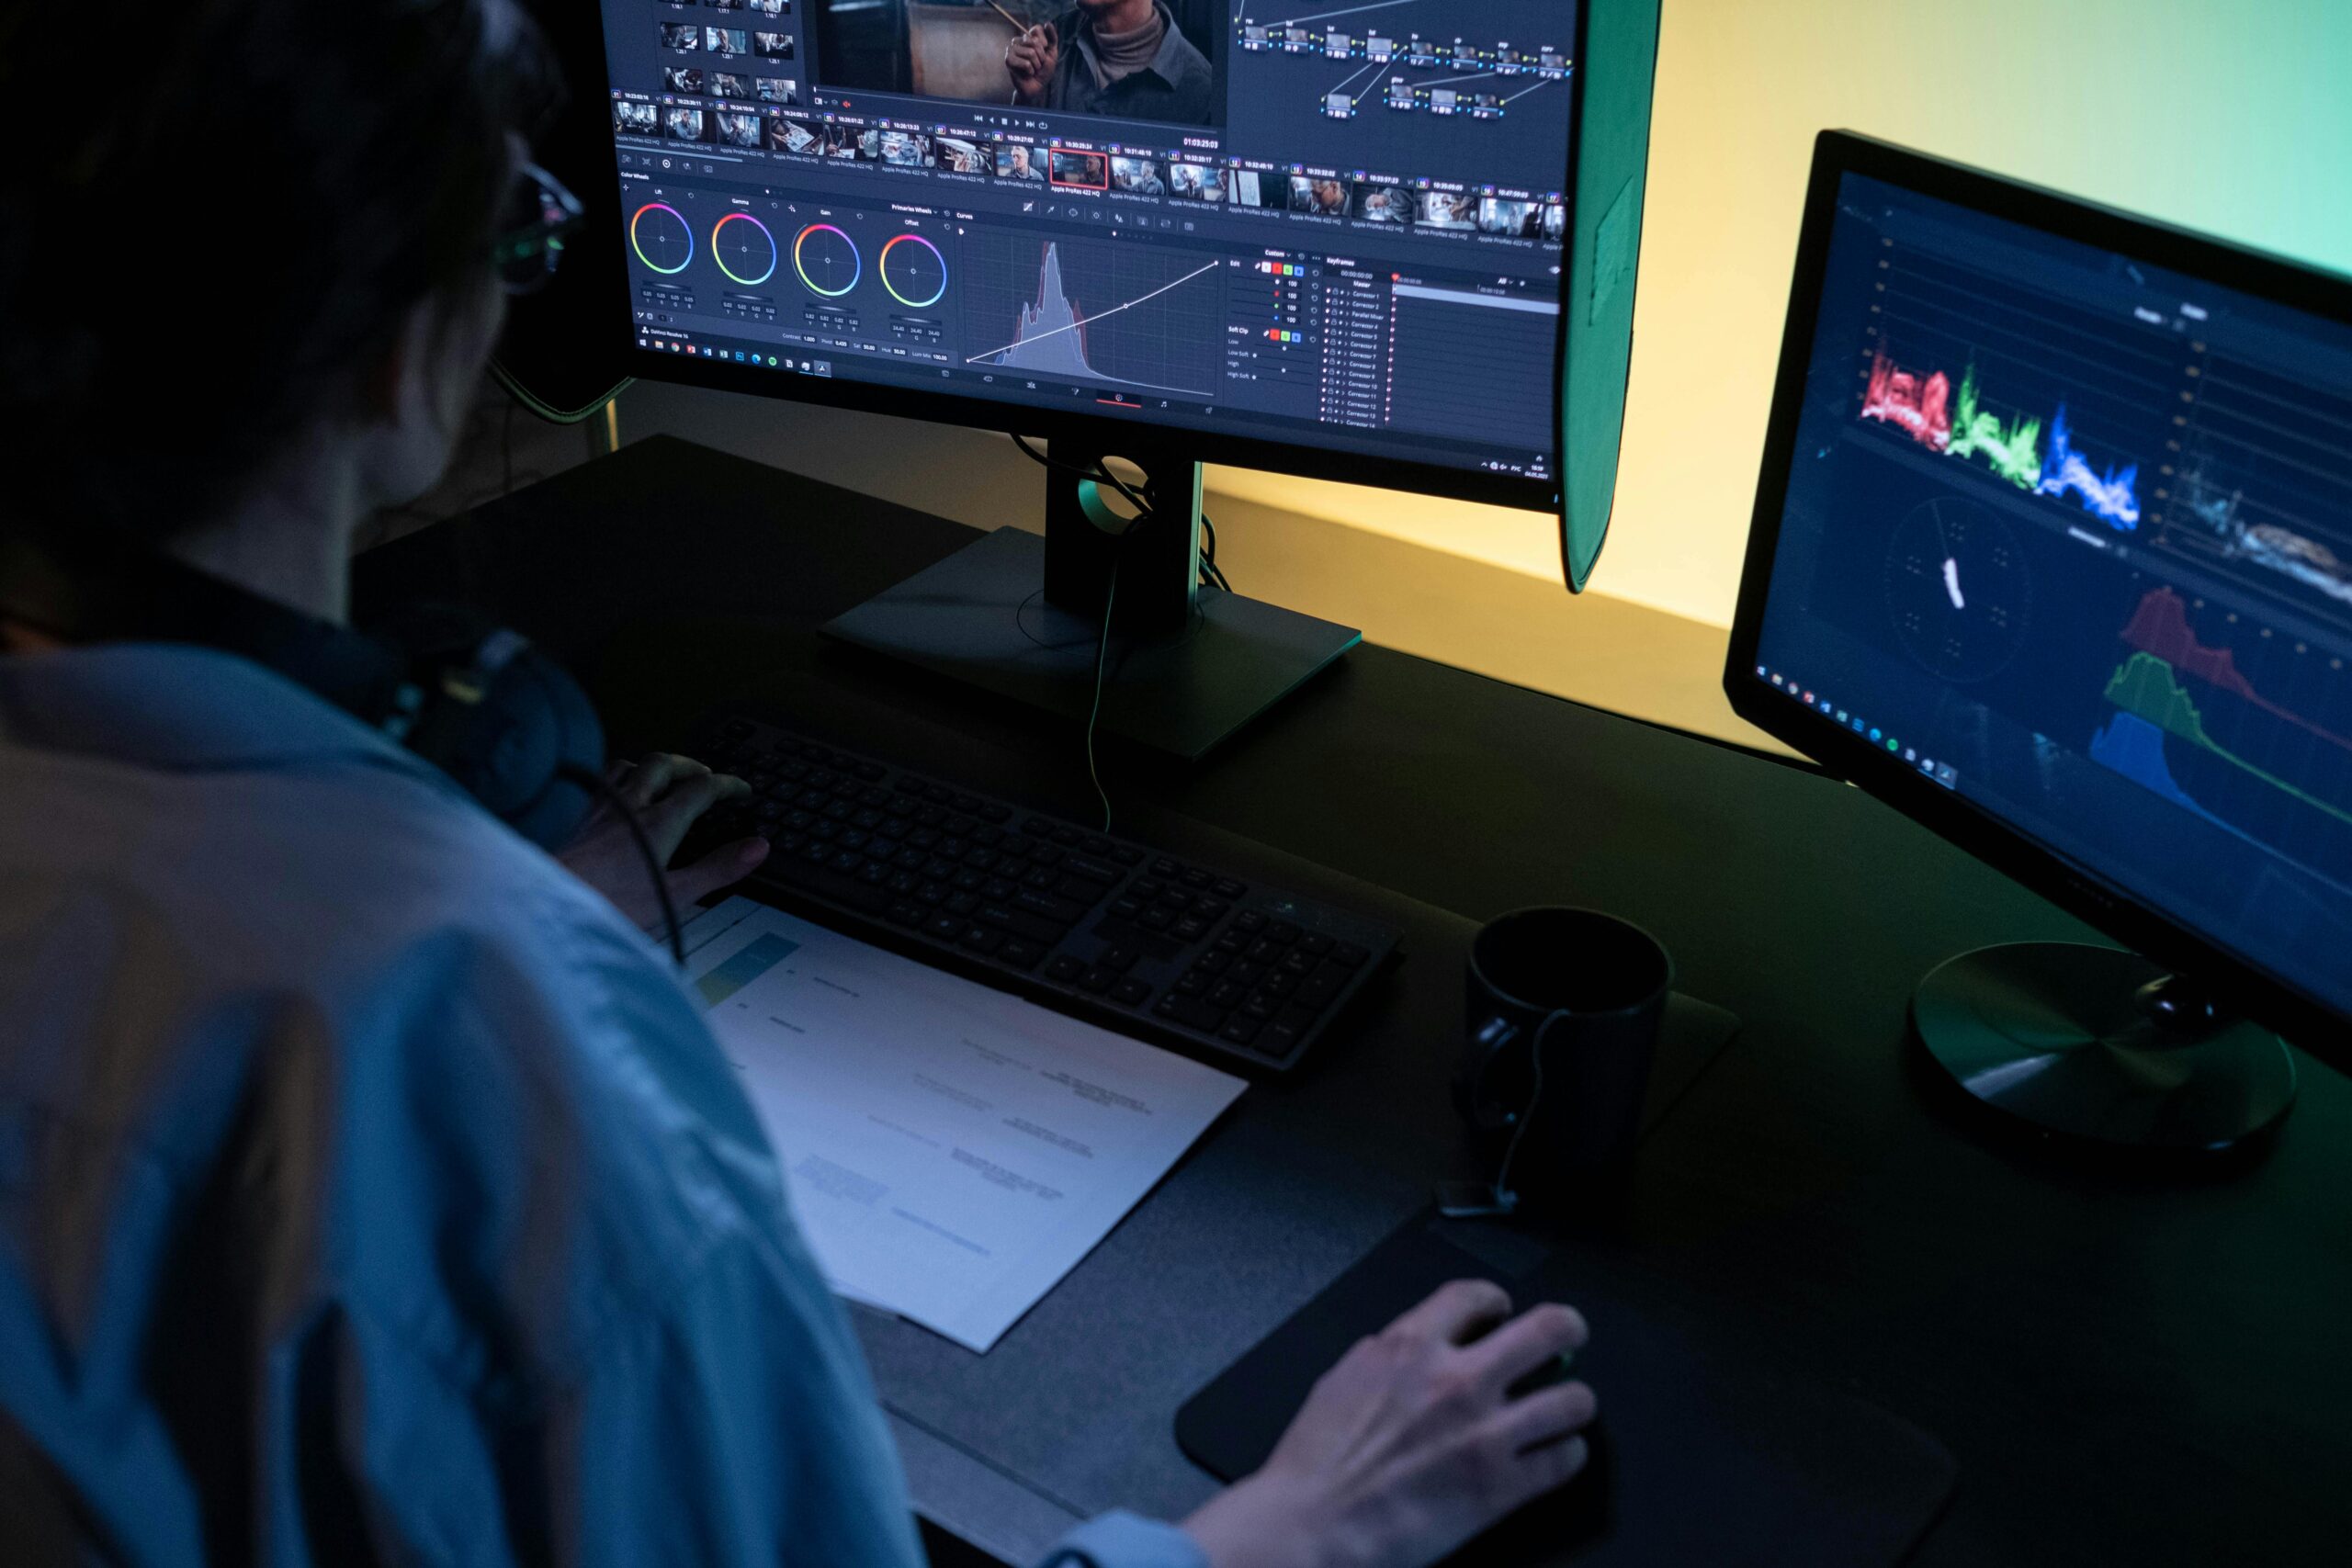
DaVinci Resolve from Blackmagic Design handles editing, colour grading, audio mixing, and visual effects in a single free application — making it the most powerful free tool available for video post-production.
Colour grading establishes the visual tone of your video. At a minimum, ensure consistent exposure, white balance, and contrast across all clips so that cuts between shots feel smooth rather than jarring. Beyond correction, creative colour grading sets the mood — warm tones for emotional content, cool tones for corporate or dramatic work, high contrast for energy and impact.
Audio mixing balances dialogue, music, and sound effects so that everything is audible and no single element overwhelms the others. Dialogue should always be clearly intelligible. Background music should support the mood without competing with speech. Sound effects should enhance reality without drawing attention to themselves.
Export settings depend on where the video will be delivered. YouTube and social media platforms have specific recommended settings for resolution, frame rate, bitrate, and codec. Client deliverables may require specific formats for broadcast, web, or internal use. YouTube’s recommended upload encoding settings provide detailed specifications for optimal quality on the platform.

Delivering the Final Product
Delivery means providing the finished video to the client or publishing it to the intended platform in the correct format, resolution, and codec. Professional delivery also includes providing backup copies, project files if agreed upon, and any additional assets like thumbnails, subtitles, or social media cut-downs.
For client projects, include a defined number of revision rounds in your contract. Unlimited revisions lead to scope creep and undermine profitability. Two rounds of revisions after the initial rough cut is standard practice in the industry.
Start Your Video Production Education
A video production course gives you command of the entire process — from the first concept through final delivery. Our Certificate in Videography covers every phase of production with practical assignments and professional tutor feedback. Explore our full range of courses to find the path that matches your creative goals.