Lighting can make or break a portrait. The difference between an amateur snapshot and a professional headshot often comes down to understanding and controlling light. Whether you’re using window light or professional studio equipment, this comprehensive portrait photography course will transform your portrait photography lighting skills.
Understanding Light Quality in Portrait Photography
Hard vs Soft Light
Every portrait photography course starts with this fundamental concept:
Hard Light Characteristics:
- Creates defined shadows
- Emphasizes texture and detail
- Dramatic and moody
- Small light source relative to subject
- Best for: Editorial, dramatic portraits
Soft Light Characteristics:
- Gradual shadow transitions
- Flattering for most subjects
- Minimizes skin imperfections
- Large light source relative to subject
- Best for: Beauty, family, corporate headshots
Our headshot photography course teaches you when and how to use each type effectively.
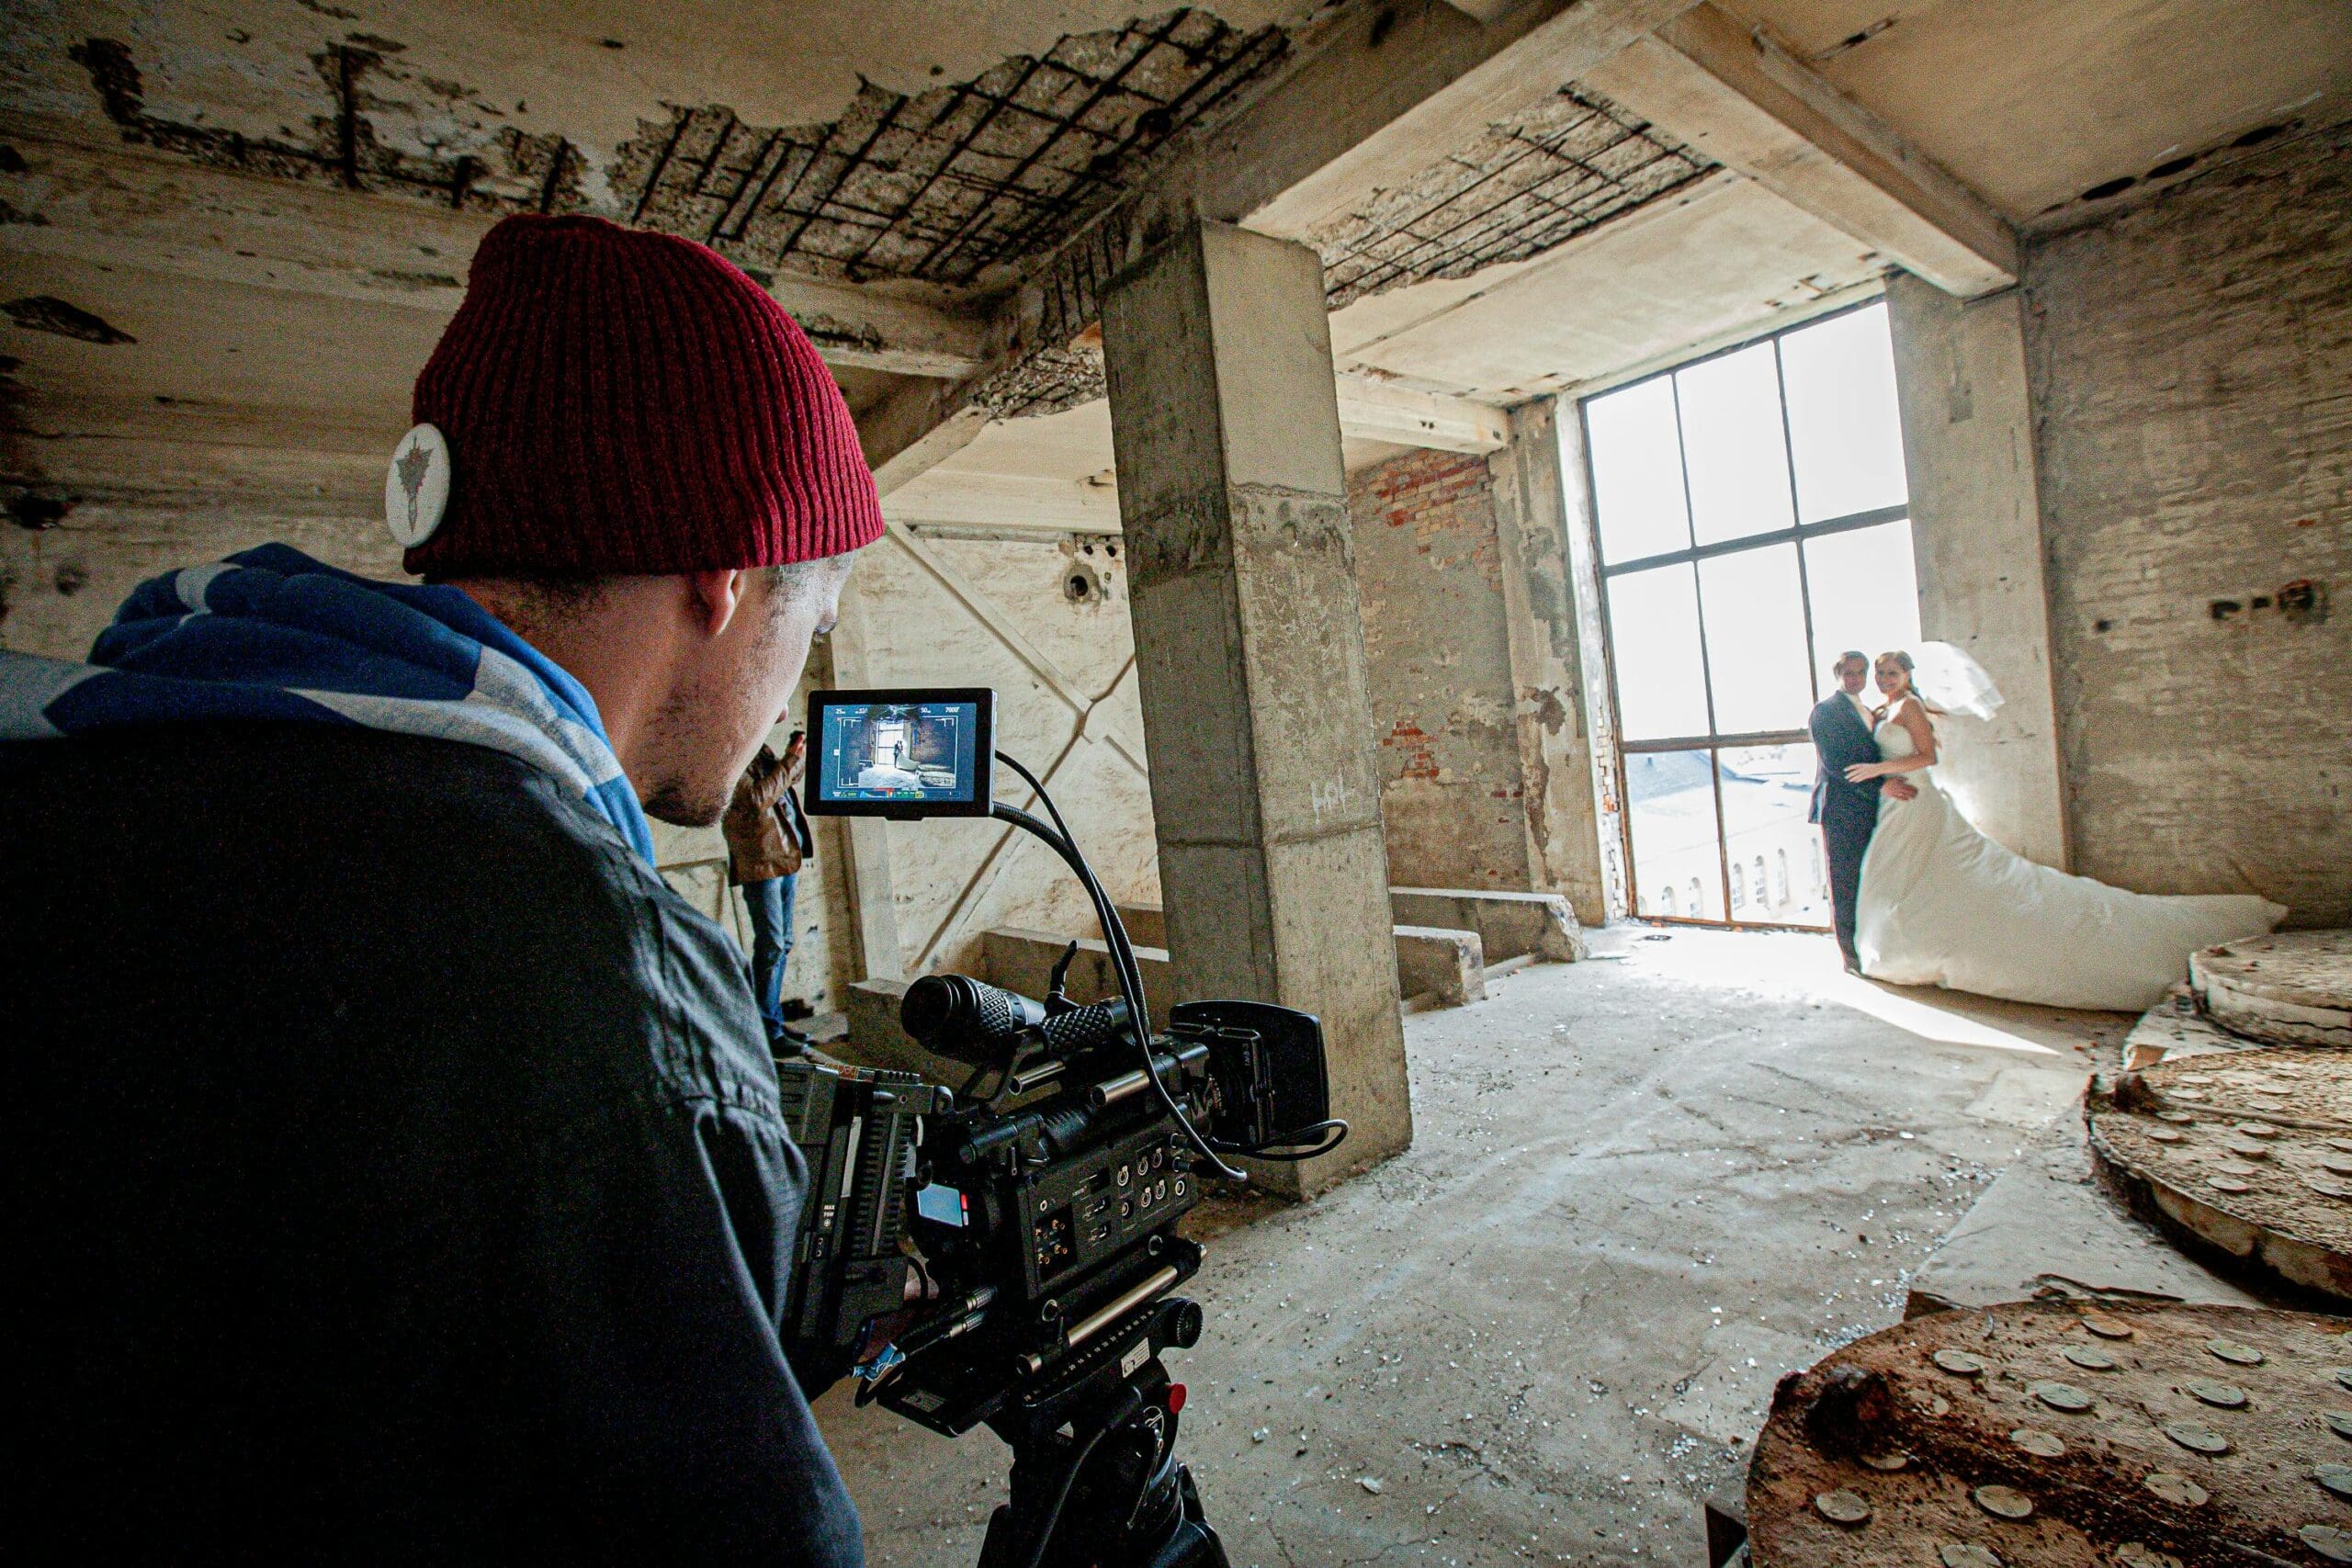
Natural Light Portrait Techniques
Window Light Mastery
The most accessible light source for people photography training:
Front Window Light:
- Subject faces window directly
- Even, flat lighting
- Minimizes wrinkles and blemishes
- Perfect for: Passport photos, even skin tones
45-Degree Window Light:
- Classic Rembrandt lighting
- Creates depth and dimension
- Triangle of light under eye
- Ideal for: Professional headshots, artistic portraits
90-Degree Side Light:
- Dramatic split lighting
- Half face in shadow
- Emphasizes features
- Great for: Moody portraits, character studies
Outdoor Natural Light
Open Shade Technique:
- Position subject under cover
- Avoid direct sunlight
- Look for even illumination
- Trees, buildings, overhangs work perfectly
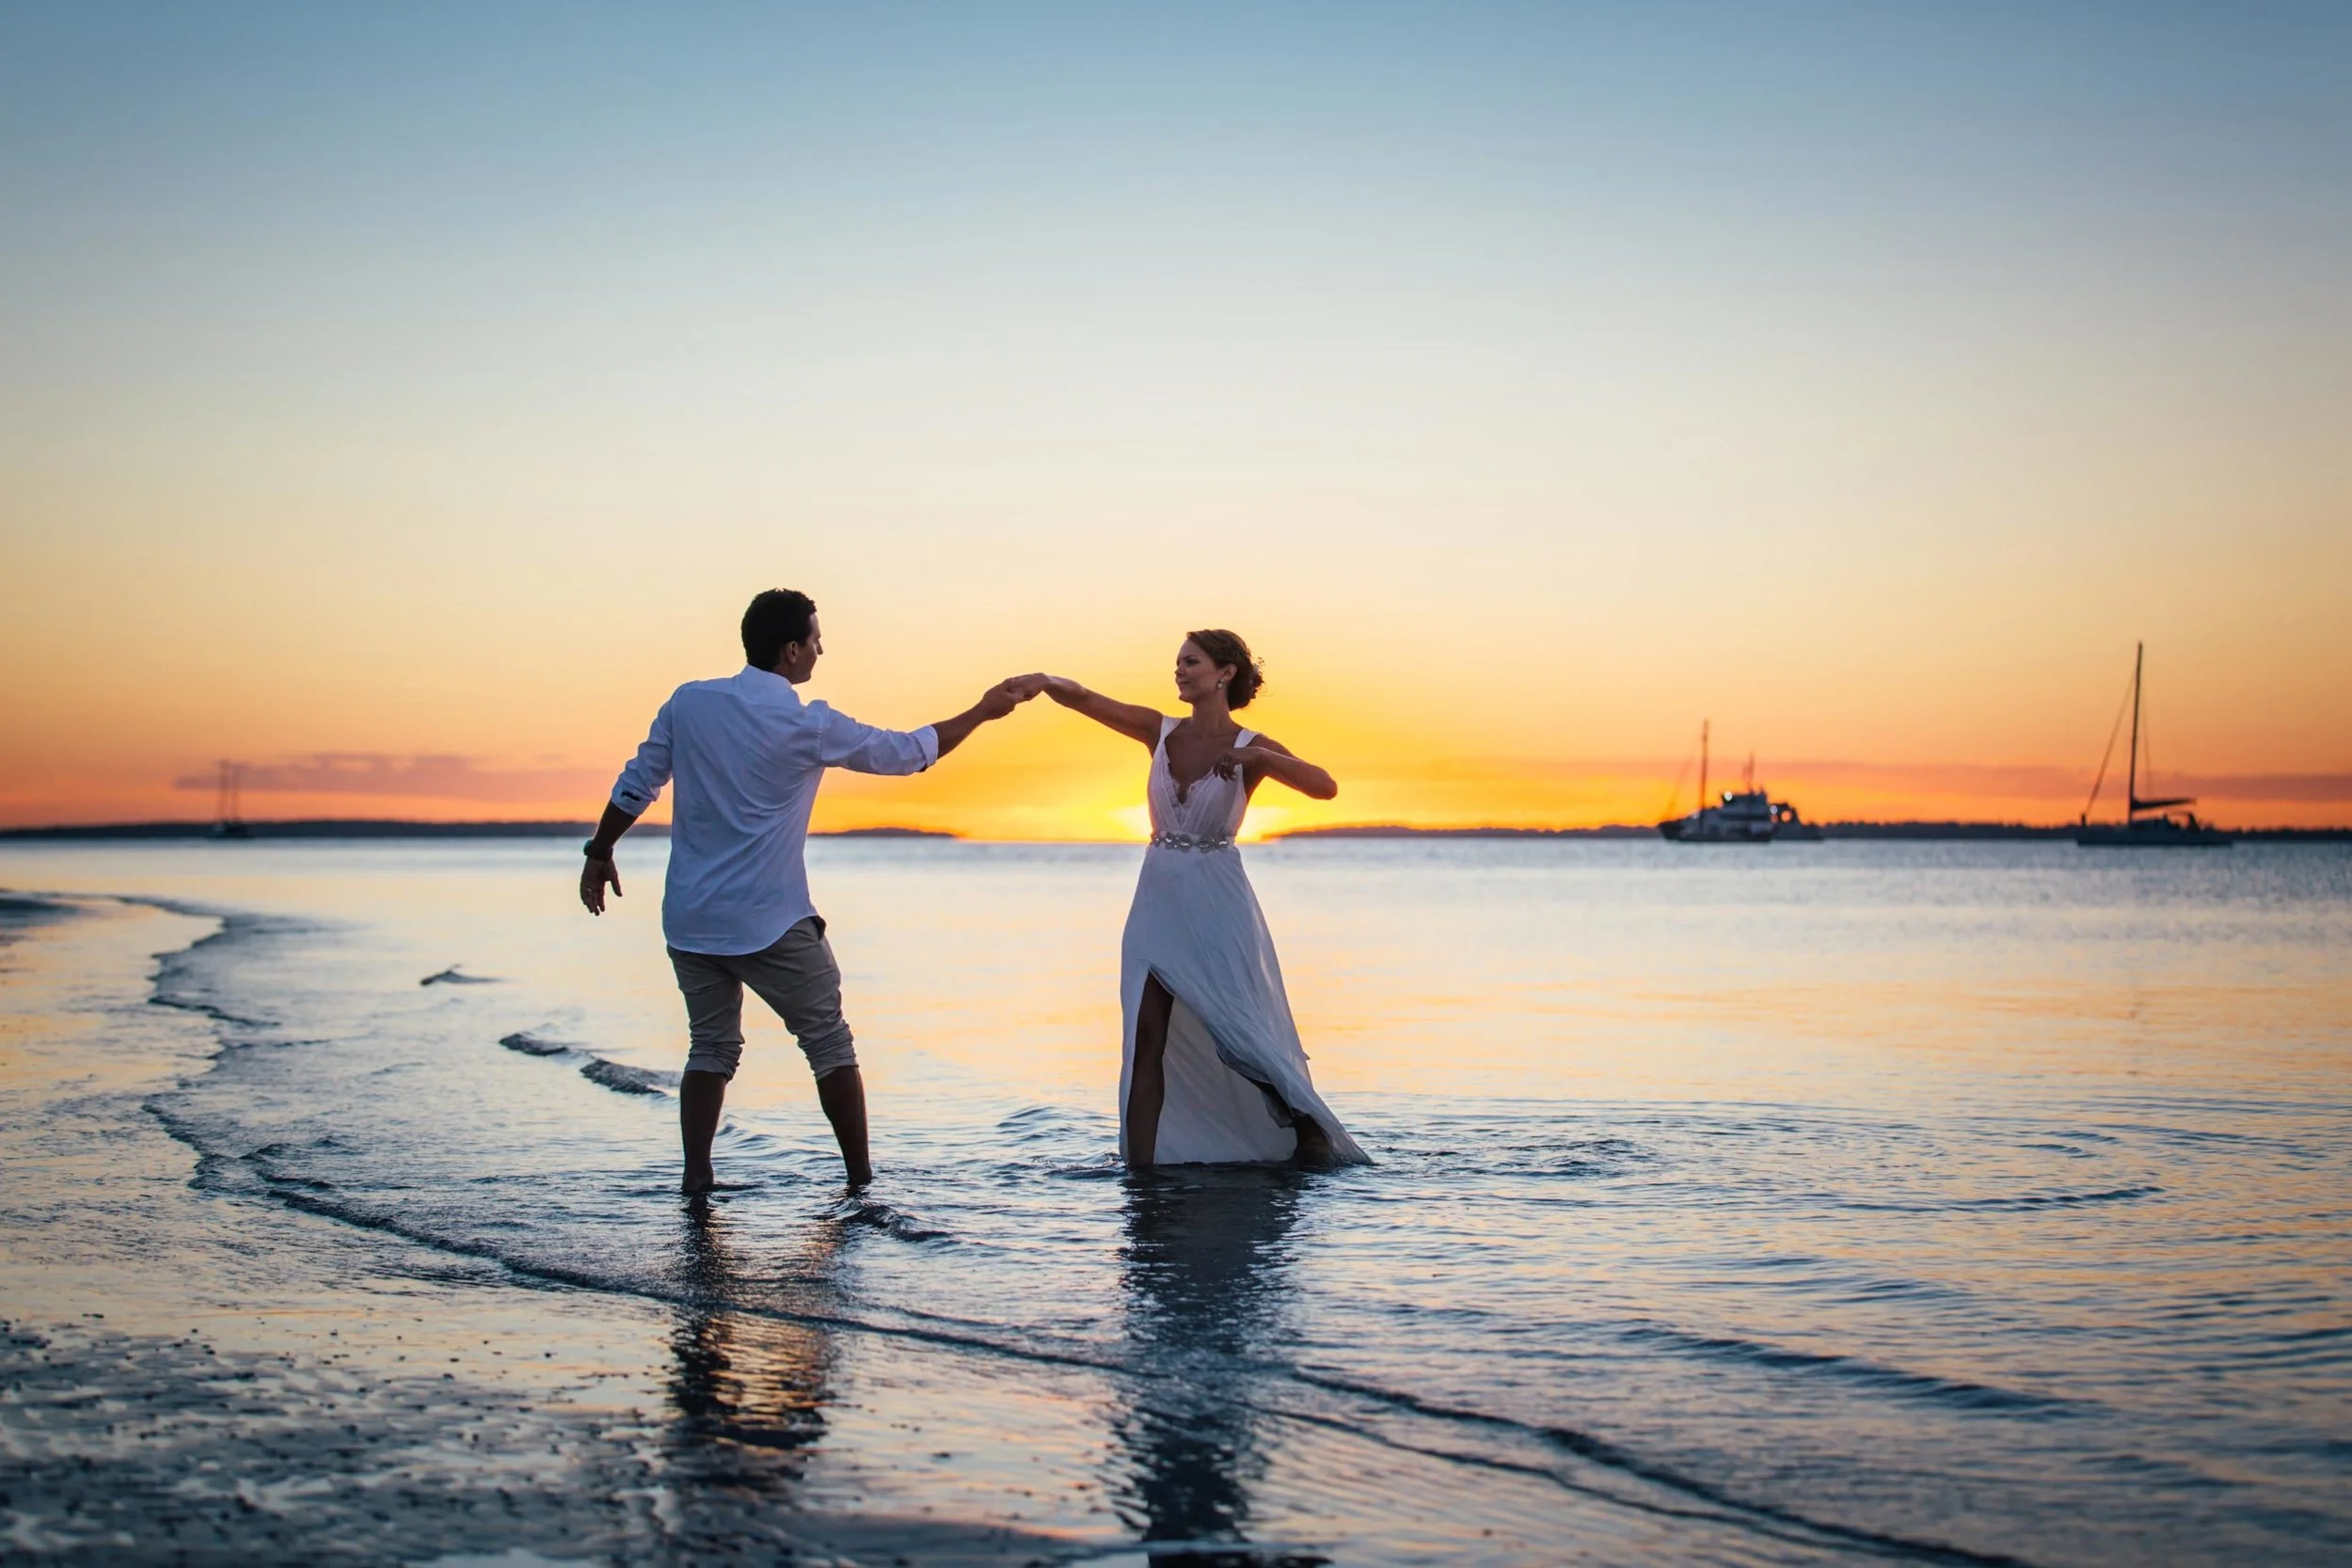
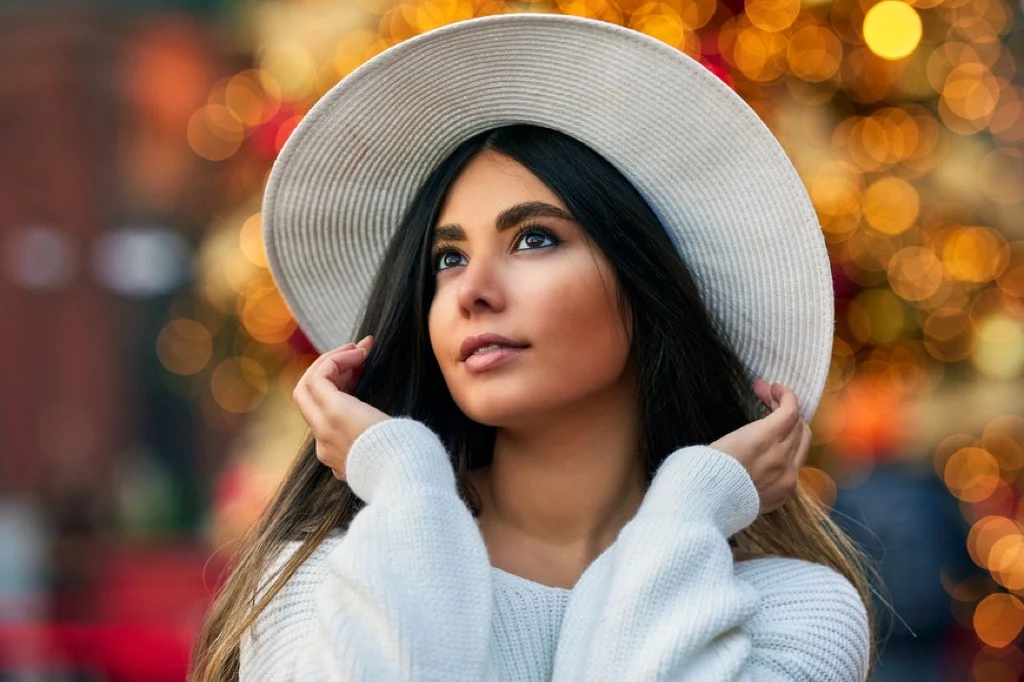
Golden Hour Portraits:
- Shoot 1 hour before sunset
- Warm, flattering tones
- Natural rim lighting
- Position sun behind or to side
Overcast Conditions:
- Nature’s giant softbox
- Even lighting everywhere
- No harsh shadows
- Perfect for group portraits
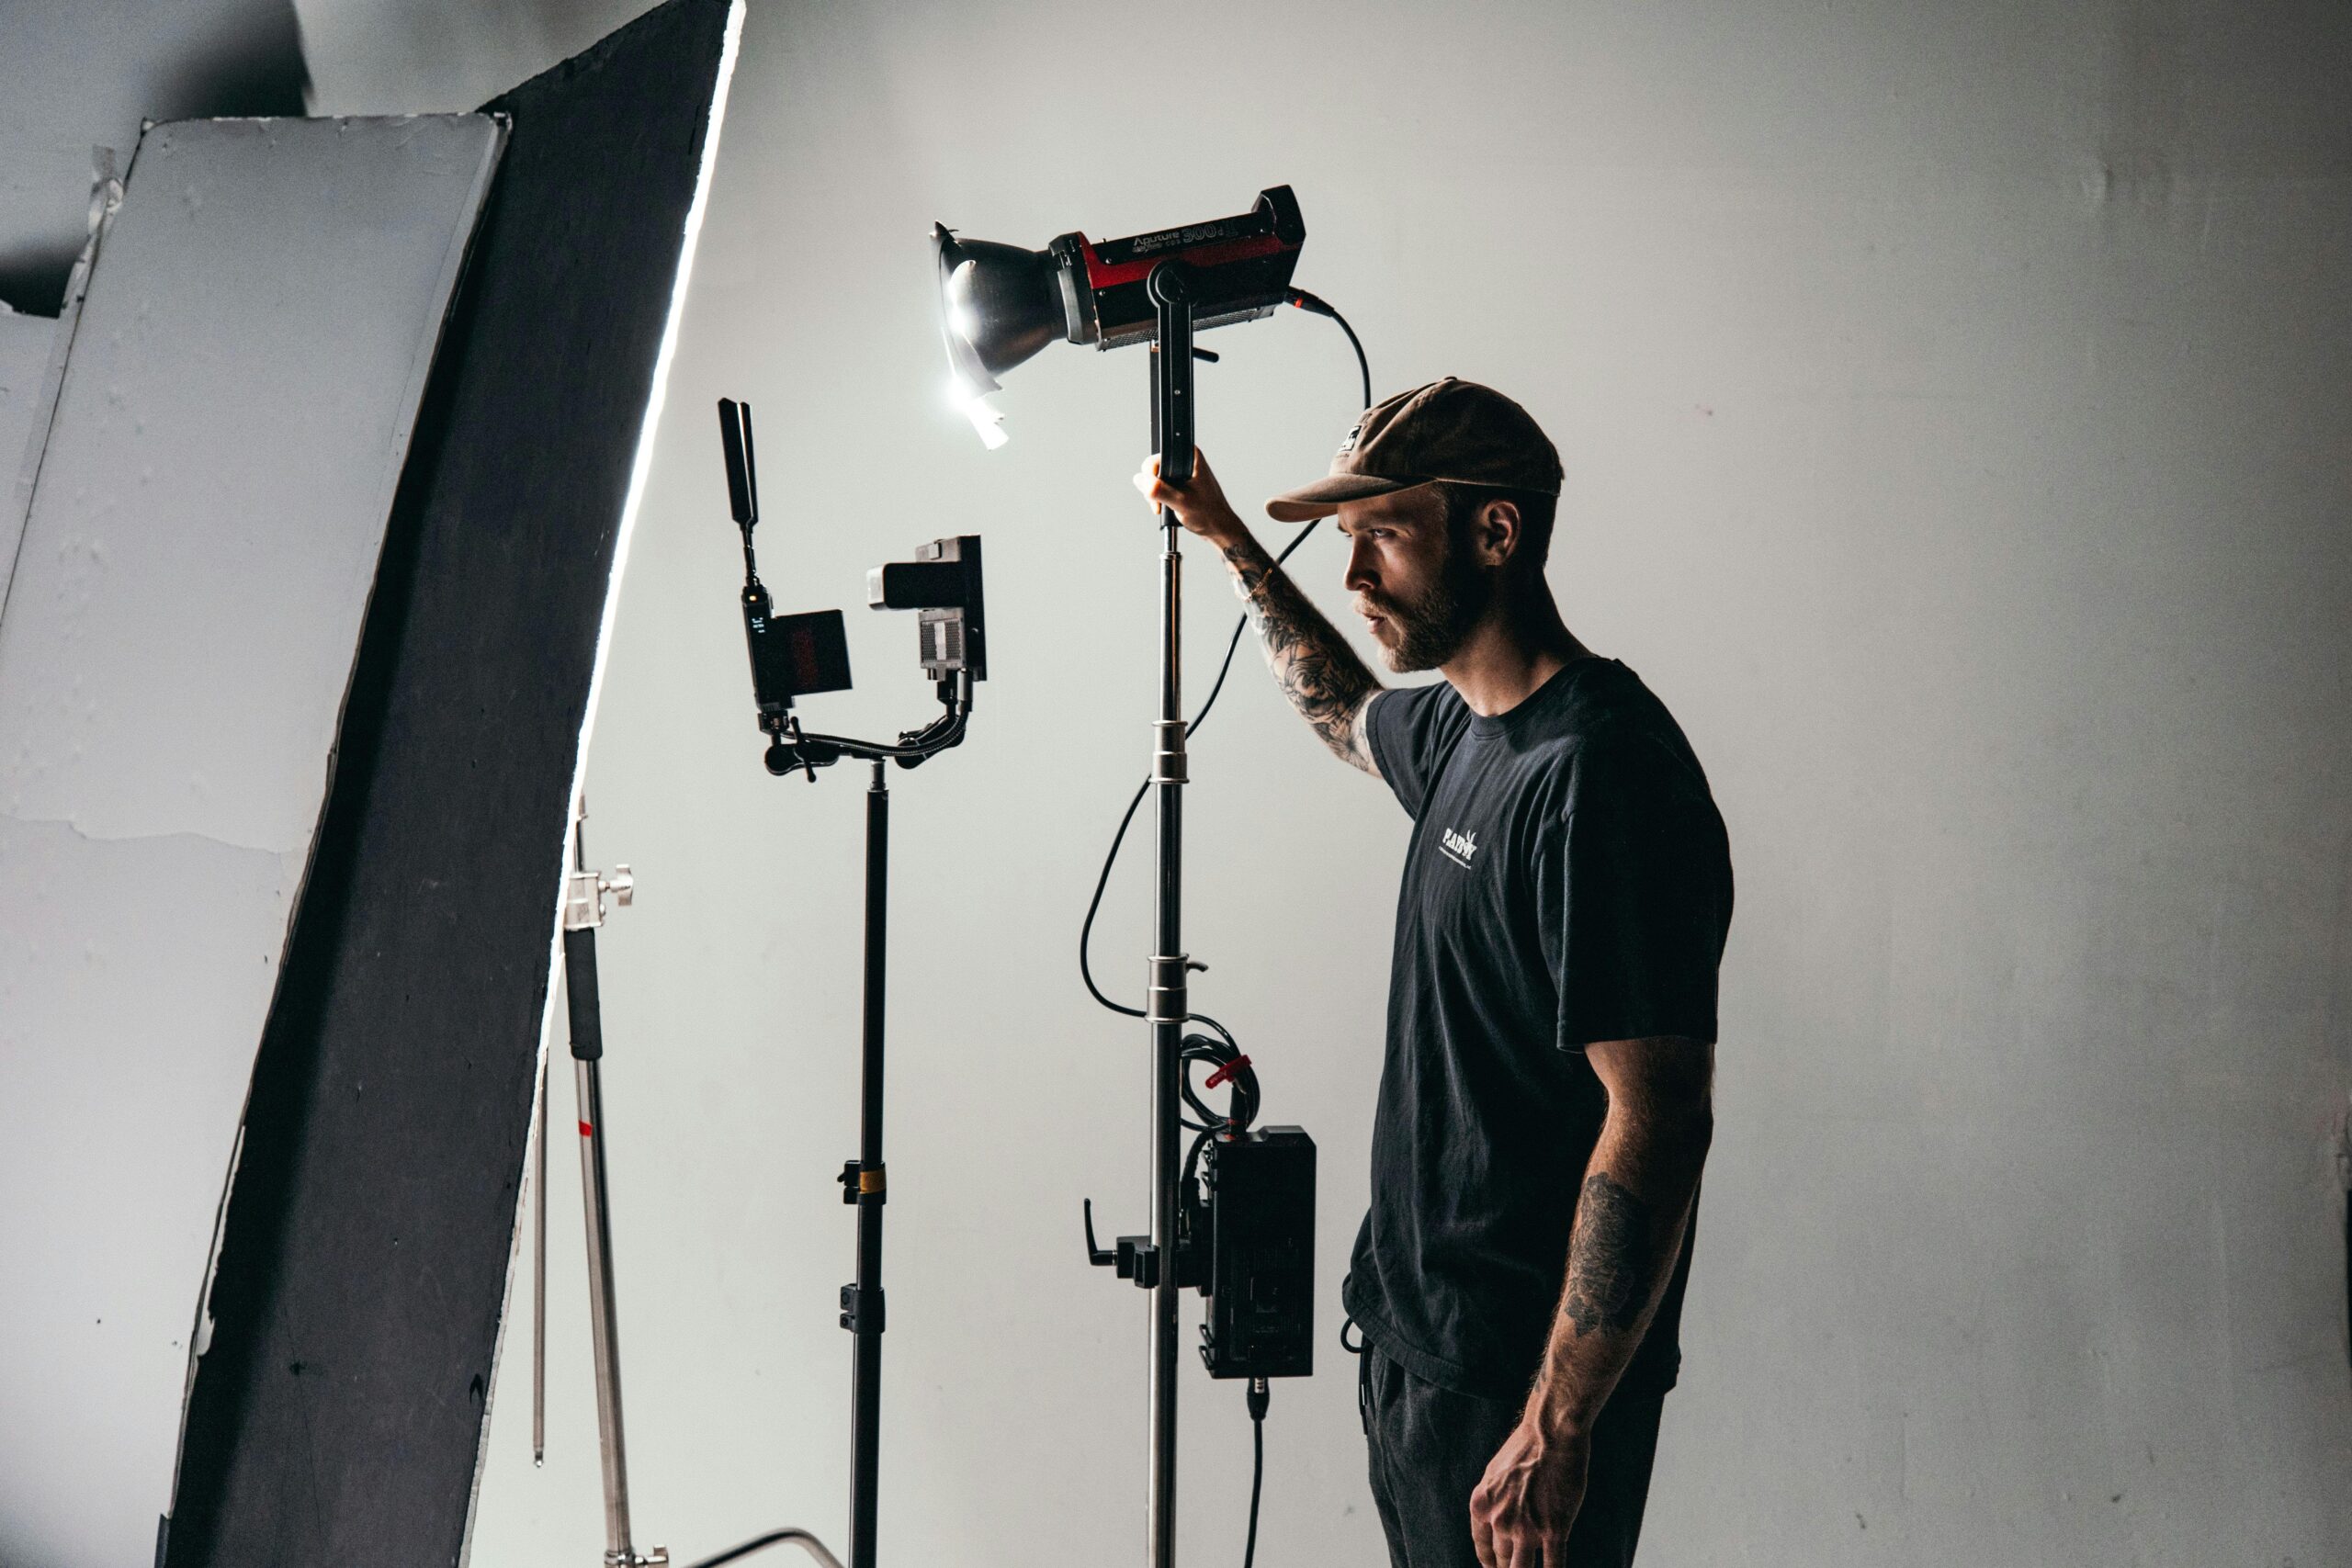
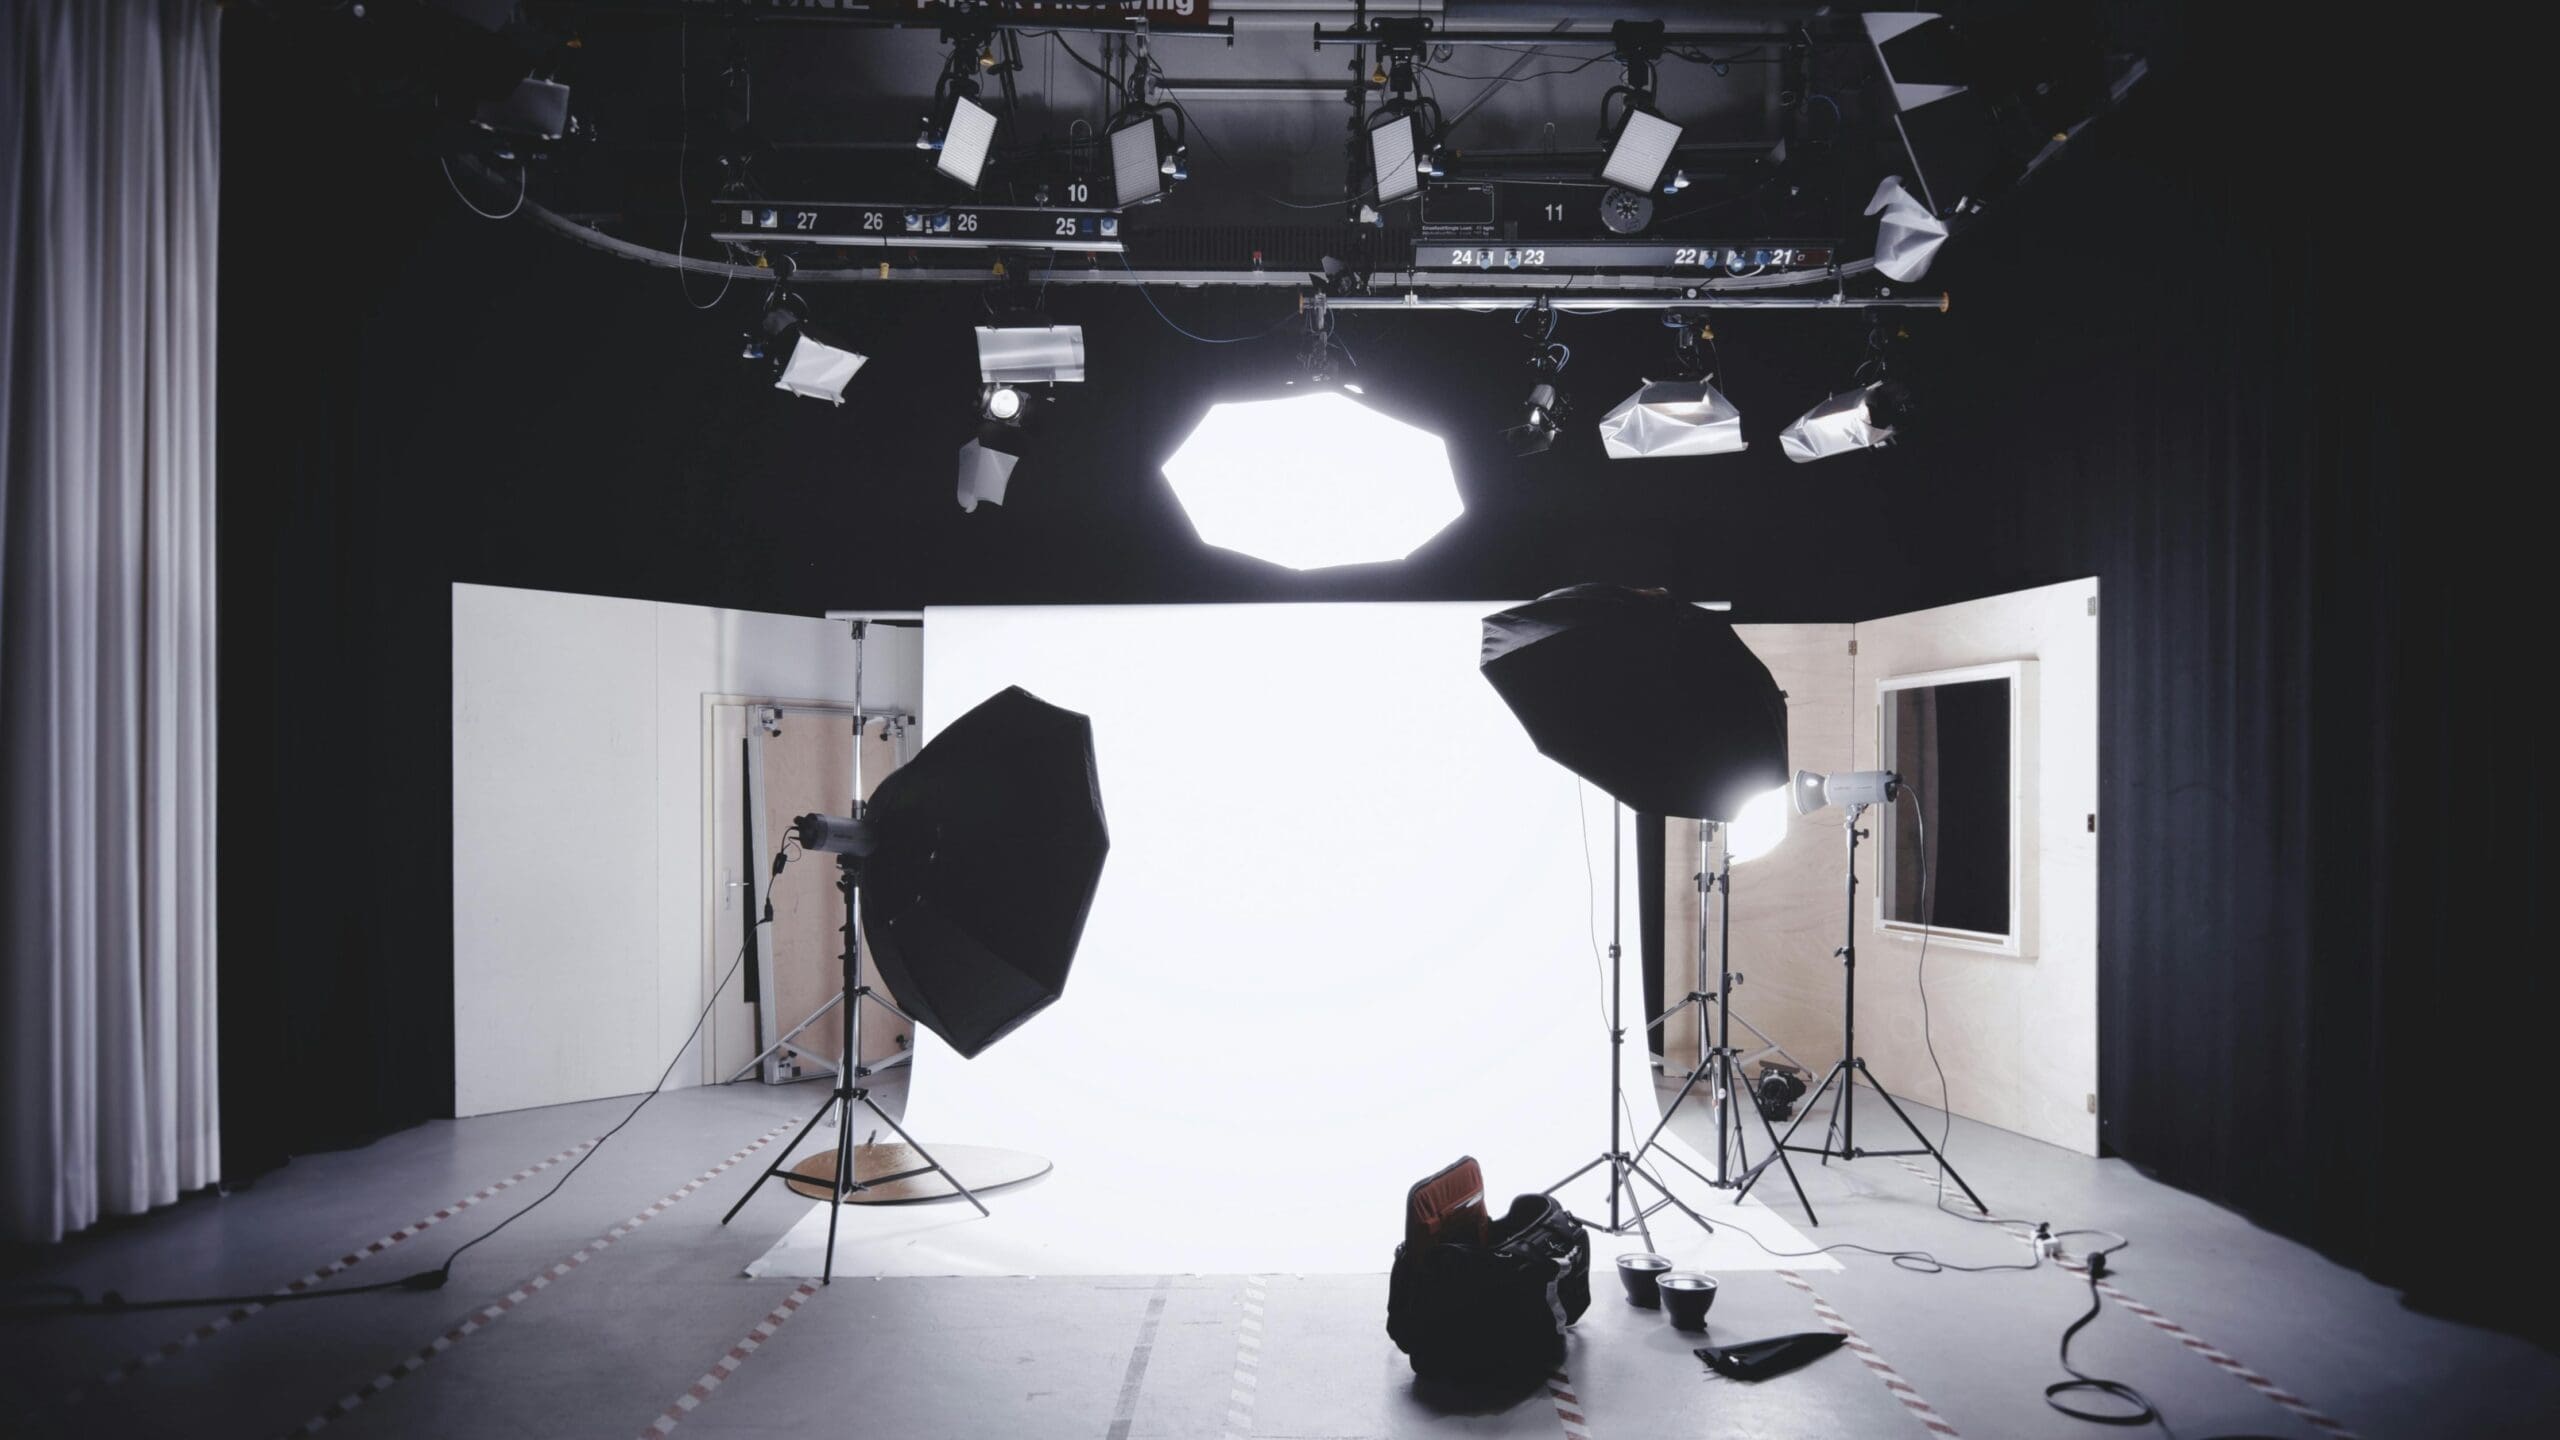
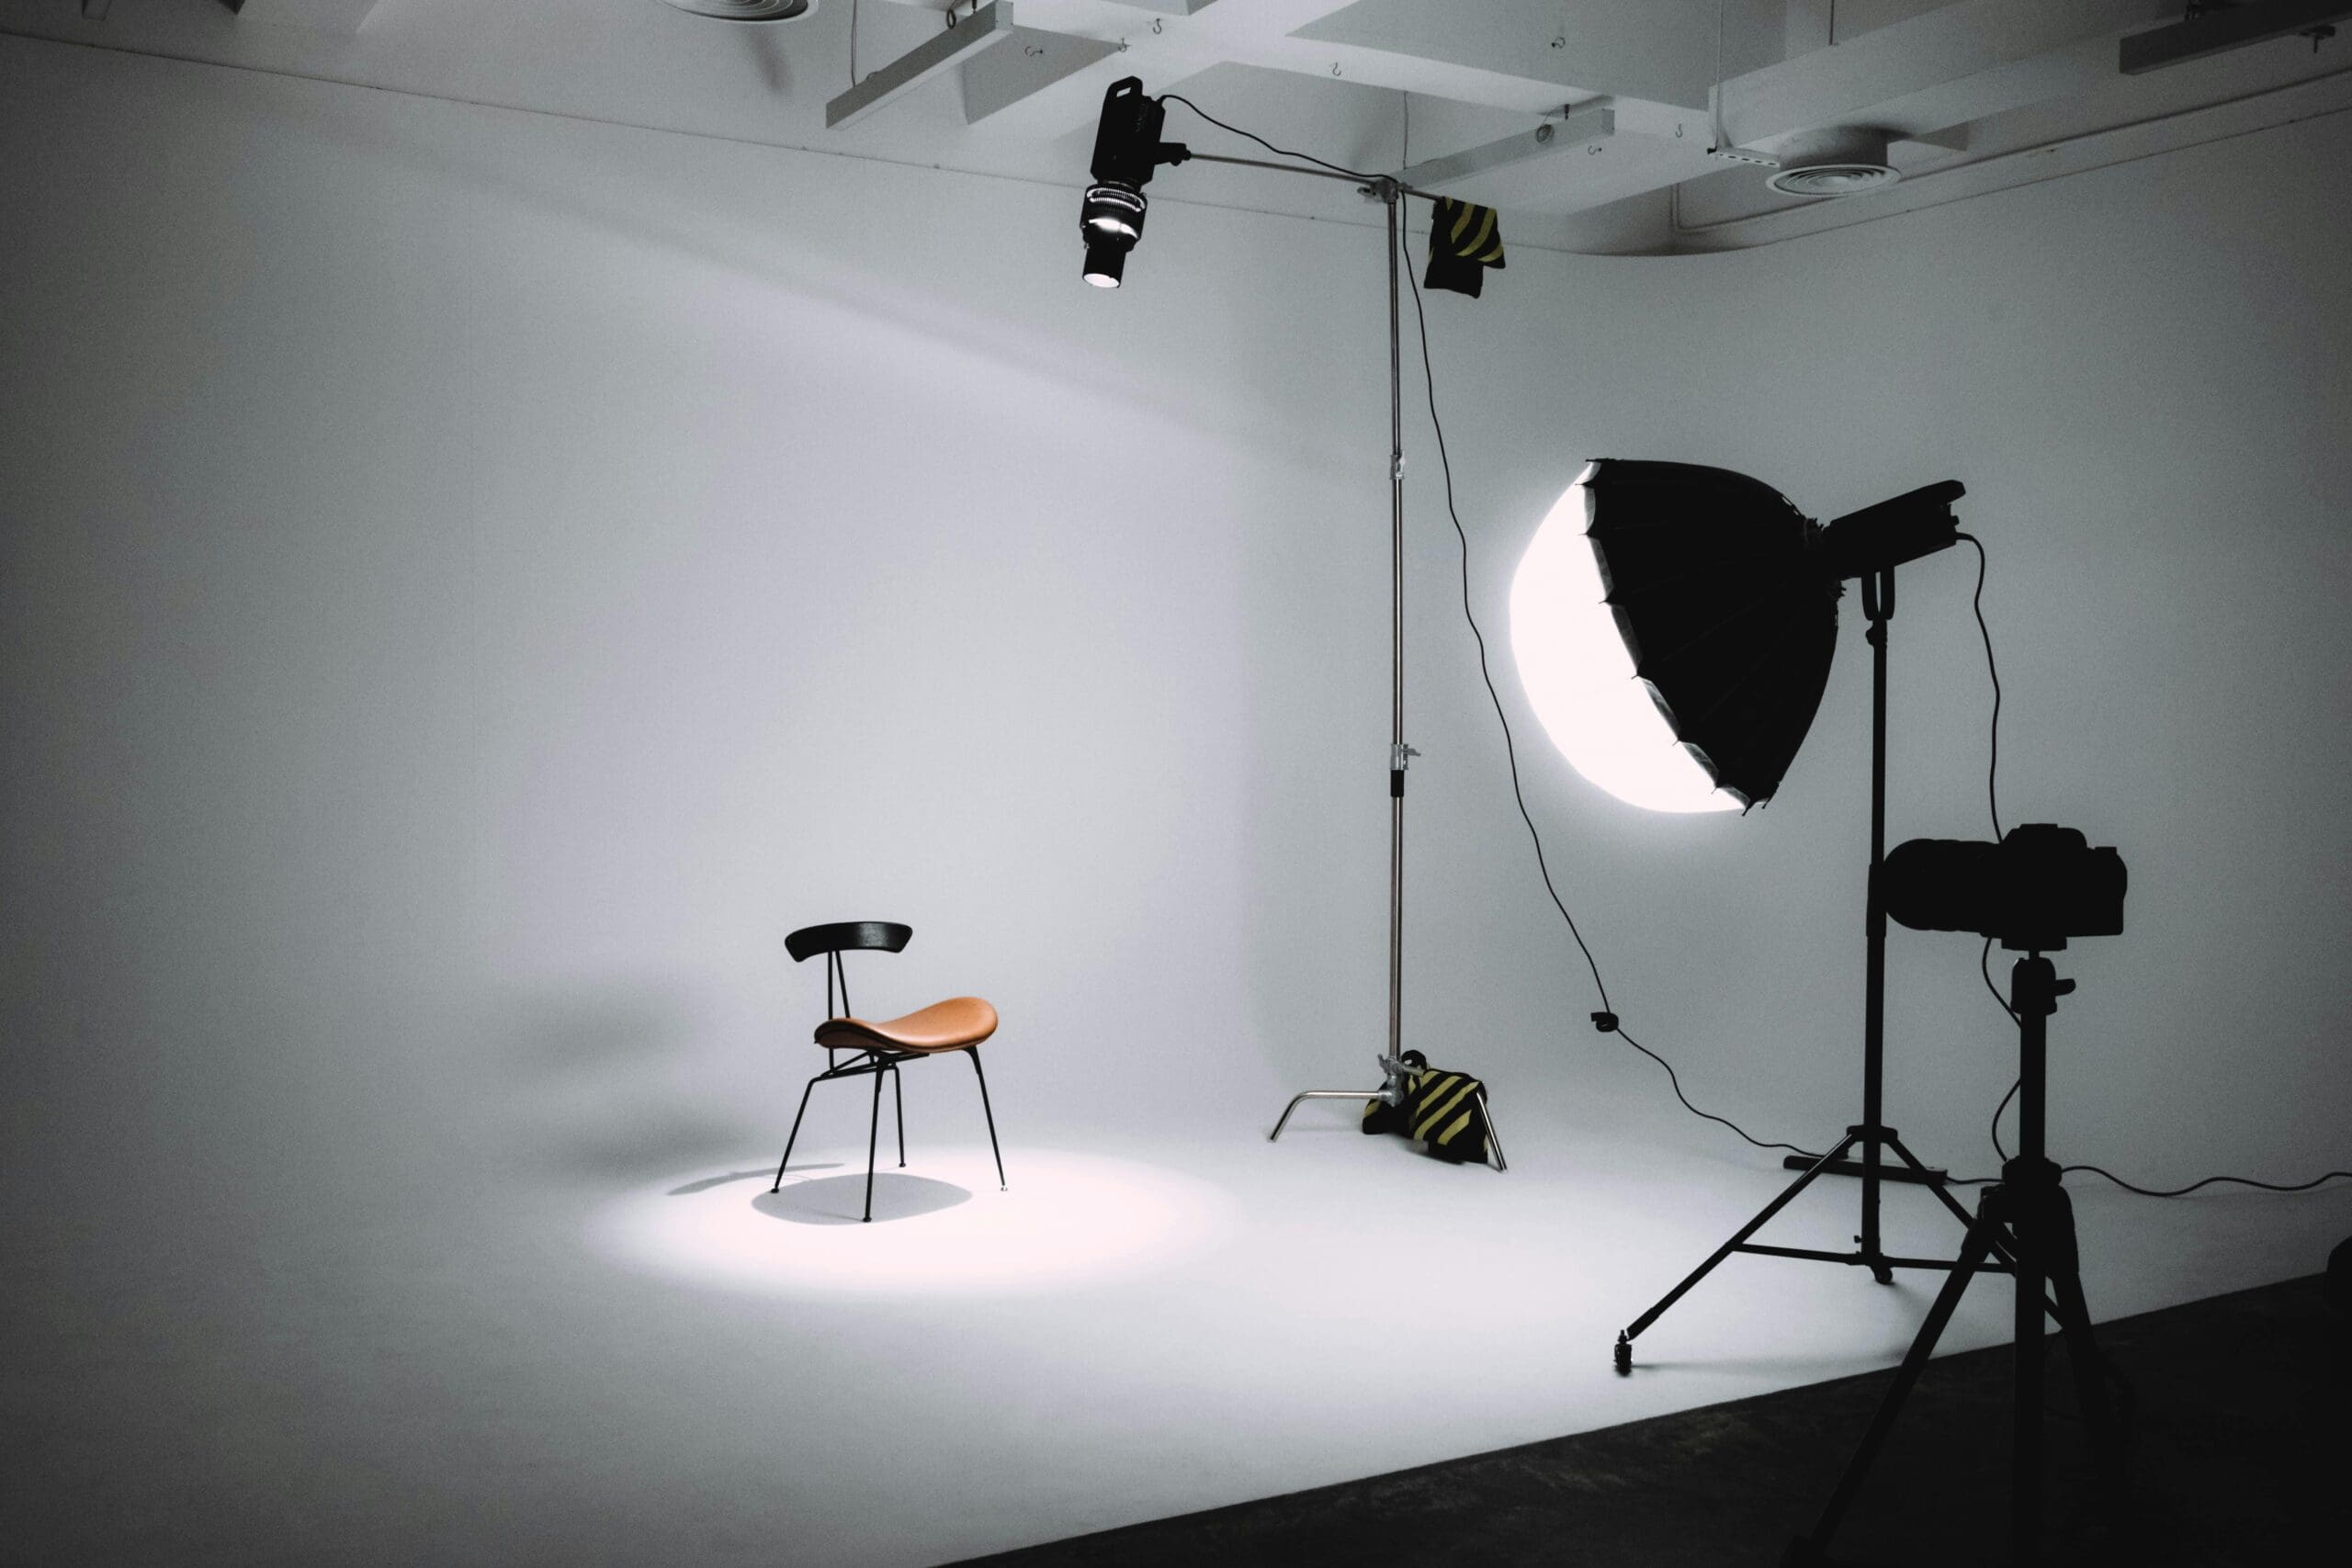
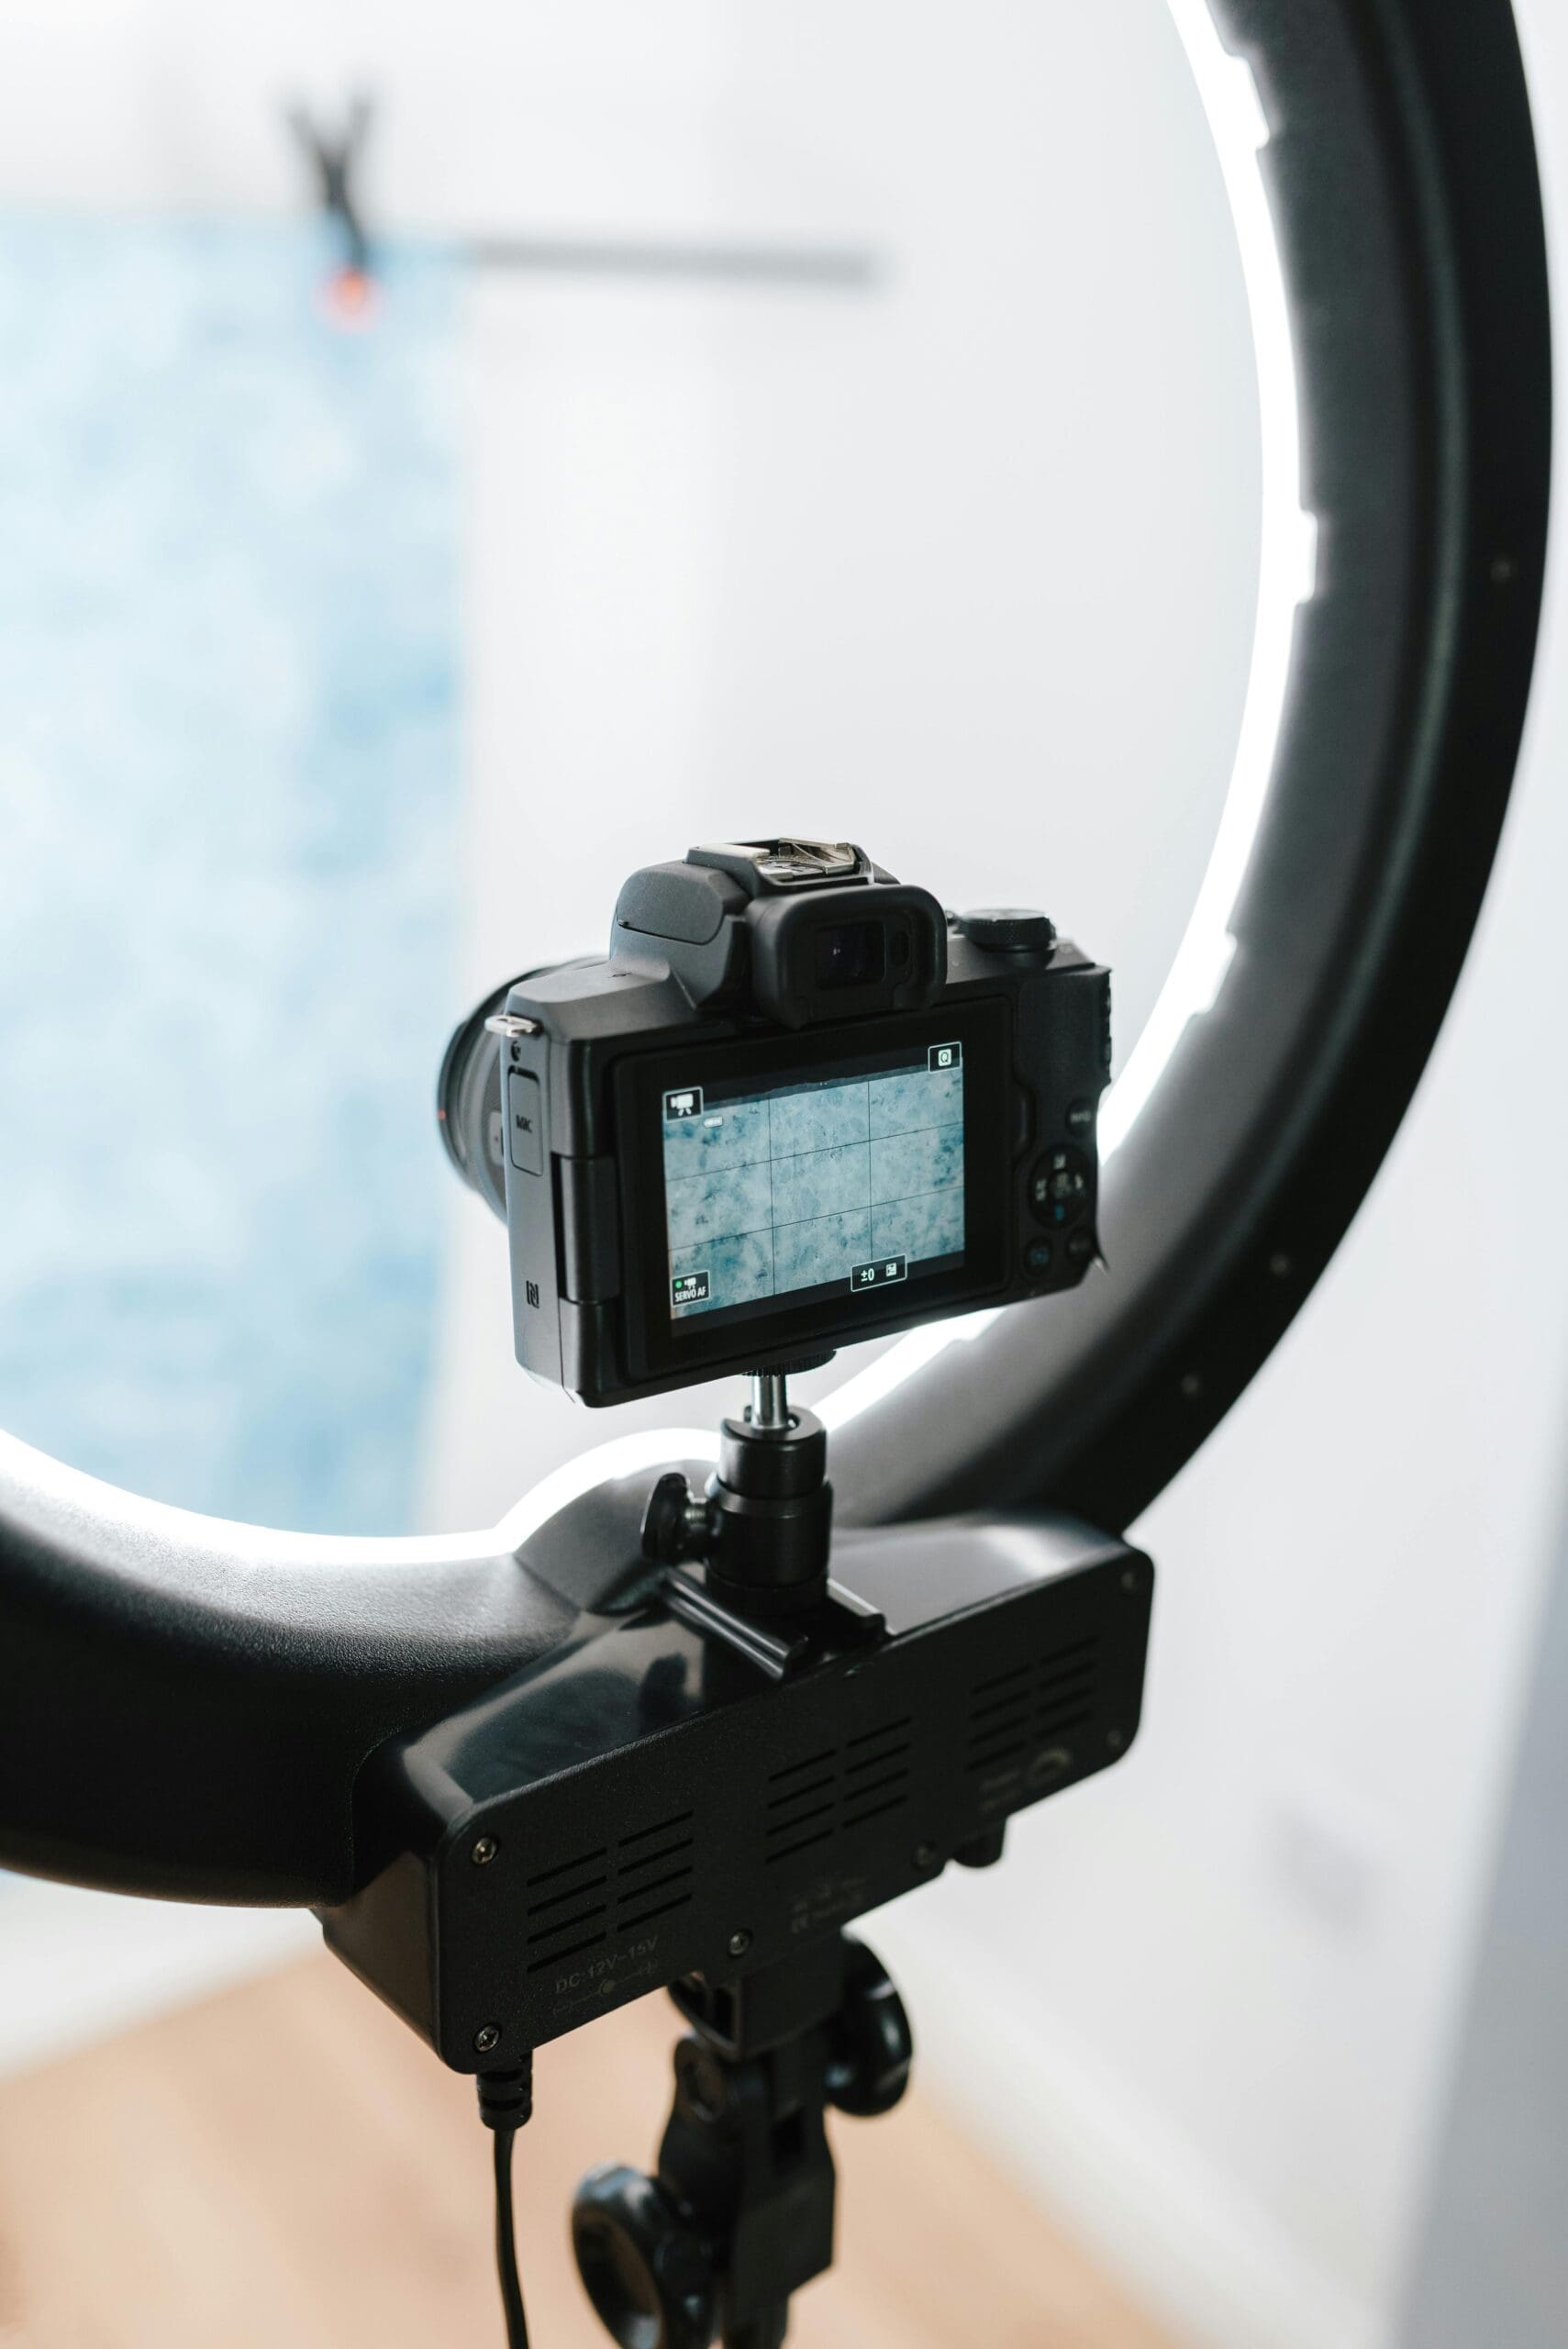
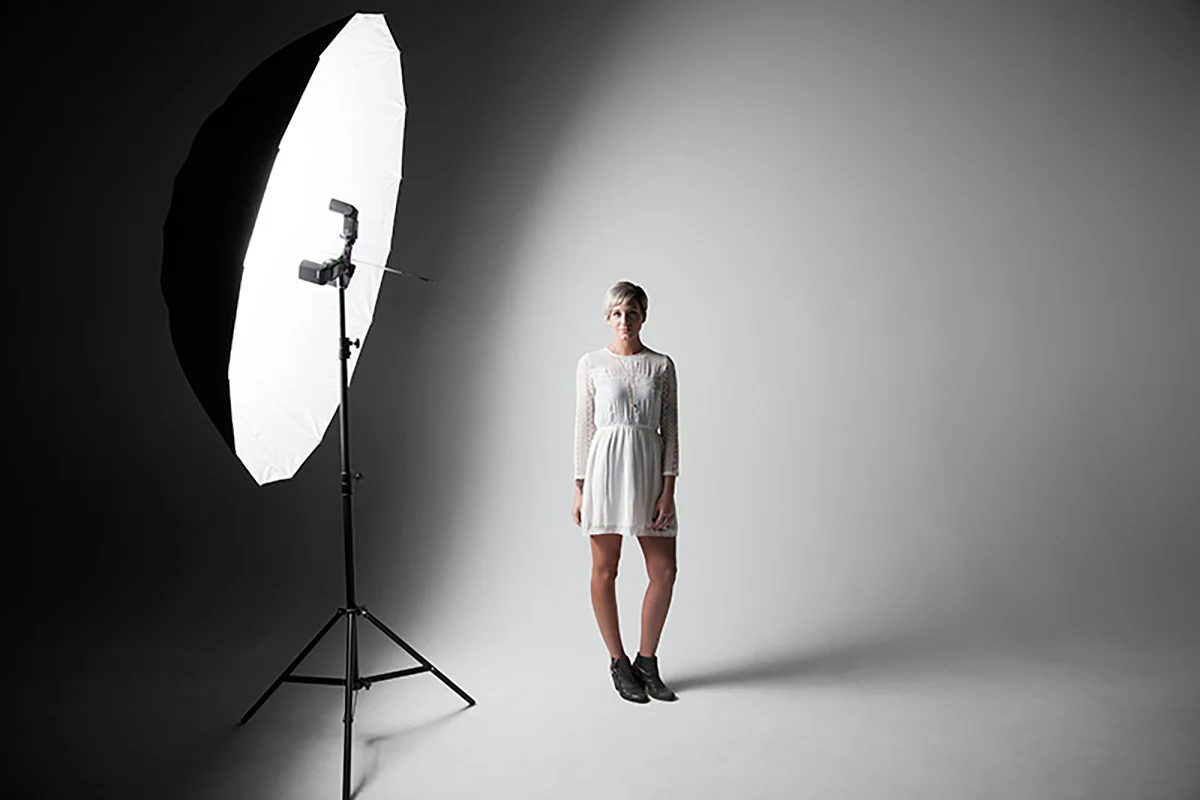
Studio Lighting Fundamentals
Essential Studio Equipment
Your studio photography course toolkit:
Continuous Lights:
- LED panels ($200-$800)
- Always-on for learning
- See changes immediately
- Great for beginners
Strobe/Flash Lights:
- More powerful output
- Professional standard
- Battery or AC powered
- $300-$2000 per light
Light Modifiers:
- Softboxes: $50-$300
- Umbrellas: $20-$100
- Beauty dishes: $100-$400
- Reflectors: $20-$150
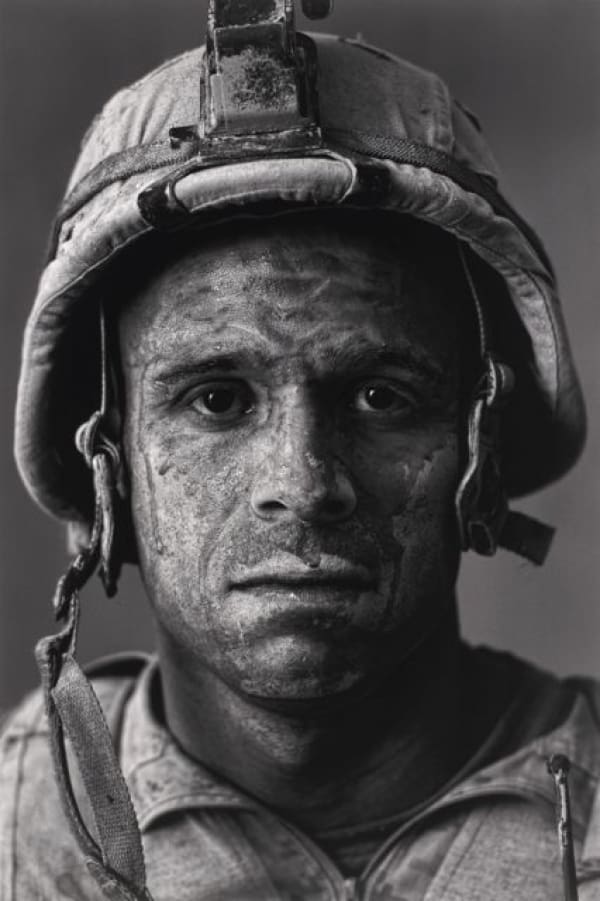
Classic Portrait Lighting Patterns
Butterfly Lighting (Paramount):
- Light directly above camera
- Creates butterfly shadow under nose
- Flattering for most faces
- Fashion and beauty standard
Loop Lighting:
- Light at 30-45 degrees from camera
- Small nose shadow
- Most versatile pattern
- Works for everyone
Rembrandt Lighting:
- Light at 45 degrees, higher than subject
- Triangle of light on shadowed cheek
- Dramatic yet flattering
- Classic portrait style
Split Lighting:
- Light at 90 degrees to subject
- Divides face in half
- Dramatic and moody
- Character portraits
Advanced Portrait Lighting Setups
Three-Point Lighting
The foundation of professional portrait lighting course training:
Key Light:
- Main light source
- Establishes mood and direction
- Usually 45 degrees from subject
- Softbox or umbrella typically
Fill Light:
- Reduces shadows from key light
- Lower power than key (1:2 or 1:3 ratio)
- Opposite side from key
- Can use reflector instead
Rim/Hair Light:
- Separates subject from background
- Creates depth and dimension
- Behind and above subject
- Adds professional polish
Clamshell Lighting Setup
Perfect for beauty and fashion portraits:
- Key light above camera pointing down
- Fill light or reflector below pointing up
- Creates even, flattering light
- Minimizes under-eye shadows
- Ideal for headshots and beauty work
Lighting for Different Skin Tones
Photographing Diverse Subjects
Professional people photography training must address:
Fair Skin Tones:
- Avoid overexposure
- Use softer light ratios
- Watch for blown highlights
- May need less fill light
Medium Skin Tones:
- Most flexible with lighting
- Standard ratios work well
- Rich, warm tones benefit
- Experiment with contrast
Dark Skin Tones:
- May need more light
- Avoid underexposure
- Use reflectors for detail
- Highlight skin’s natural glow
DIY Lighting Solutions
Budget-Friendly Alternatives
Start your family photography course journey affordably:
Window Light Enhancements:
- Sheer curtains for diffusion
- White sheets as reflectors
- Foam boards for fill ($10)
- Mirror for accent light
Artificial Light Hacks:
- Desk lamps with daylight bulbs
- Phone flashlights for rim light
- Christmas lights for bokeh
- White walls as bounce cards
Common Portrait Lighting Mistakes
- Lighting from below – Creates unflattering shadows
- Mixed color temperatures – Causes color cast issues
- Overcomplicating setups – Start simple, add gradually
- Ignoring catchlights – Eyes need life
- Wrong modifier size – Bigger is usually better
- Forgetting about shadows – They’re as important as highlights
- Not metering properly – Consistency matters
Lighting Equipment Investment Guide
Beginner Budget ($300-$500)
- 2 LED panels with stands
- 2 white umbrellas
- 5-in-1 reflector
- Light meter app
Intermediate Setup ($1,000-$2,500)
- 2 strobe lights
- Softbox and umbrella
- Wireless triggers
- Light stands and sandbags
- Backdrop and stand
Professional Kit ($3,000+)
- 3-4 professional strobes
- Various modifiers
- Beauty dish
- Color gels
- Professional light meter
- C-stands and boom arms
Practicing Portrait Lighting
Daily Exercises
Week 1: Master one window light pattern daily
Week 2: Practice with one artificial light
Week 3: Add fill light or reflector
Week 4: Experiment with three-point lighting
Building Your Portfolio
- Photograph 5 subjects with each lighting pattern
- Document your setup with behind-scenes photos
- Note camera settings and light positions
- Compare results and identify preferences
Portrait Lighting in Different Locations
Home Studio Setup
- Spare bedroom or garage
- Minimum 10×10 feet
- Neutral colored walls
- Controlled environment
On-Location Lighting
- Portable equipment essential
- Battery-powered options
- Quick setup/breakdown
- Adapt to available light
Your Lighting Journey Continues
Mastering portrait lighting takes practice, patience, and experimentation. Every face is different, every location unique. Our comprehensive portrait photography course provides hands-on training with professional equipment and real model sessions.
Start with natural light, master the basics, then gradually add artificial lighting. Remember, the best light is the one that achieves your creative vision.