Every photographer — from the person who just took their first photo to the professional with twenty years of experience — uses the same three camera settings to create every single image. Aperture, shutter speed, and ISO. That is it. Everything else builds on top of these three fundamentals.
If you want to learn photography basics, this is where you start. Not with gear reviews. Not with editing tutorials. Not with social media tips. With the three settings that control how your camera captures light — because understanding these transforms you from someone who takes pictures into someone who makes photographs.
The Exposure Triangle in Plain Language
Imagine you are filling a glass of water. The water is light, and the glass is your photo. You need exactly the right amount — too little and the image is dark (underexposed), too much and it is washed out (overexposed).
You control the flow of water with three taps. Aperture is how wide the tap is open. Shutter speed is how long you leave the tap on. ISO is how sensitive the glass is to water — a spongy glass absorbs more from less flow.
Changing any one of these affects the others. Open the tap wider (larger aperture) and you need less time (faster shutter speed) to fill the glass. Make the glass more absorbent (higher ISO) and you need less of both. This relationship is the exposure triangle, and it governs every photograph ever taken.
Aperture: Controlling Depth of Field
Aperture is the size of the opening inside your lens that lets light pass through to the sensor. It is measured in f-stops — f/1.8, f/2.8, f/4, f/5.6, f/8, f/11, f/16.
The confusing part is that the numbers work backwards from what you would expect. A small number like f/1.8 means a large opening — lots of light, and a very shallow depth of field where only a thin slice of the image is in focus while the background melts into a smooth blur. A large number like f/16 means a small opening — less light, but much more of the scene in sharp focus from near to far.
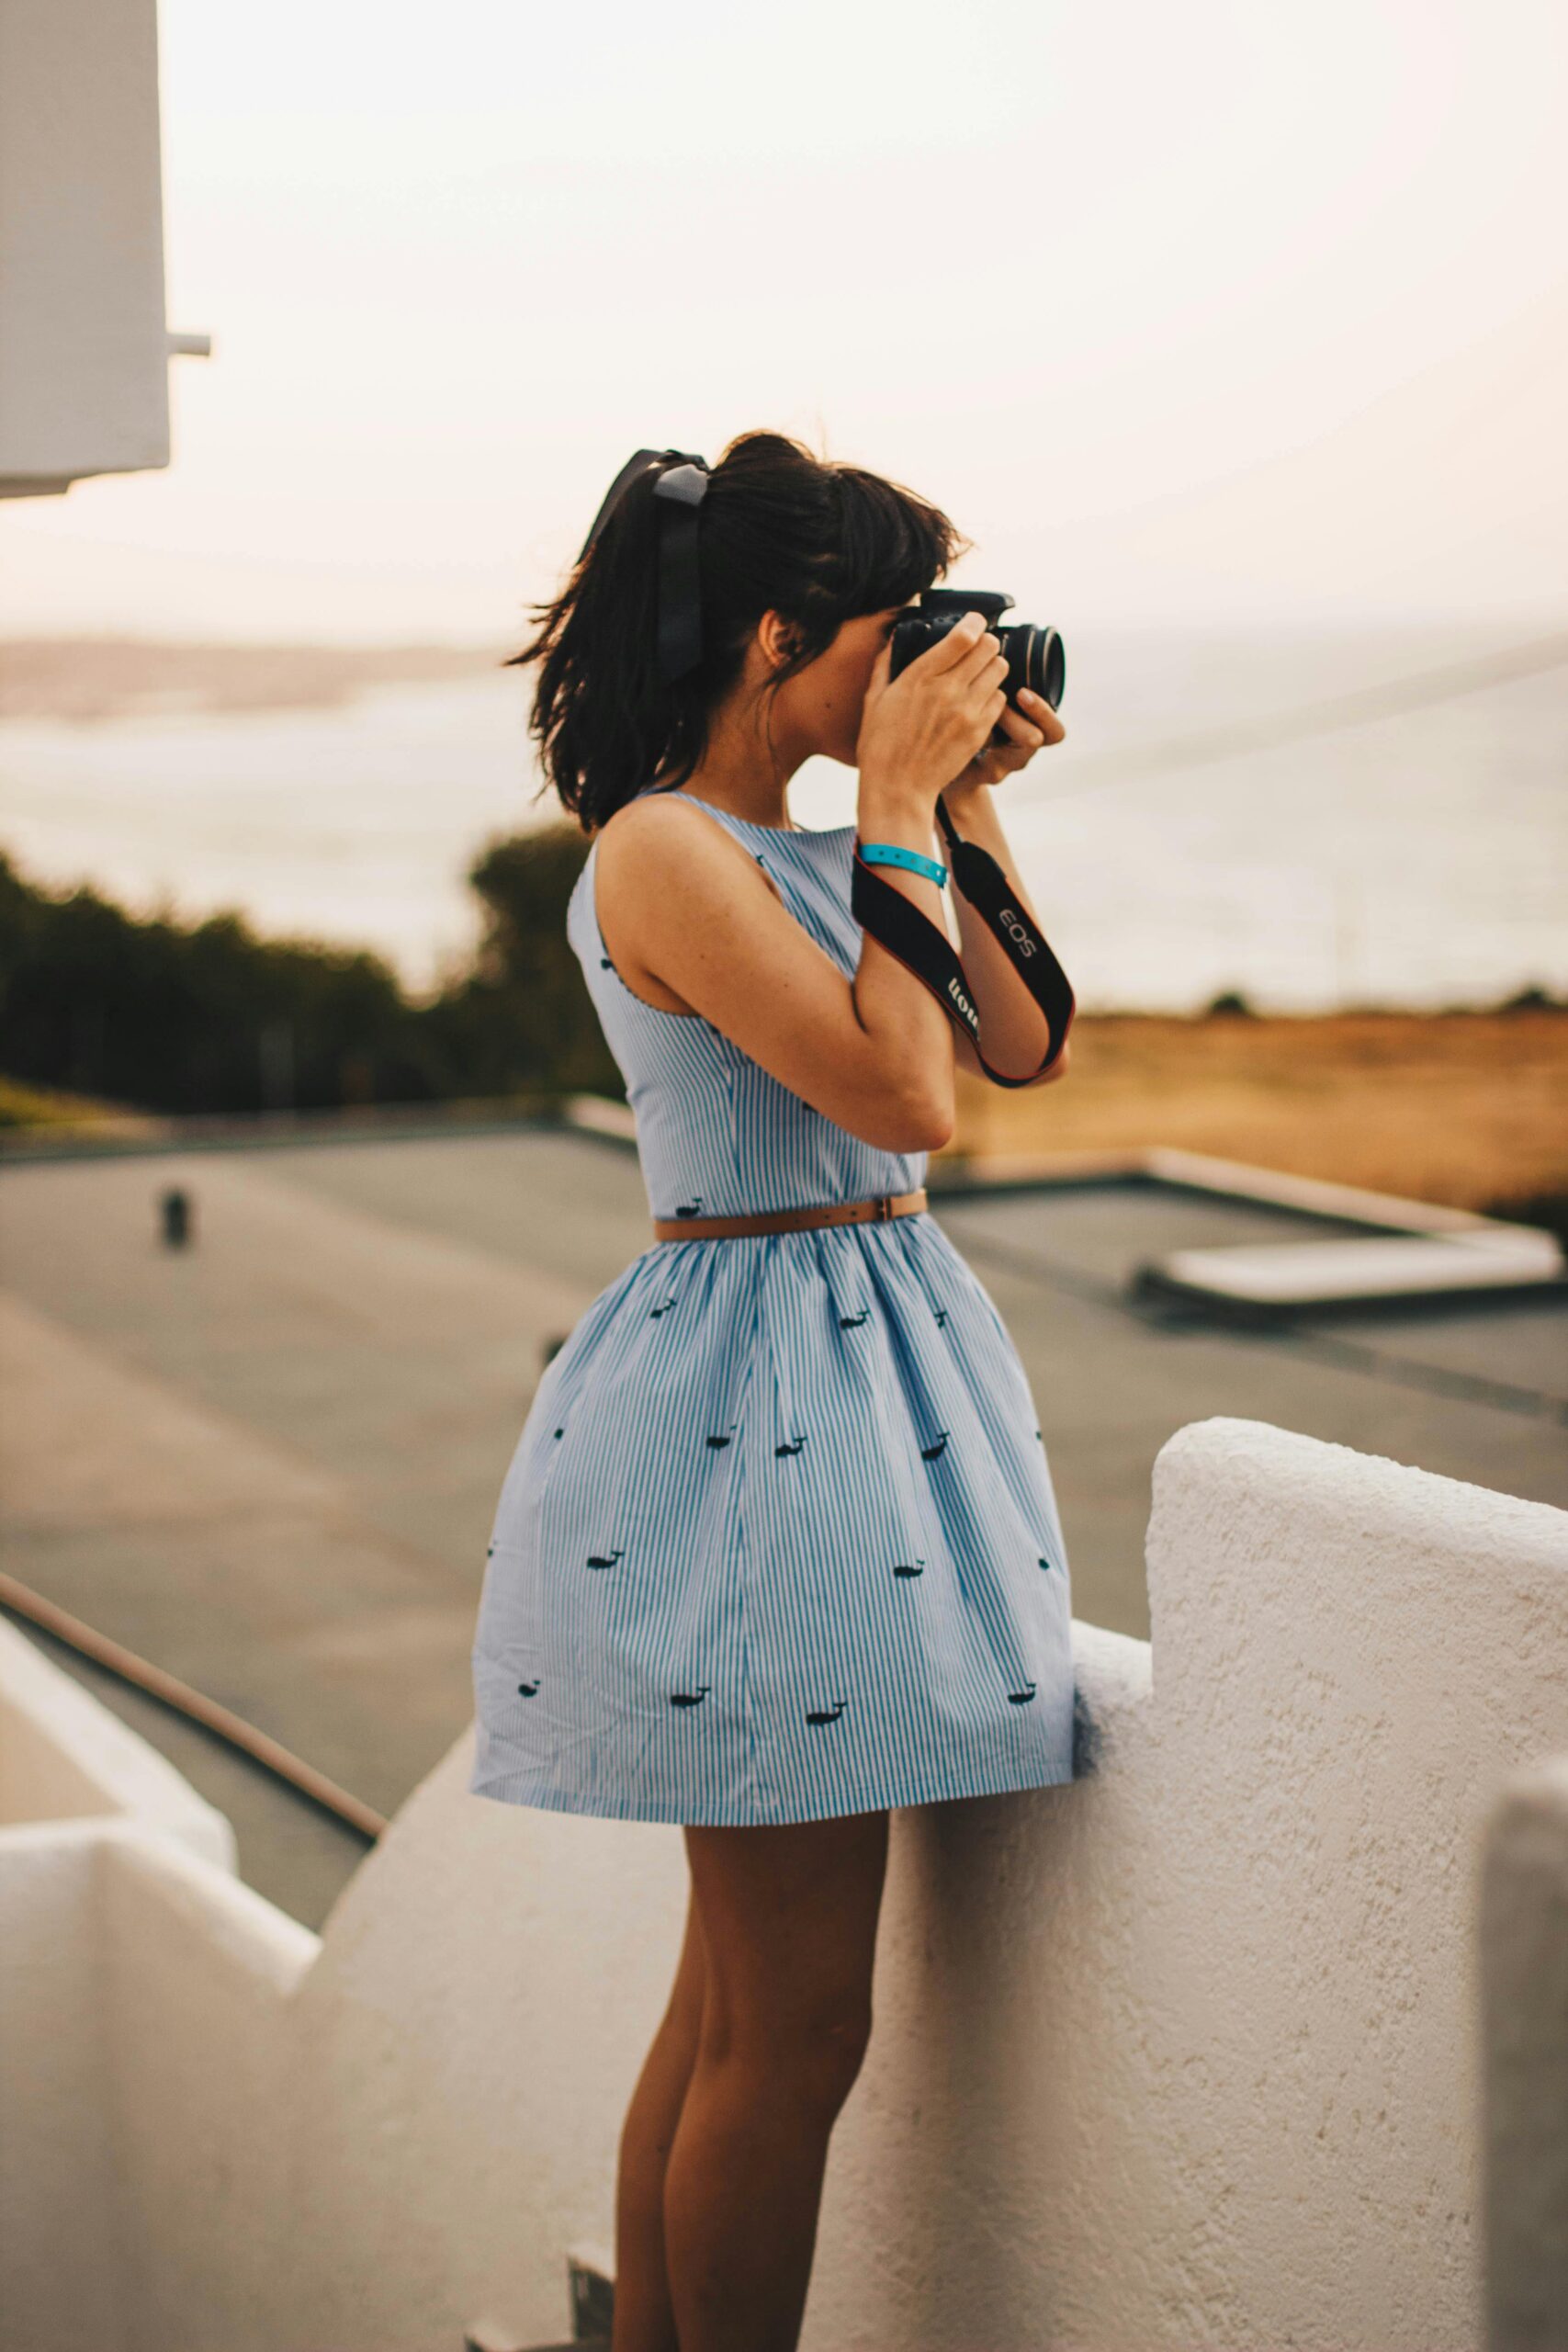
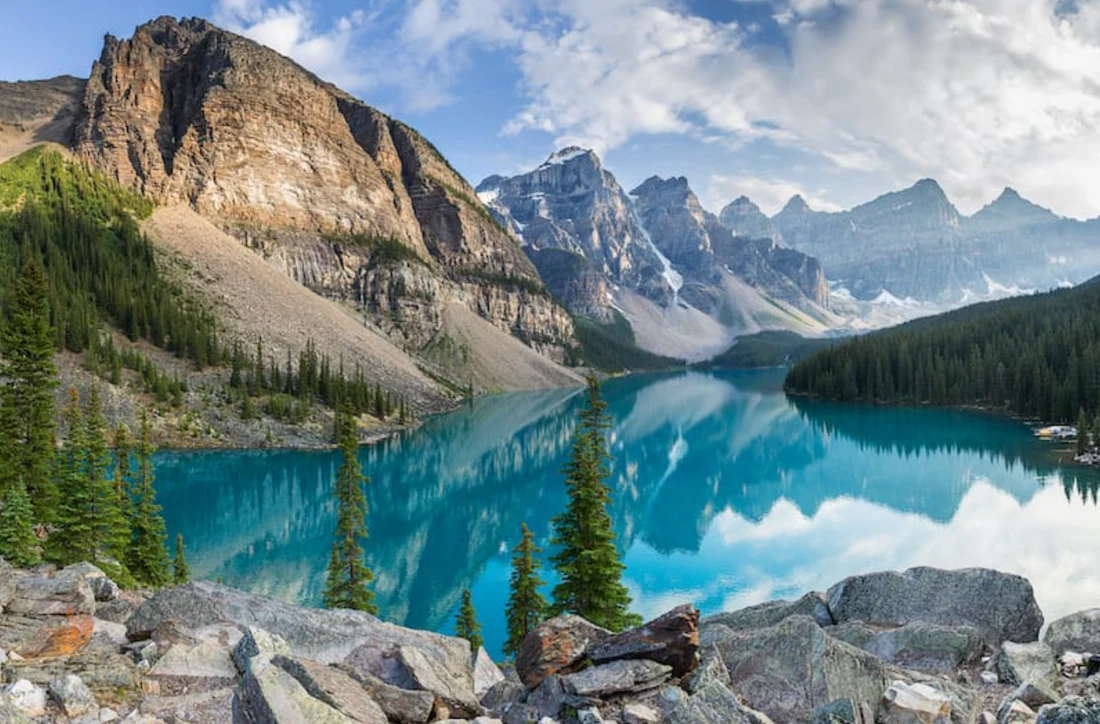
When do you use each? For portraits where you want a blurred background that makes your subject pop — use f/1.8 to f/4. For landscapes where you want everything sharp from the flowers at your feet to the mountains on the horizon — use f/8 to f/16. For general shooting in good light — f/5.6 to f/8 is the sweet spot where most lenses are at their sharpest.
Our complete guide to shooting in manual mode walks you through applying aperture settings in real shooting situations with your own camera.
Shutter Speed: Controlling Motion
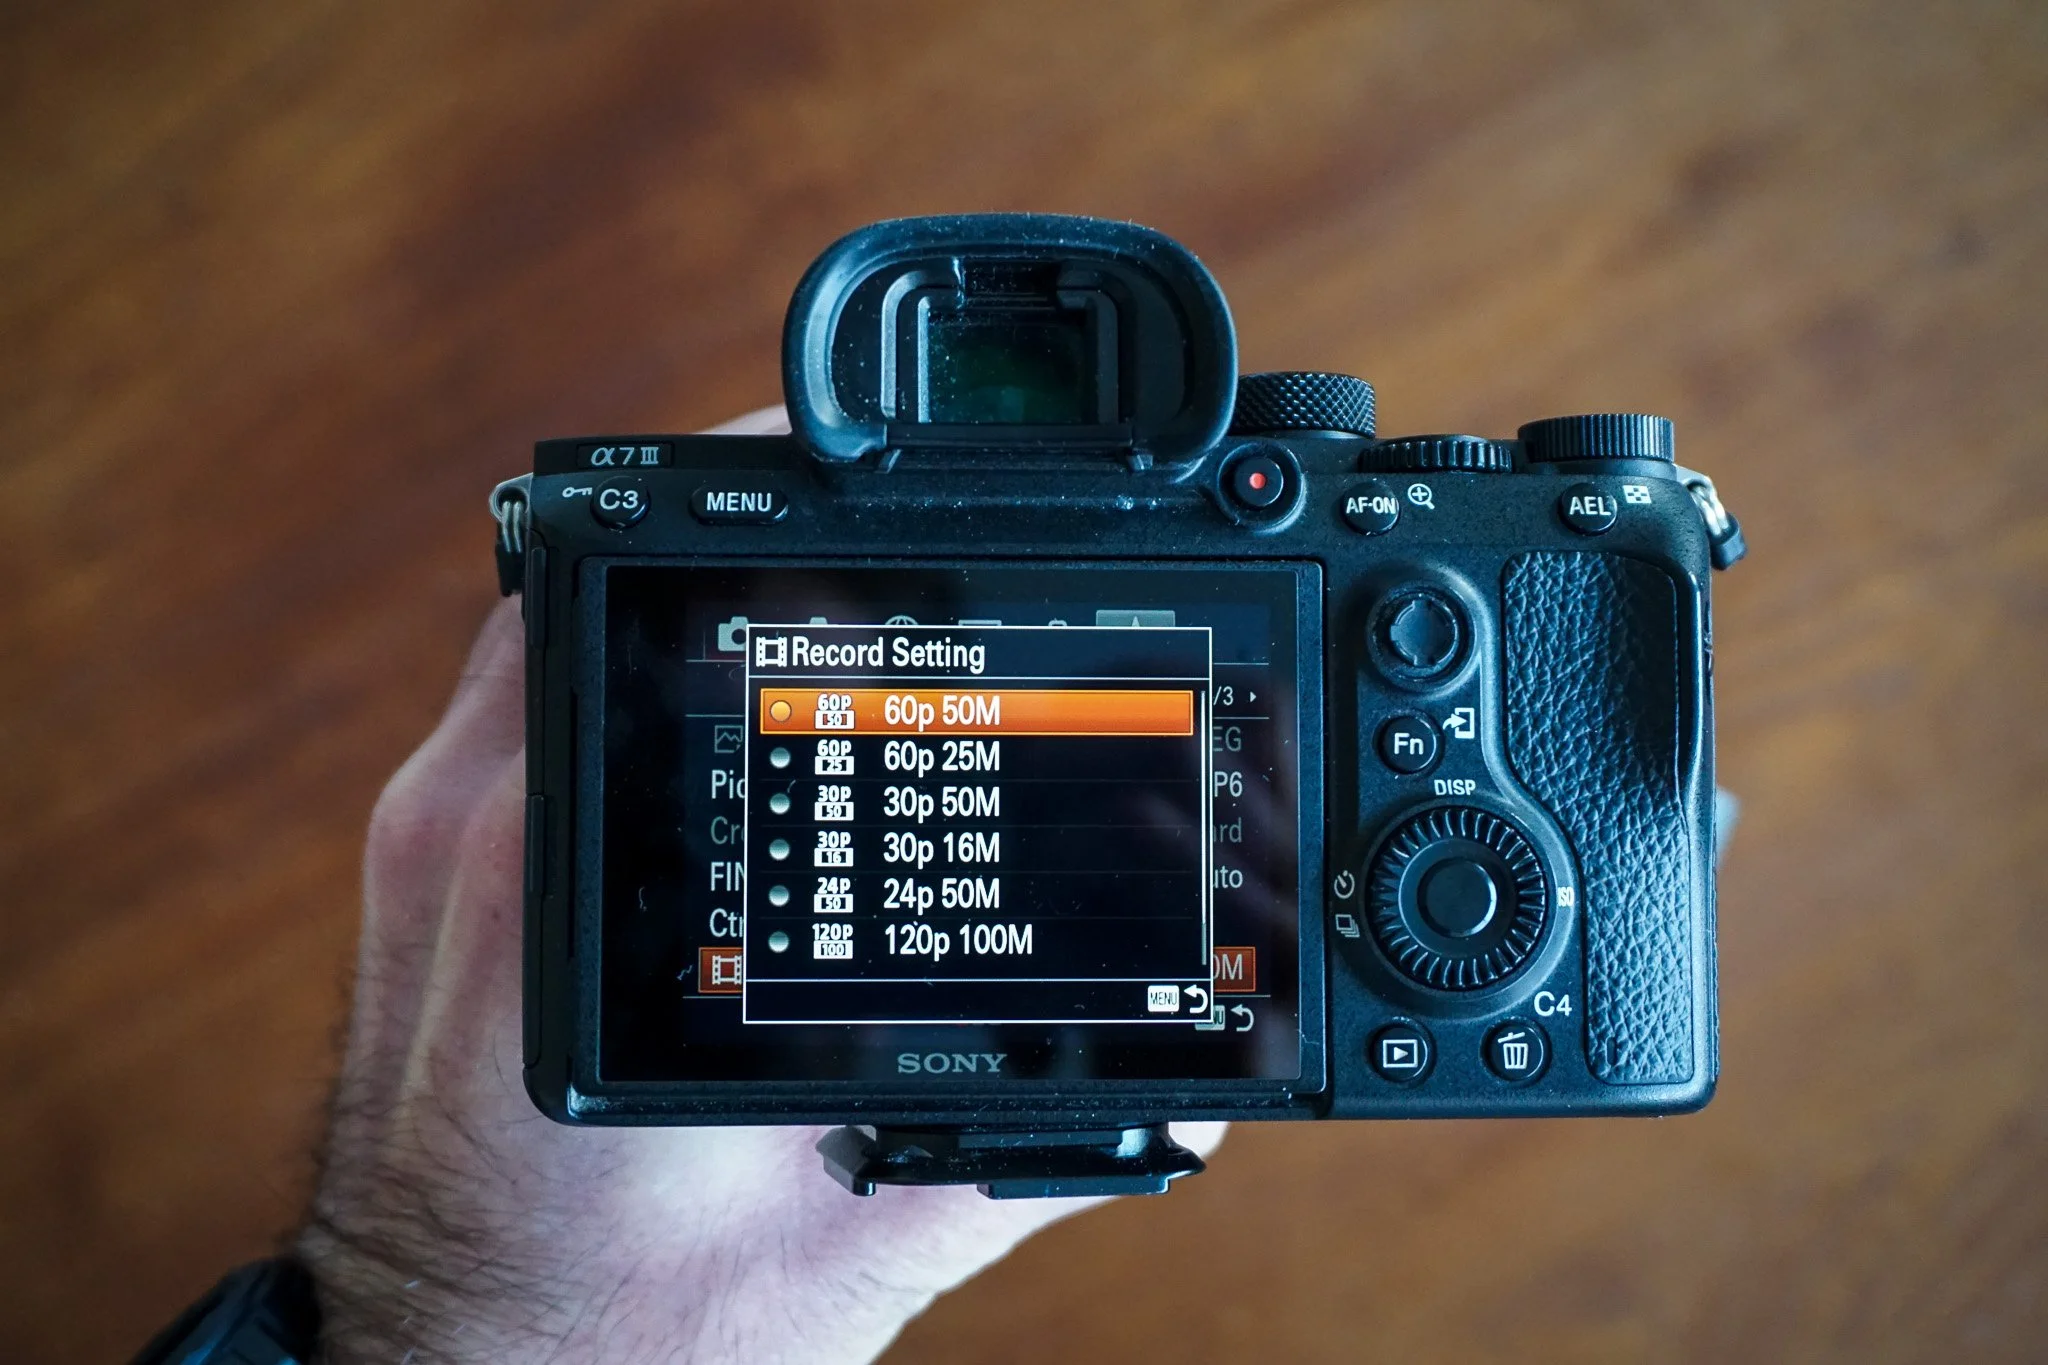
Shutter speed is how long the camera’s sensor is exposed to light. It is measured in fractions of a second — 1/1000, 1/500, 1/250, 1/125, 1/60, 1/30 — and occasionally in full seconds for long exposure work.
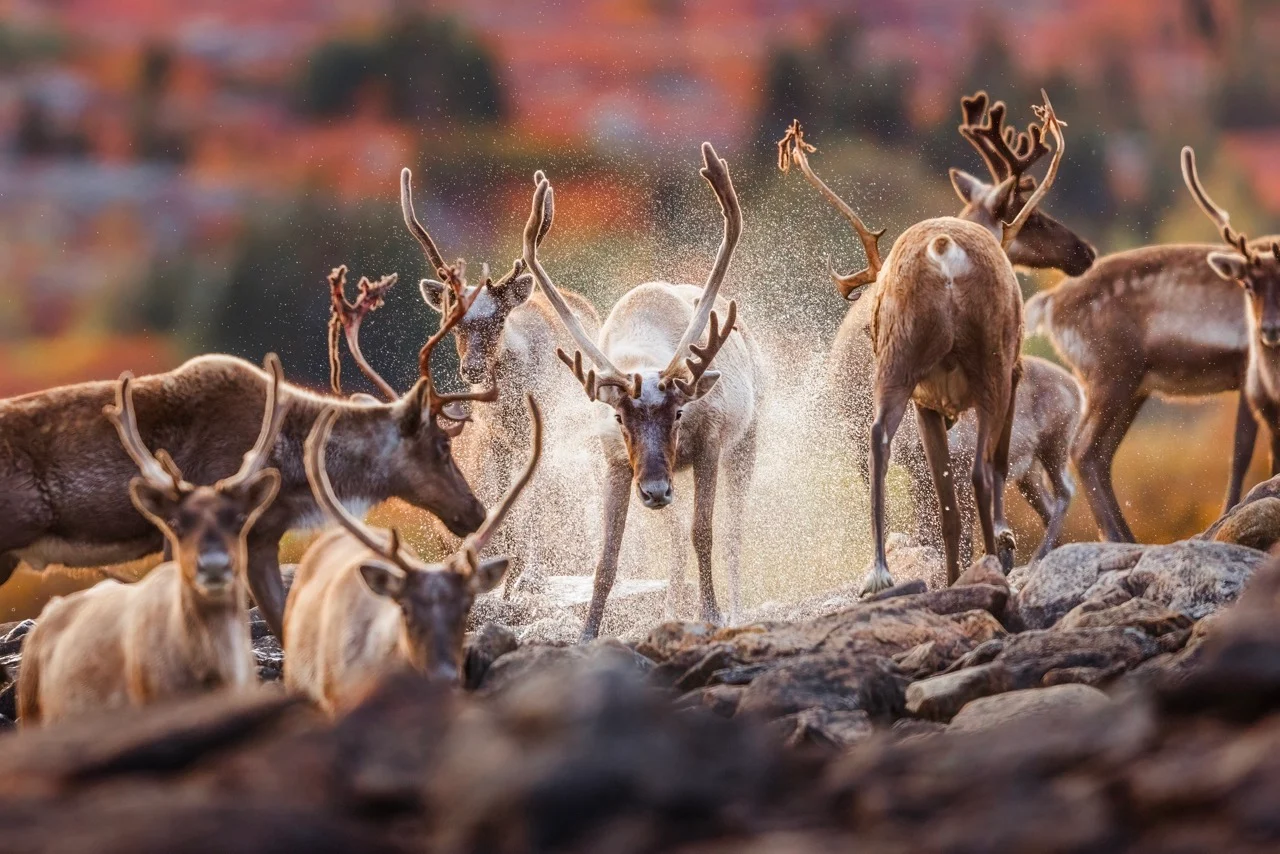
A fast shutter speed like 1/1000th freezes motion completely. A hummingbird’s wings, a splashing wave, a child mid-jump — all frozen sharp and still. A slow shutter speed like 1/30th allows anything moving to blur during the exposure. Running water becomes silky smooth. Moving people become ghostly streaks. Car headlights stretch into light trails.
When do you use each? For sports, action, wildlife, and children — use 1/500 or faster. For general handheld photography — use at least 1/125 to avoid camera shake blurring your images. For creative motion blur effects — use 1/30 or slower with a tripod.
A useful rule of thumb for handheld shooting: your shutter speed should be at least 1 over your focal length. Shooting with a 50mm lens? Use at least 1/50. Shooting with a 200mm telephoto? Use at least 1/200. This minimises blur from hand movement.
ISO: Controlling Sensitivity
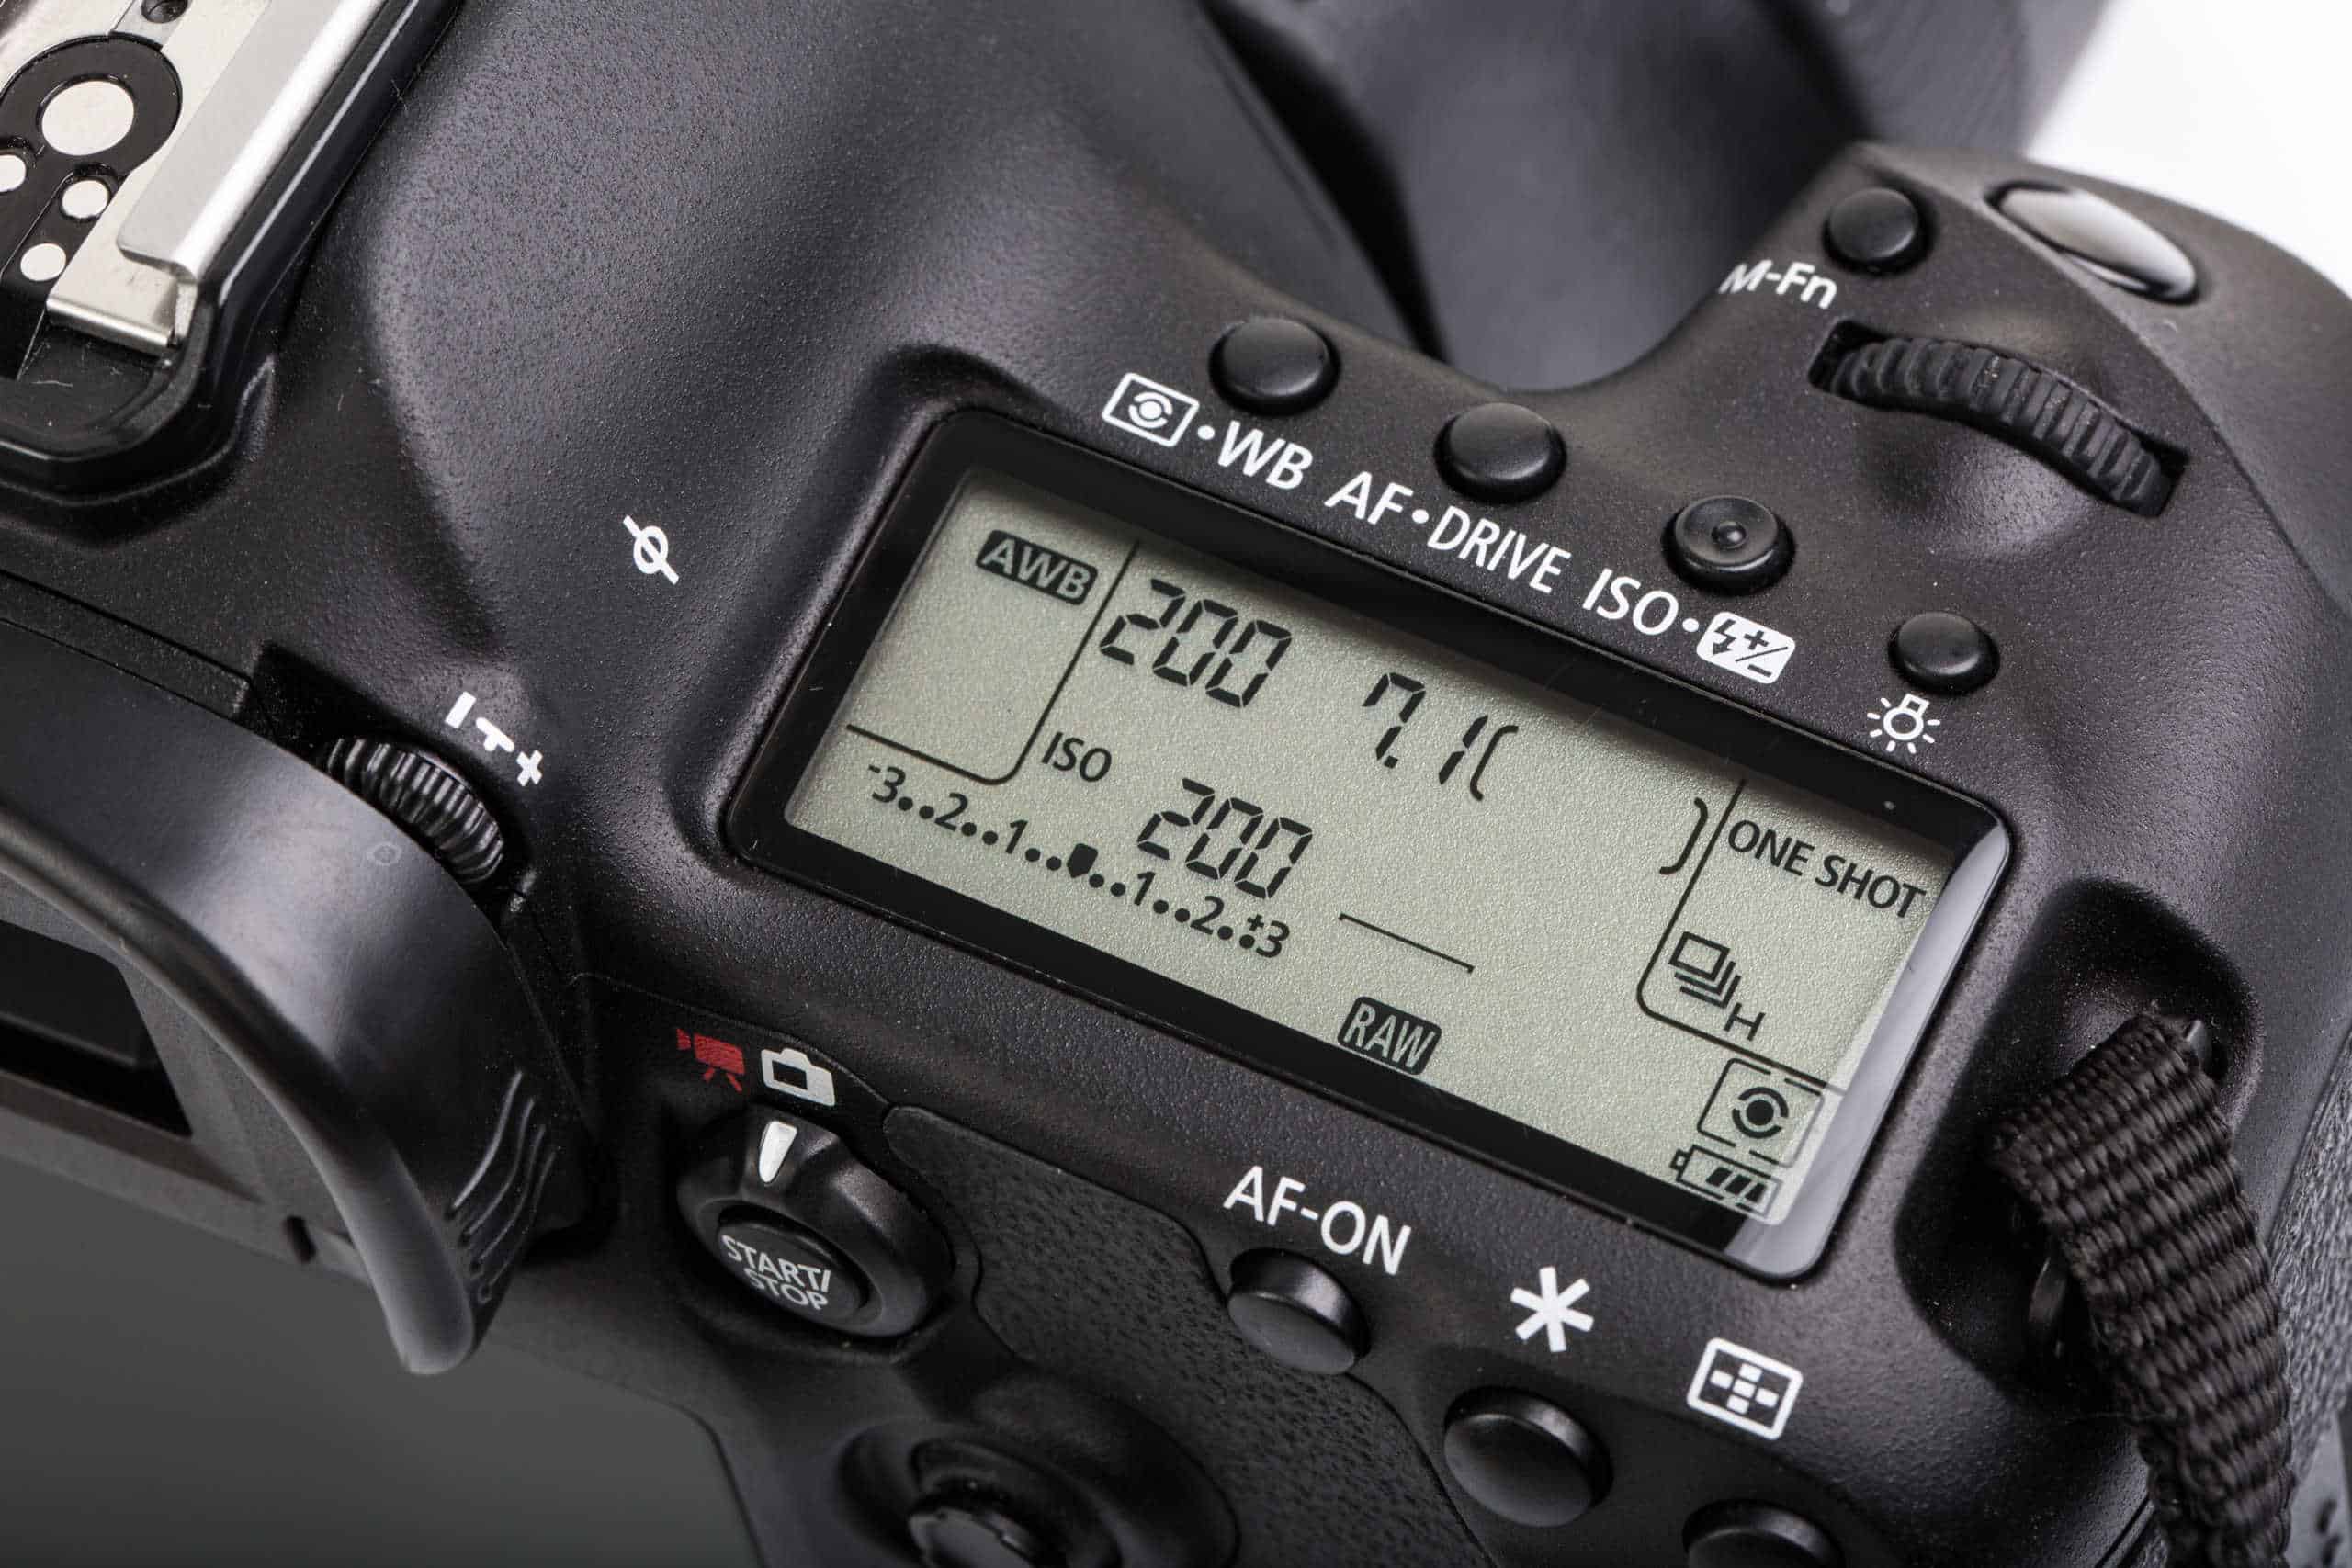
ISO controls how sensitive your camera’s sensor is to the light hitting it. Low ISO values like 100 or 200 produce clean, noise-free images. High ISO values like 3200, 6400, or higher allow you to shoot in darker conditions but introduce grain or digital noise — that speckled, grainy texture visible in images shot at high sensitivity.
The goal is to keep ISO as low as conditions allow. In bright outdoor light, ISO 100–400 is typical. In shade or overcast conditions, ISO 400–800 works well. Indoors without flash, ISO 800–3200 may be necessary. In very dim environments, ISO 3200–6400 or higher may be required.
Modern cameras handle high ISO remarkably well. A camera from ten years ago might have produced unusable noise at ISO 1600. A current model from Canon, Sony, or Nikon produces perfectly usable images at ISO 3200–6400 and acceptable results even higher. Our essential camera settings guide covers ISO performance expectations for different camera types.
How the Three Settings Work Together
Here is a real scenario. You are photographing a friend’s portrait outdoors on an overcast afternoon. You want a blurred background, so you set your aperture to f/2.8. The light is soft but not bright, so your camera’s meter suggests a shutter speed of 1/250 at ISO 400. That is fast enough to avoid blur, low enough ISO for clean quality, and the right aperture for the look you want. Perfect exposure.
Now the sun comes out from behind a cloud and everything is much brighter. At the same settings, the image would be overexposed — too much light. You have three options: increase shutter speed to 1/1000 (letting in less light through shorter exposure time), narrow the aperture to f/5.6 (letting in less light through a smaller opening but changing your depth of field), or lower the ISO to 100 (reducing sensitivity). In practice, you would likely increase shutter speed since it does not affect the creative look of the image.
This constant balancing act becomes intuitive with practice. Within weeks of shooting regularly, you will adjust settings instinctively without conscious calculation.
Composition Basics: Making Photos Feel Intentional
Once you understand exposure, composition is the next fundamental to learn photography basics effectively.
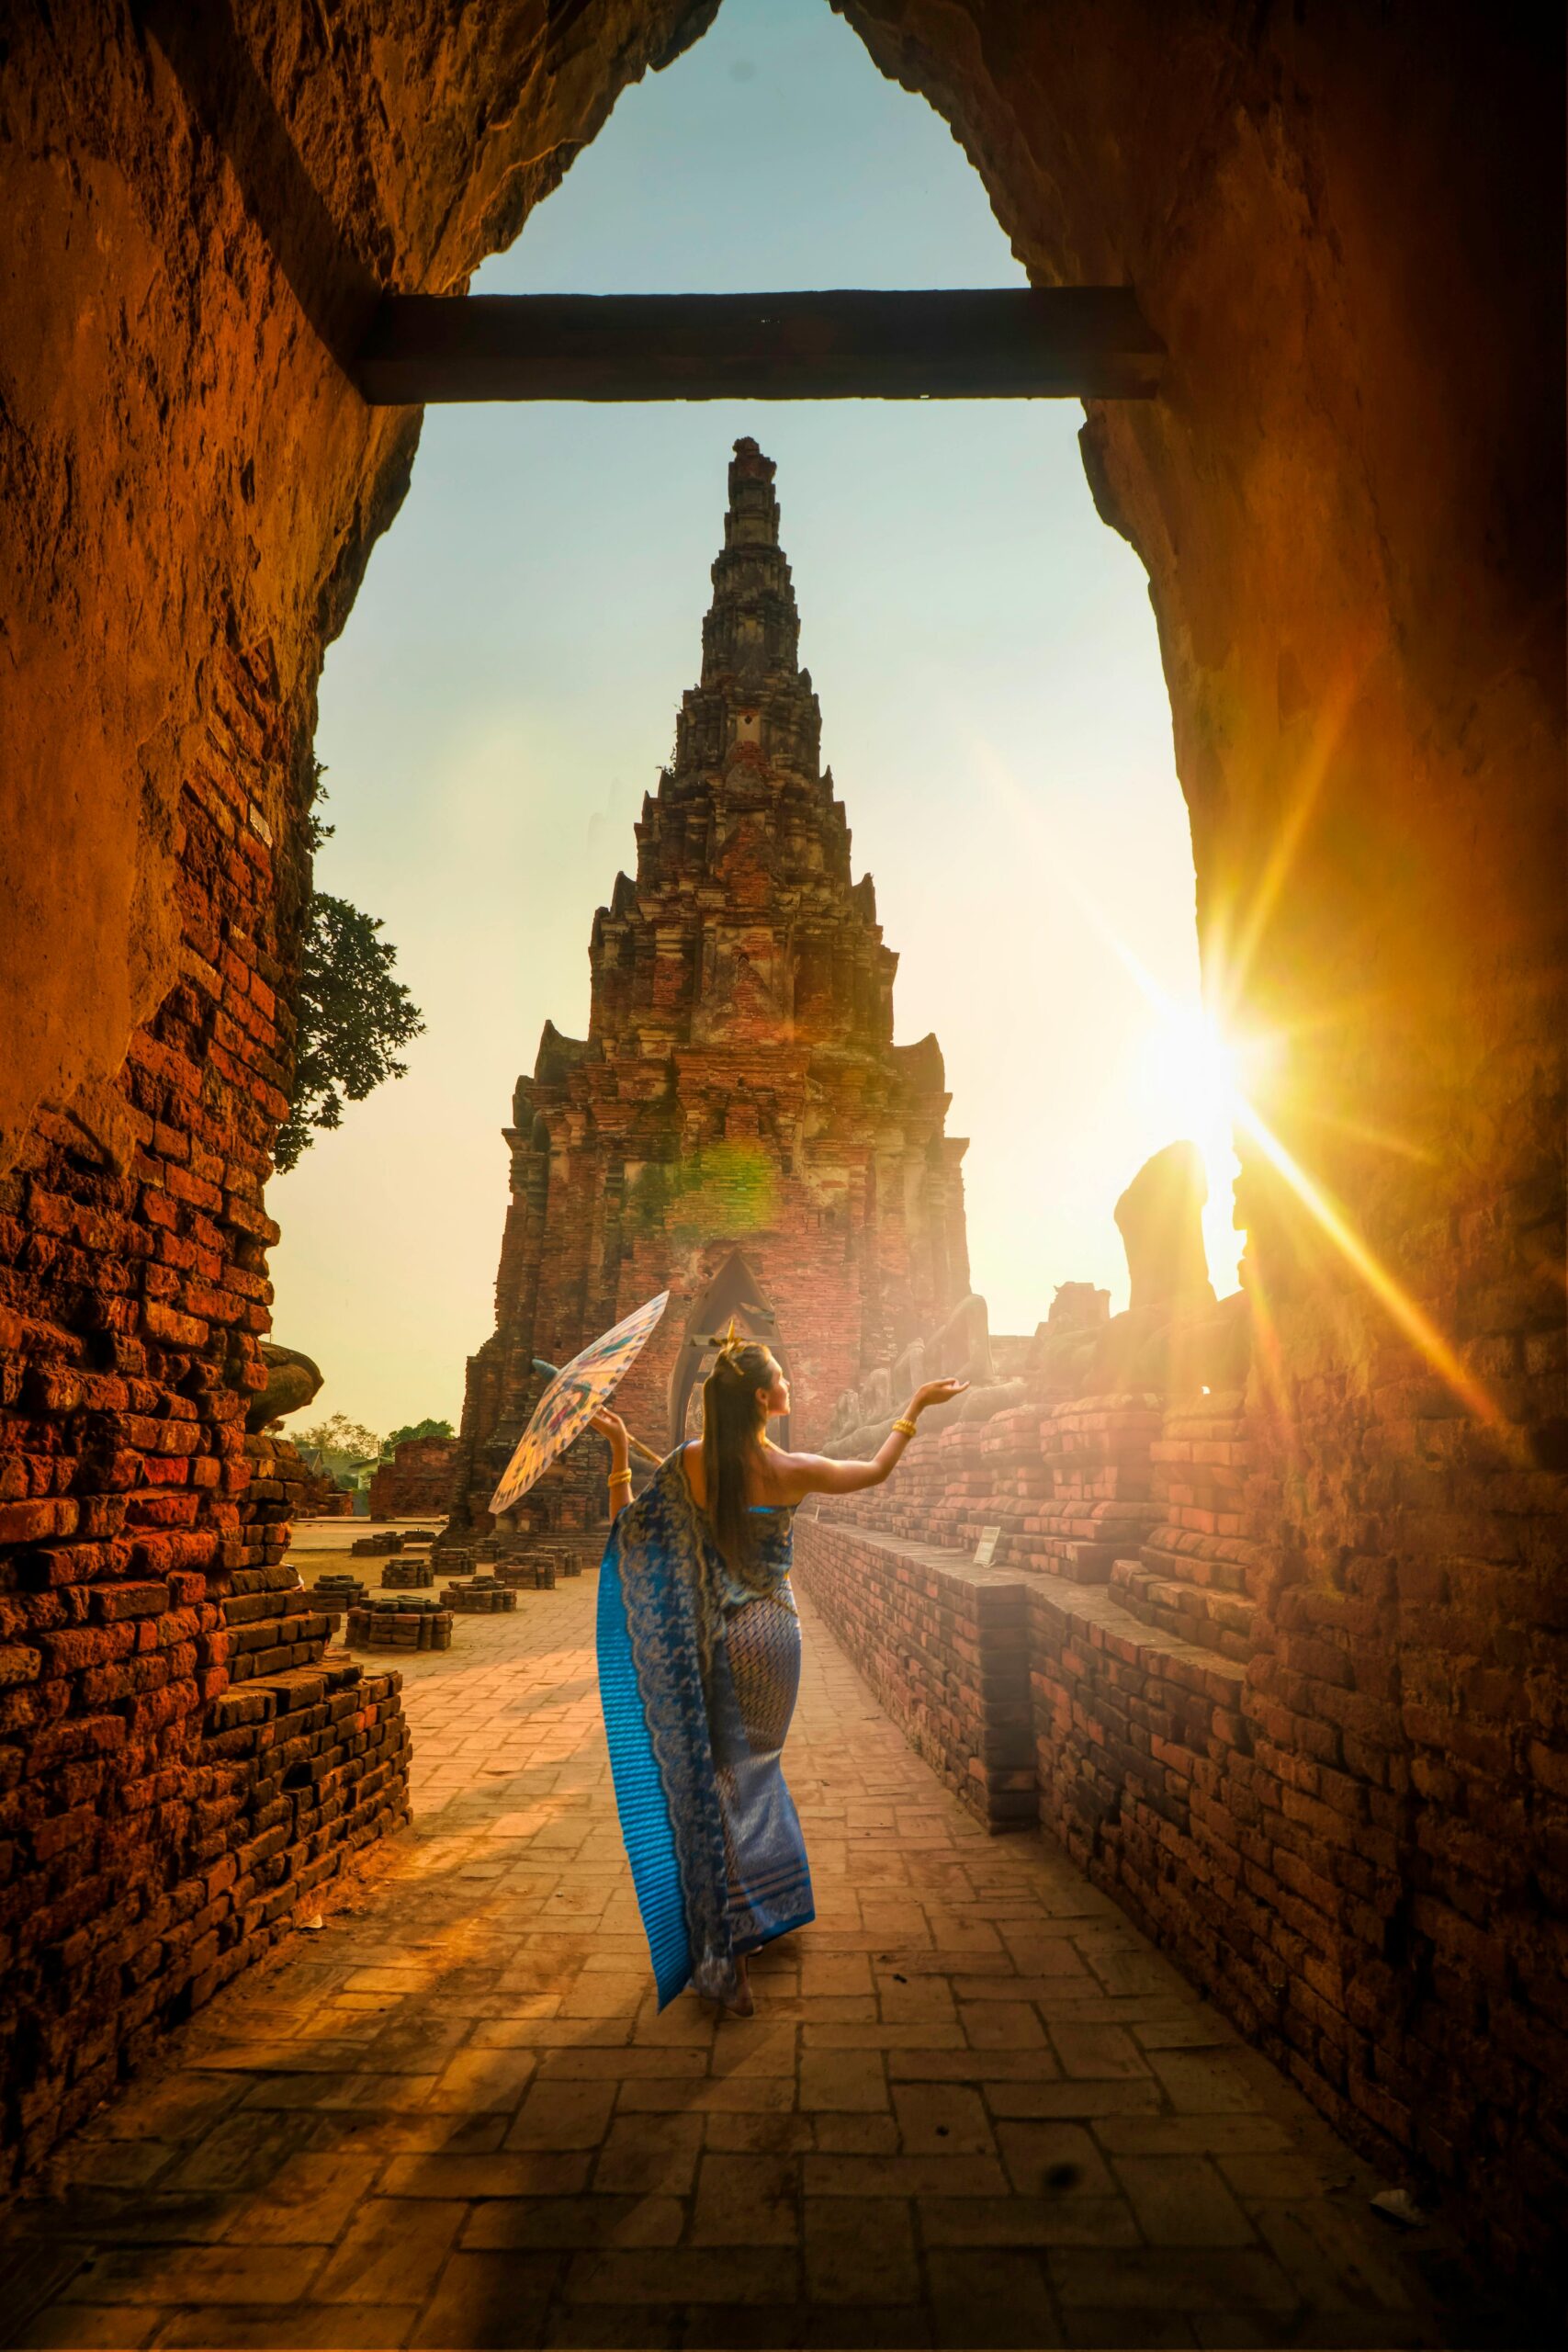
The rule of thirds places your subject at the intersection of imaginary lines dividing the frame into nine equal sections. Leading lines use elements like paths, fences, and rivers to guide the viewer’s eye. Framing uses foreground elements like arches or branches to create depth. Simplicity means removing distracting elements so the viewer’s eye goes directly to your subject.
National Geographic’s photography tips provides outstanding examples of composition principles applied by some of the world’s best photographers.
Your First Practical Exercise
Go outside right now with your camera or phone. Find a subject — a person, a pet, a flower, a building. Photograph it from five completely different angles: straight on, from below looking up, from above looking down, from far away with the environment included, and from very close with details filling the frame. Compare the five images and notice how dramatically the story changes based solely on your position relative to the subject. You have just practised the most fundamental photography skill — seeing creatively.
Cambridge in Colour offers some of the most detailed and technically accurate photography tutorials available online — an excellent free resource for deepening your understanding of any topic covered here.
Take the Next Step
Learning photography basics is the foundation for everything that follows — portrait work, landscape photography, wildlife, videography, building a business, or simply taking photos you are genuinely proud of. Our Certificate in Photography takes these fundamentals and expands them into a structured, tutor-supported program with a professional camera included. Browse our full range of courses to find the path that excites you.