
Canada is home to some of the most iconic large mammals on earth — grizzly and black bears, moose, elk, caribou, mountain goats, bighorn sheep, and wolves. Photographing these animals in their natural habitat is one of the most thrilling and rewarding experiences wildlife photography offers. It is also one of the most dangerous if you approach it without proper knowledge, preparation, and respect for the animals you are photographing.
A wildlife photography course teaches the camera techniques, field craft, and safety protocols you need to photograph large Canadian mammals responsibly and return home with extraordinary images — and without incident.
Understanding the Animals You Are Photographing
The single most important safety and photographic skill in large mammal photography is understanding animal behaviour. Every species communicates through body language, vocalisations, and movement patterns — and learning to read these signals tells you when an animal is relaxed and photographable, when it is becoming agitated, and when you need to back away immediately.
Bears communicate stress through jaw popping, huffing, yawning (a stress signal, not sleepiness), swatting the ground, and making bluff charges. A bear that is feeding calmly with ears forward is relaxed. A bear that has stopped feeding, turned to face you, and pinned its ears back is telling you to increase your distance. Parks Canada provides essential bear safety guidelines that every wildlife photographer operating in Canadian bear country must understand thoroughly.
Moose are the largest members of the deer family and are responsible for more injuries to humans in Canada than bears. They are particularly dangerous during fall rut (mating season) when bulls are aggressive and unpredictable, and in spring when cows aggressively protect calves. A moose with its ears pinned back, the hair on its neck raised, and its head lowered is warning you of an imminent charge. Unlike bears, moose do not bluff — they follow through.
Elk in areas like Banff, Jasper, and the Kootenay region are habituated to human presence and can appear deceptively approachable. During fall rut, bull elk become territorial and extremely dangerous. Maintain a minimum distance of 30 metres and never position yourself between a bull and his harem.
Our guide to wildlife photography in Canadian national parks covers park-specific regulations and safety requirements, and our ethical wildlife photography guide addresses the broader responsibility wildlife photographers carry in the field.
Essential Equipment for Large Mammal Photography
A telephoto lens is non-negotiable for large mammal photography — both for image quality and for maintaining safe distances. A 100–400mm zoom lens is the minimum practical range. A 150–600mm from Sigma or Tamron ($1,200–$2,000 CAD) provides the reach needed to photograph animals at safe distances while filling the frame.
Our Certificate in Wildlife Photography includes professional telephoto equipment, removing the most significant financial barrier to serious wildlife photography.
A monopod or sturdy tripod with a gimbal head supports the weight of long telephoto lenses during extended sessions and improves sharpness by reducing hand fatigue and camera shake. For photographers who hike to remote locations, a carbon fibre monopod offers the best balance of support and portability.
Bear spray is not camera equipment, but it is the most important item in your bag when photographing in bear country. Carry it in a hip holster where you can reach it in under two seconds — not buried in your backpack. According to a study published by the Journal of Wildlife Management, bear spray is over 90% effective at stopping aggressive bear encounters when deployed correctly.
Camera Settings for Large Mammal Photography
Shutter speed should be 1/500th of a second minimum for stationary animals and 1/1000th or faster for any movement — walking, running, turning heads. Large mammals move with surprising speed when they want to, and slow shutter speeds that feel adequate in the viewfinder often produce subtle motion blur visible at full resolution.
Continuous autofocus (AI Servo / AF-C) with zone or wide-area AF tracking keeps focus locked on moving animals. Modern eye-detection AF in cameras from Canon, Sony, and Nikon can recognise and track animal eyes specifically — a game-changing feature for wildlife photography. Our autofocus techniques guide covers configuring these advanced AF modes for wildlife work.
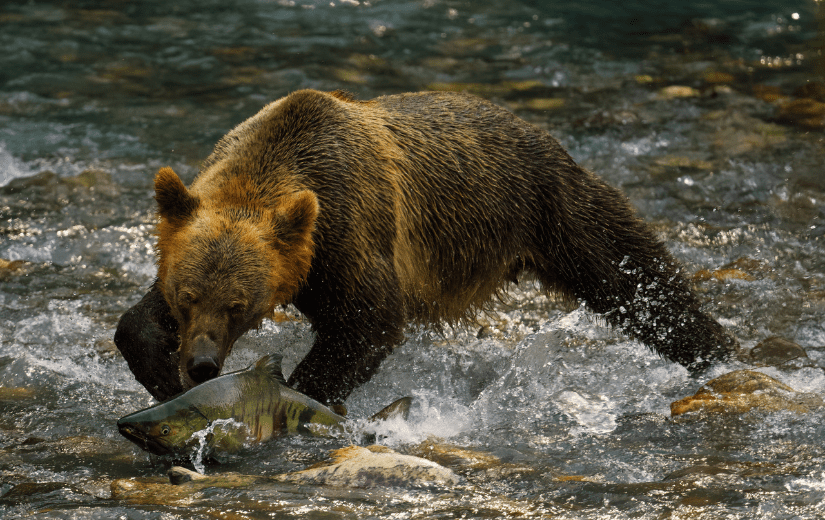
Burst mode at your camera’s maximum frame rate captures the decisive moments — a bear catching a salmon, a moose shaking water from its antlers, an elk bugling at dawn. Shoot in RAW format for maximum editing flexibility, particularly when cropping distant subjects to fill the frame.
ISO flexibility is essential because wildlife photography often happens in low light — dawn, dusk, overcast conditions, and forest shade. Modern cameras produce excellent results at ISO 1600–6400, and a slightly noisy image of extraordinary animal behaviour is infinitely better than a clean image of nothing because you refused to raise your ISO.
Field Craft for Large Mammals
Stay downwind. Large mammals have extraordinary senses of smell and will detect you from hundreds of metres if you are upwind. Check wind direction before approaching and position yourself accordingly.
Move slowly and predictably. Stop frequently and let the animal assess you. If the animal looks up and stares directly at you, freeze and let it return to its activity before moving closer. If it changes behaviour — stops feeding, moves away, or shows any stress signals — you are too close. Back away slowly.
Use natural features as blinds. Photograph from behind large trees, boulders, or terrain features that break your silhouette. Vehicles are excellent blinds — animals in many Canadian parks are more tolerant of vehicles than pedestrians, and shooting from a car window allows close-range photography without disturbing the subject.
Minimum distances are not suggestions. Parks Canada mandates 100 metres for bears, wolves, and cougars, and 30 metres for elk, moose, and deer. These distances protect both you and the animals. A telephoto lens in the 400–600mm range fills the frame beautifully at these distances without requiring you to encroach into dangerous proximity.
Best Locations for Large Mammal Photography in Canada
British Columbia offers the densest concentration of grizzly bear photography opportunities in Canada. The Great Bear Rainforest, Knight Inlet, and the Bella Coola Valley provide guided bear viewing and photography experiences during salmon season from August through October.
The Canadian Rockies — Banff, Jasper, Kootenay, and Yoho national parks — offer elk, moose, mountain goats, bighorn sheep, and both black and grizzly bears. Roadside wildlife viewing along the Icefields Parkway between Banff and Jasper is among the most accessible large mammal photography in the world.
Algonquin Provincial Park in Ontario is one of the best locations for moose photography in eastern Canada. Early morning canoe trips during fall provide opportunities to photograph bull moose in full antler during the rut.
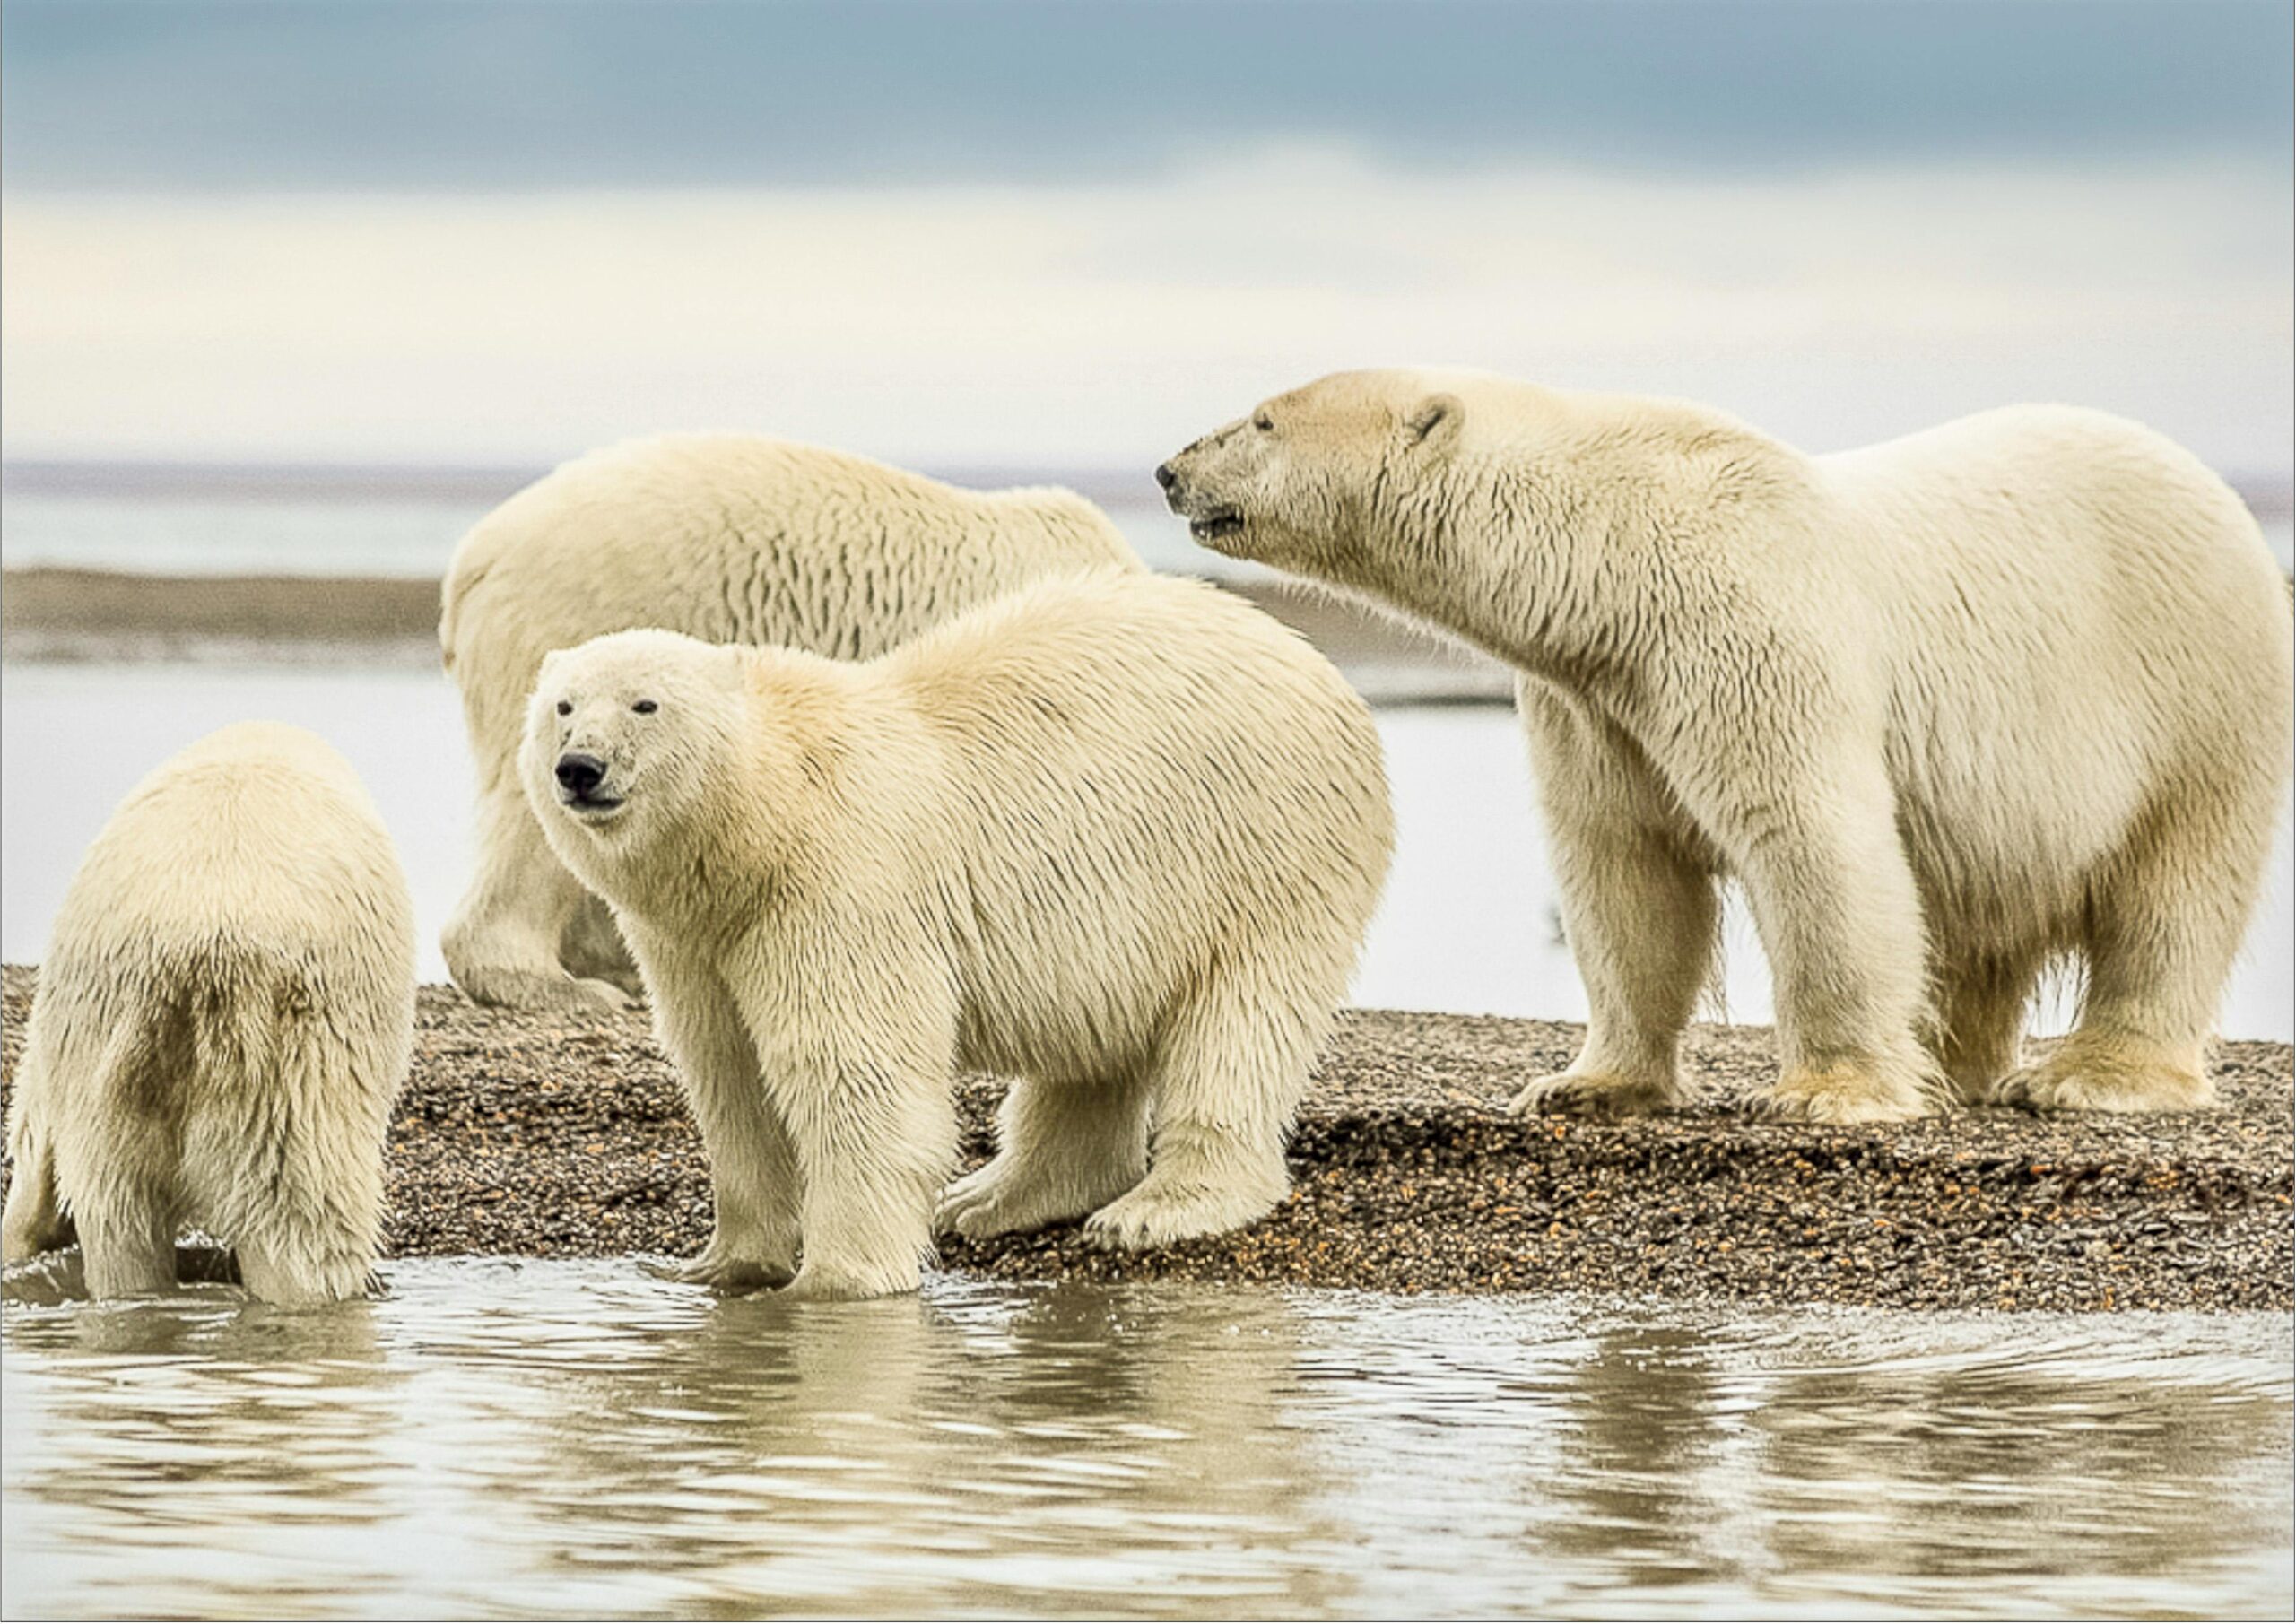
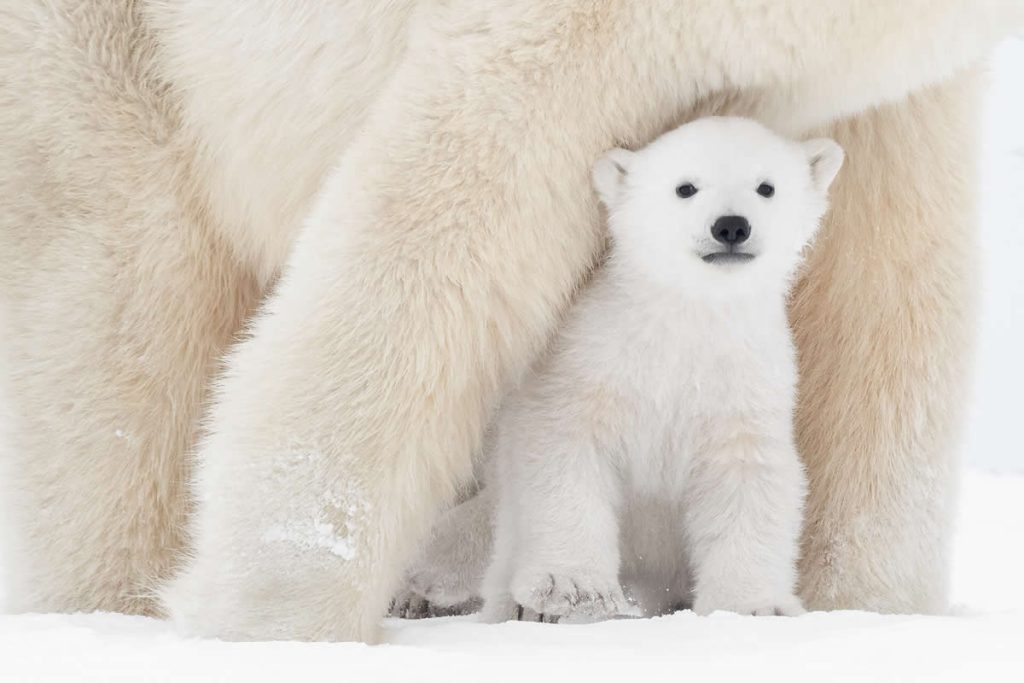
Northern Manitoba — particularly the area around Churchill — offers polar bear photography opportunities that exist nowhere else in the world at the same level of accessibility. Our guide to capturing Canada’s iconic species covers species-specific photography techniques across Canadian regions.
The Responsibility of Wildlife Photographers
Wildlife photography carries an inherent responsibility. Your presence affects the animals you photograph — and the choices you make in the field either support conservation or undermine it.
Never bait, call, or lure large mammals for photography. Do not approach dens, nesting sites, or areas where animals are clearly resting or feeding young. If your presence changes an animal’s behaviour — causing it to move away, stop feeding, or become visibly agitated — you are too close and must increase your distance regardless of how good the photographic opportunity appears.
The best wildlife photographs come from patience, preparation, and respect — not from pushing boundaries. An image of a relaxed, naturally behaving animal is infinitely more valuable — artistically, editorially, and ethically — than one of a stressed animal reacting to an intrusive photographer.
Our ethical wildlife photography guide covers these principles comprehensively, and our wildlife photography business guide explains how ethical practices and commercial success are not only compatible but mutually reinforcing.
Start Your Wildlife Photography Education
A wildlife photography course gives you the technical skills, field craft, and safety knowledge to photograph Canada’s most iconic large mammals confidently and responsibly. Our Certificate in Wildlife Photography includes professional telephoto equipment, expert tutor guidance, and comprehensive curriculum covering behaviour, technique, and ethics. Explore our full range of courses to find the path that matches your passion for the natural world.